So you want to start a cut flower garden, but you don’t know where to start? You’re in the right place. Grab a cup of coffee or tea, and I’ll show you where to buy the best cut flower seeds, tubers, and corms, some resources for seed starting cut flowers, and how to grow the actual cut flowers. Then, when you’re done here, you can head over to my post about creating beautiful bouquets with the flowers you’ve grown.

A quick disclaimer: I garden in Zone 3 in Saskatoon, Saskatchewan, so my advice is best suited to similar climates. However, I’ve coached customers in much warmer climates than mine through my ebook, Cut Flowers Made Simple, and they’ve had excellent results.
Find a space with 8 or more hours of light a day
Your cut flower dreams will be cut short if you don’t have an area that gets 8 or more hours of direct sunlight a day. Sure, there are some cut flowers that can withstand part shade, but there’s not enough of them to have a constant supply of flowers.
If you’re growing for personal use, you don’t need acres and acres of land either. You can grow in as little of space as a row in your vegetable garden, or even devote a couple of large containers or a raised bed to it. In 2020, the bulk of my personal cut flower garden was in a 12 -foot by 20-foot space in my urban backyard–not a large space, especially by flower farmer standards.

Plan Out your Garden
Once you know how much space you have available, it’s time to plan for your beautiful garden. If you don’t have a garden planner already, you can grab one of my designs here: Pretty & Practical Garden Planner, Flower Farmer Garden Planner.
You’ll want to figure out what types of flowers to grow, and make sure you have a good mix of large and small flowers, in different shapes and sizes, as well as enough greenery and filler flowers. Every new gardener always plants too many hero flowers and not enough supporting flowers and greens in their first couple of years.
You’ll also need to consider how confident you feel about growing flowers and seed starting. Some flowers, like Lisianthus, have a long date to maturity and can be tricky to grow. Others, like Sunflowers and Zinnias, can be direct sown and are very easy to grow.
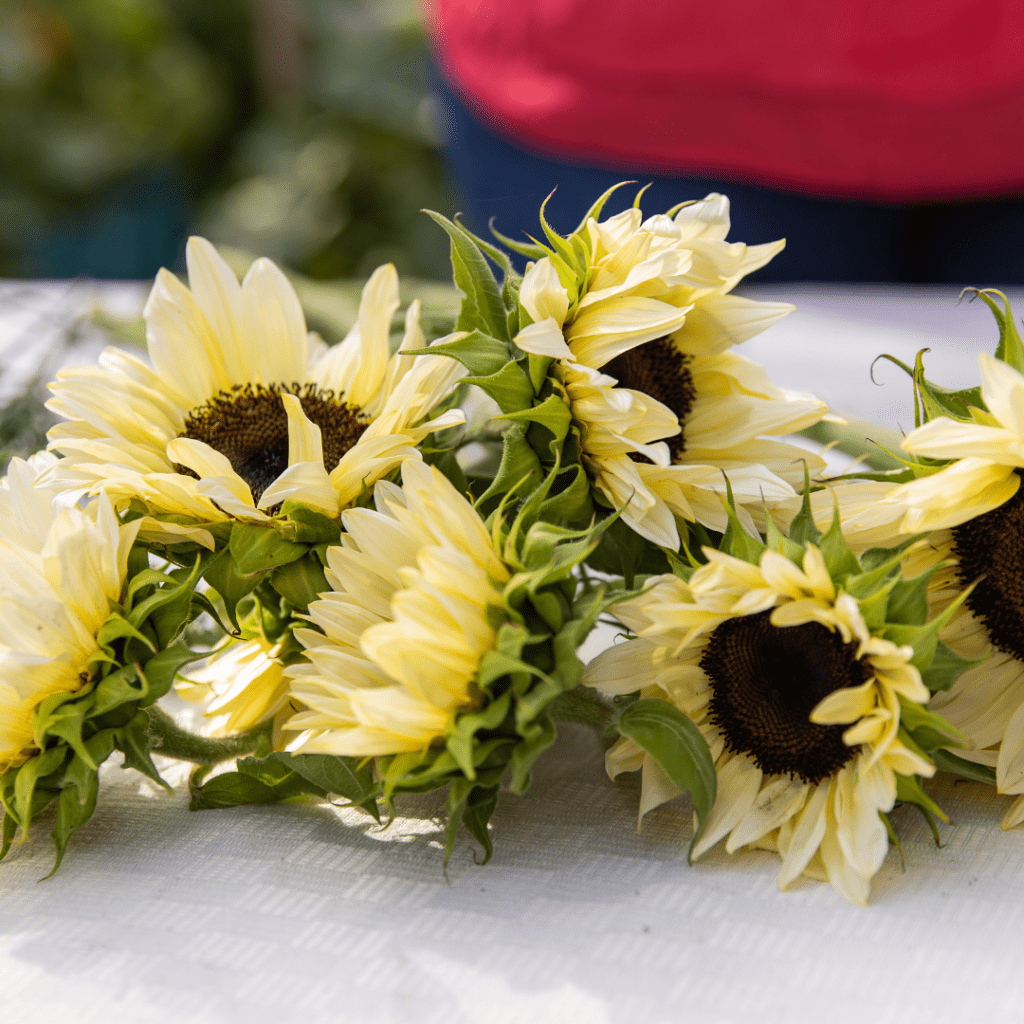
Finally, will you grow perennials? Or will you try and grow tender annuals like Dahlias, Gladiolus, and Ranunculus that need to be taken out of the ground and stored every year?
If this is your very first year and you’re relatively new to gardening, I recommend sticking to mostly annuals from seed, as well as growing a few perennials that will bloom well the first year, like Asiatic Lilies, Daffodils, and Tulips.
If you’re a more experienced gardener, then go wild! Just make sure you try and have something blooming during every part of the growing season to maximize your bouquets.
For more ideas on what cut flowers to grow in your garden, check out these posts:
- 40 BEST CUT FLOWERS TO FEED YOUR FLORAL ARRANGING HABIT ALL SUMMER LONG
- 10 EASIEST ANNUAL CUT FLOWERS TO GROW FROM SEED AND 2 TO AVOID
- SWOON-WORTHY DAHLIA VARIETIES FOR YOUR CUT FLOWER GARDEN

Order Cut Flower Seeds
You know what you want, now where do you get it from?! While many seed companies and big box stores will have a selection of cut flower seeds, they’re not often the ones that you see in all the flower farmer feeds on Instagram or the pins that you’re pinning on Pinterest. To get those flowers, you’ll need to head over to this post on the best places to buy cut flower seed online. If you’re in Canada, I also have this short video on my YouTube channel about my favourite places, all of which I actually buy from.
When you’re buying seeds, you’ll likely fall into two camps: The grower who wants to get your vegetables and flowers all in one place, and the grower who wants very specific cut flower varieties. I also grow a lot of vegetables, so I like to get the bulk of my stuff in one place, then also put out smaller orders from a few other companies with the stuff I couldn’t get from the first.
However, in years when my cut flower garden is going to focus mainly on flowers that can last past the first frost, I order mainly from flower-focused seed companies.

Seed Start the Annual Cut Flowers
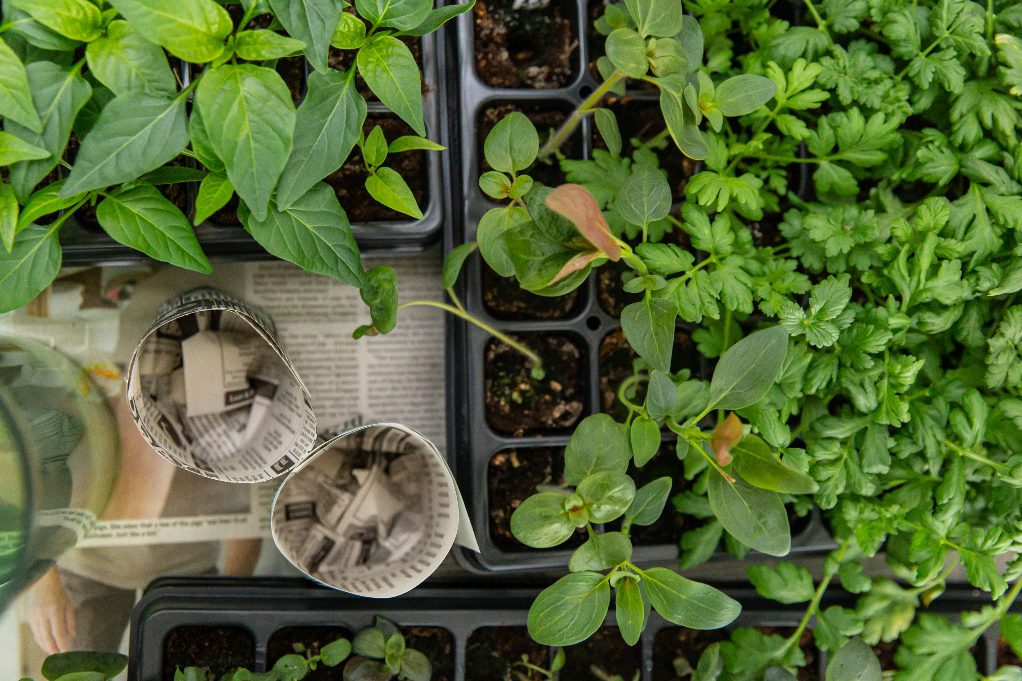
Now it’s time to seed start! While you can have a simple cut flower garden made up of mostly direct seeded flowers (there’s one in Cut Flowers Made Simple), those of us in shorter growing seasons have no choice but to start our seeds ahead of time. The bulk of your flowers will need to be started 4-6 weeks ahead of time, but some need to be started as far ahead as 12 weeks!
To keep track of everything, I find my last frost date, and count all the weeks backward from there. Then I write down which flowers need to be started which week and create my schedule. With this system, it’s easy to know what needs to be started when, and I don’t miss a thing.

As for the actual seed starting itself, if you need more help figuring out how to get started seed starting, head over here to the seed starting section of my blog. You’ll find tons of resources to get you started!
For a typical-sized cut flower garden, I don’t recommend seed starting from your window. Unlike vegetable gardens, 80% of annual cut flowers are best seed started, so you’ll run out of room very quickly. Unfortunately, it’s also very difficult to find cut flowers started from seed at your local garden centre. And even if you do find them, the costs add up very quickly.
Prep the beds and Soil
Around a month before you start planting outdoors, or as soon as the ground has dried up a bit and is workable, you’ll need to get your beds prepped. This might seem like the “boring” part of growing cut flowers, and you might even be tempted to skip it–but don’t!!
Most flowers prefer well drained soil that’s enriched with compost. While there are some exceptions to the rule, you’re not going to get as good of results if you don’t amend your soil with good organic compost. Once you’ve top dressed the soil with compost, you might want to lay down professional weed cloth to keep weeding to a minimum during the summer.

Lay the cloth down, hold it in place with landscaping staples, and burn in holes to the diameter you need, leaving space for paths for you to walk on as well. Though its a lot of work, you’ll thank yourself in June and July when your time is spent watering and picking the first of your flowers, instead of breaking your back picking weeds.
Once the flowers get closer to full size, you should have almost no weeds to pick, as the large flowers will shade out any weeds that might have taken root in the planting holes.

Harden off Cut Flower Seedlings and Start Direct Sowing
A week before you intend to plant outdoors, your seedlings will need to go through the hardening off process. This is where you gradually introduce the seedlings to outdoor light and wind. Do it right and you’ll be rewarded with beautiful flowers. Try to rush the process and you’ll end up with dead, damaged, or stunted plants.
My favourite way to harden off my flowers is to put them under row covers temporarily so they are protected from the bulk of the sun and wind. Then I can easily open the covers bit by bit each day to increase their exposure.
I’ve had much more success with this method than with traditional hardening off measures alone, and am continuing to refine my process. Here’s how to make your own row covers.

Water and Weed
The bulk of the work is done and we’re now at the homestretch until you can start cutting your flowers. If you’re able, installing an irrigation system of some sort with drip hoses is the best way to go. If that’s not feasible, you’ll have to water your flowers every day or couple of days.
If water collection is legal where you live, you can install a rainwater collection system to save money on water costs. Your flowers will love the better quality water too. Here’s how to make a simple collection system with a rain barrel.
While we’ve tried our best to minimize the weeds with landscape fabric, some weeds are still going to find their way through. Aim to walk through your garden every single day, picking weeds as you go. 15 minutes of picking every day is so much easier than a 2 hour marathon on the weekend. And who wants to waste their weekend weeding if they don’t have to!?

Harvest Your Beautiful Flowers
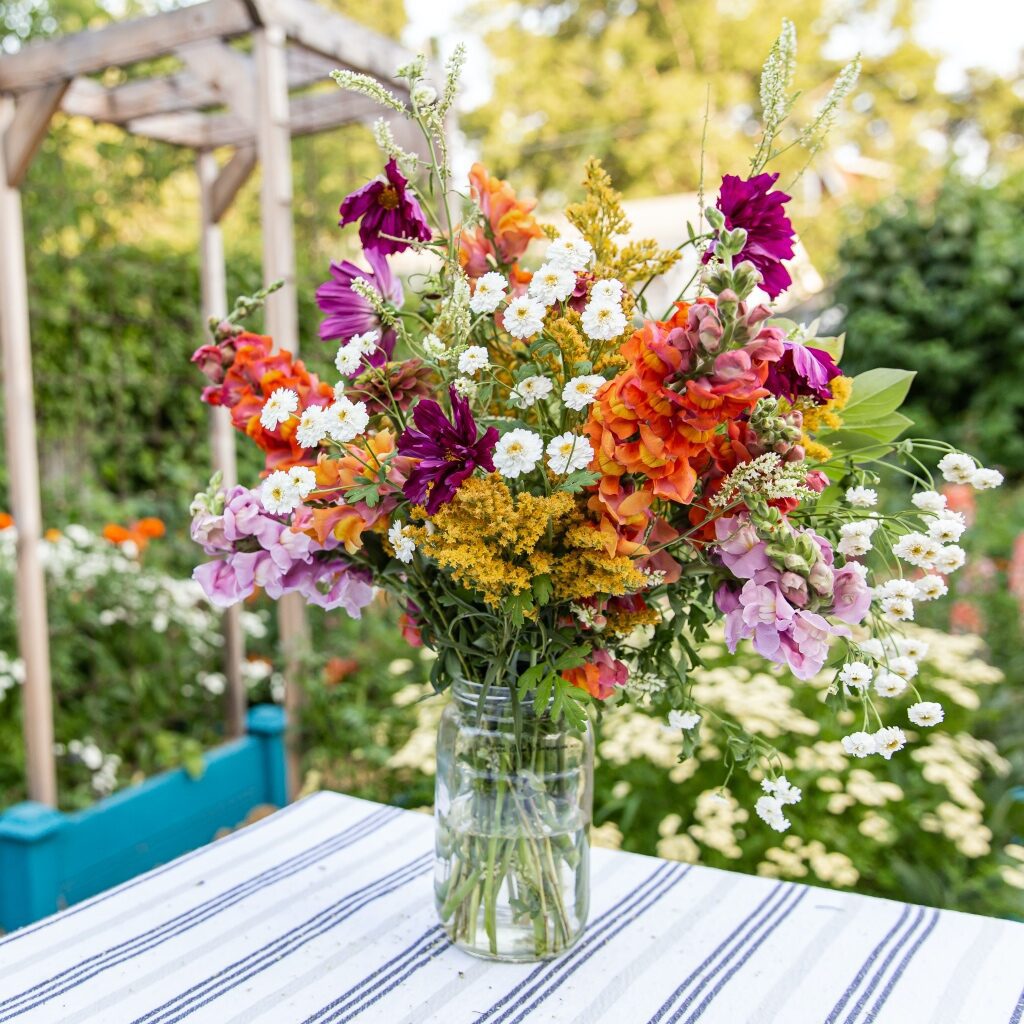
Finally, it’s time to harvest your flowers! You’ll learn which blooms are one-time picks (like Glads and Stocks) and which ones are those coveted cut and come again varieties (like Cosmos and Zinnias). Have fun creating stunning bouquets for your own use, to give away, or even to sell as a little side hustle.
Serious about Starting a Cut Flower Garden, but need more Help?
The Ultimate Cut Flower Bundle has everything you need! Learn exactly which flowers to grow for blooms all season long, get done-for-you plans and a system to create your own so you can grow exactly what works for you. You’ll get Cut Flowers Made Simple, Bouquets Made Beautiful, Frost Proof Flower Garden (to extend your fall growing season) and Savvy Seed Saving, so you can save some serious money on seeds.

It’s exactly what the beginner cut flower gardener needs to be in blooms as long as possible, and to avoid all those new-grower mistakes. It’s like your skip-to-the-front-of-the-line growing guide for every part of the cut flower growing journey. If you bought each one of these ebooks separately, it would be $60. But with the bundle, you get it all for only $39.
You’ll EASILY grow $39 worth of flowers this year. In fact, once your garden get’s producing, you’ll grow at least 3 times that amount of flowers just in one week. Don’t wait another season and lose time to costly mistakes. Get your bundle here.
Nicole
Renee
Mini