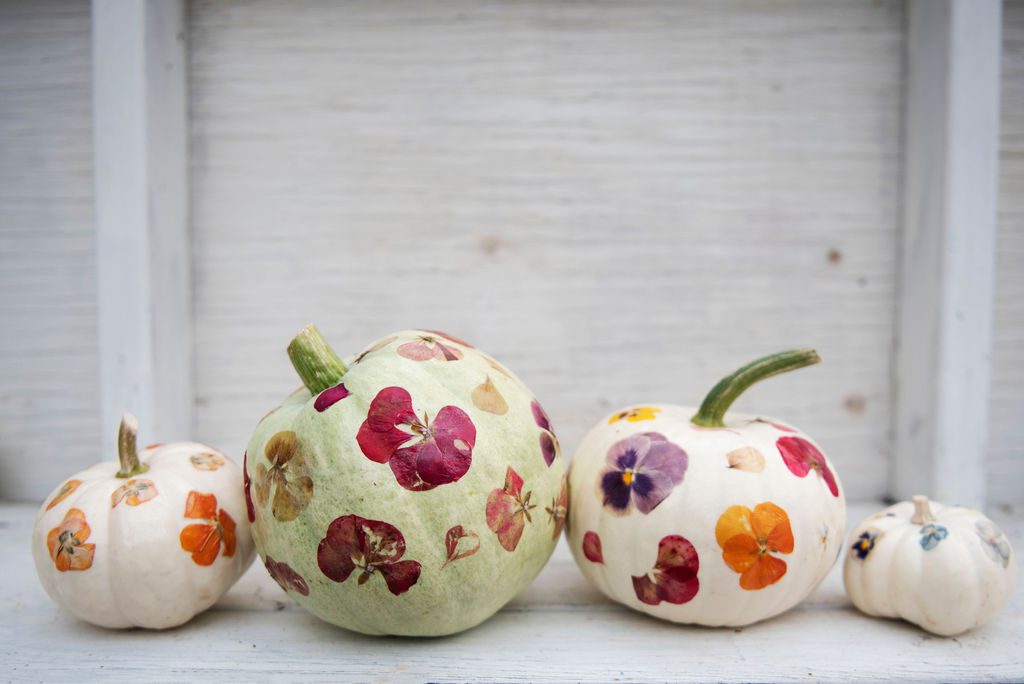
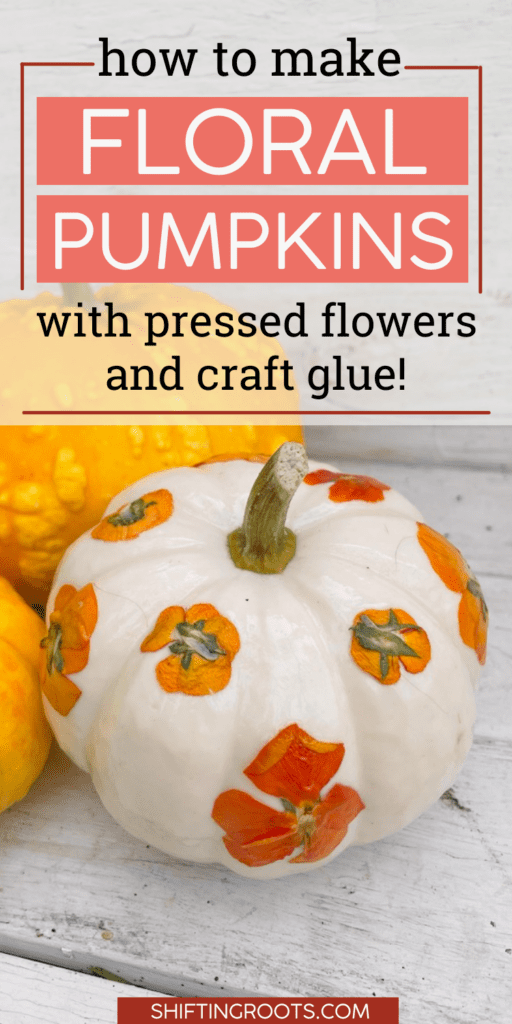
Have you seen photos of decorated pumpkins with dried flowers online and want to try making your own? Pressing flowers on pumpkins could not be any easier and is a great way to decorate a pumpkin without carving! The most time-consuming part is that the flowers must be pressed first–you can’t directly glue or flatten the flowers on the pumpkin immediately after picking–but, everything after that is quick, easy, and a great way to express your creativity!
Keep reading to learn exactly how I created the pressed-flower pumpkins you see throughout this blog post, and start dreaming up your pumpkin designs today!
This post contains affiliate links, which means that I earn a small commission if you purchase something at no extra cost to you. You can read more about it in my privacy policy. Thanks for supporting Shifting Roots!
How to Make DIY Pressed Flower Pumpkins
1. Press the flowers
If you use a heavy book to press your flowers, you will need about a two-week lead time, but making the pumpkin itself is quite quick because the Mod Podge dries pretty fast. You can also try a flower pressing kit if you want something more systematic that will be finished in only a couple of days, though I have not tried this method.
NOTE: Does anyone else miss the old Sears catalogues for pressing flowers? I plan to experiment with future pumpkins using leaves, and I’ll update this post to let you know how it works out!
2. Layer Podge & pressed flowers
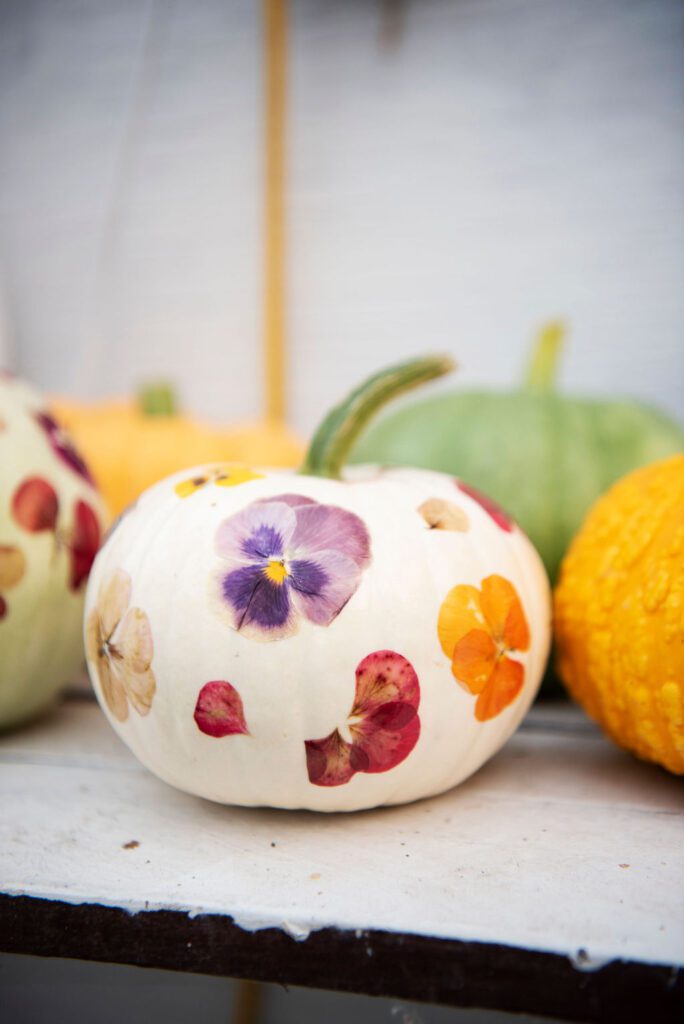
Use one coat of Mod Podge to stick everything on, arrange the flowers on the Mod Podge pumpkin, and let dry. Then, cover with two more coats of Mod Podge to seal the pressed flowers.
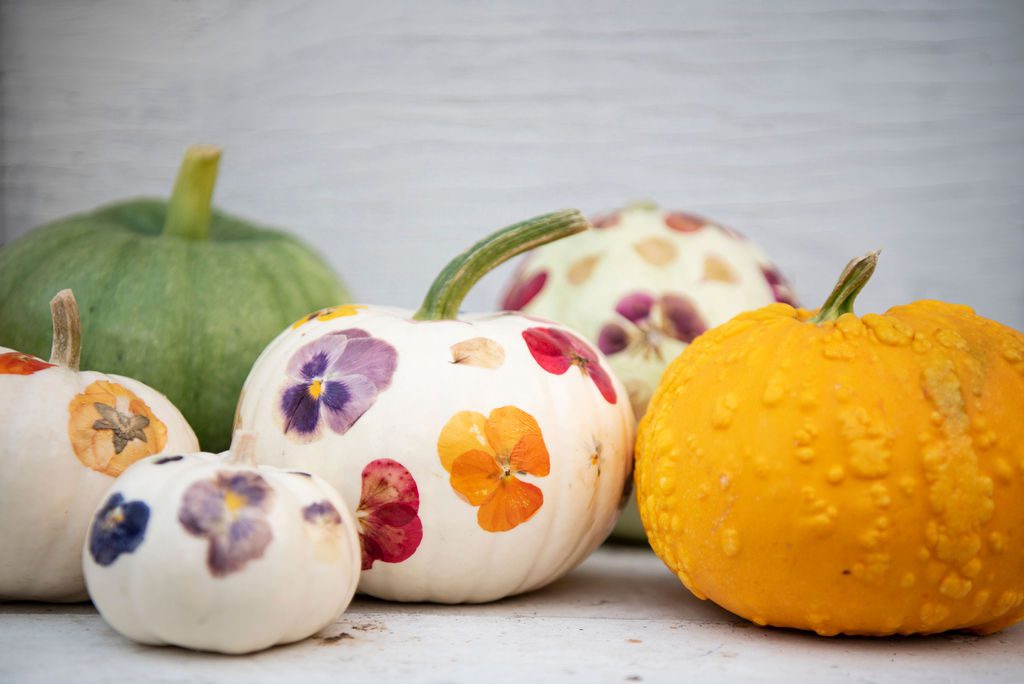
Some possible colour themes include purple and yellow, shades of orange, rainbow, monochromatic pinks, or anything else you can think of! In terms of placement, you can space the flowers out, layer them, or make a pretty picture. It isn’t necessary to test out your spacing ahead of time. Let your creativity shine, and have fun!
NOTE: This works best on white pumpkins. I grew my own, but you could experiment with spray paint for all-over colour or acrylic paint for finer details. Black pumpkins might be another option that I’ll try this season, and I will update this post once I do!
3. Let dry completely
Let dry for at least 2-3 hours. Once dry, keep the pumpkin out of direct sunlight because the flowers will fade.
Related: The Best Pumpkin Varieties (for Any Occasion)
FAQ Questions about Decoupaged Dried-Flower Pumpkins
What kind of flowers can you put on a pumpkin?
I’ve found the best flowers to press to make a floral pumpkin are violas, geraniums, or pansies.
How long do pressed flower pumpkins last?
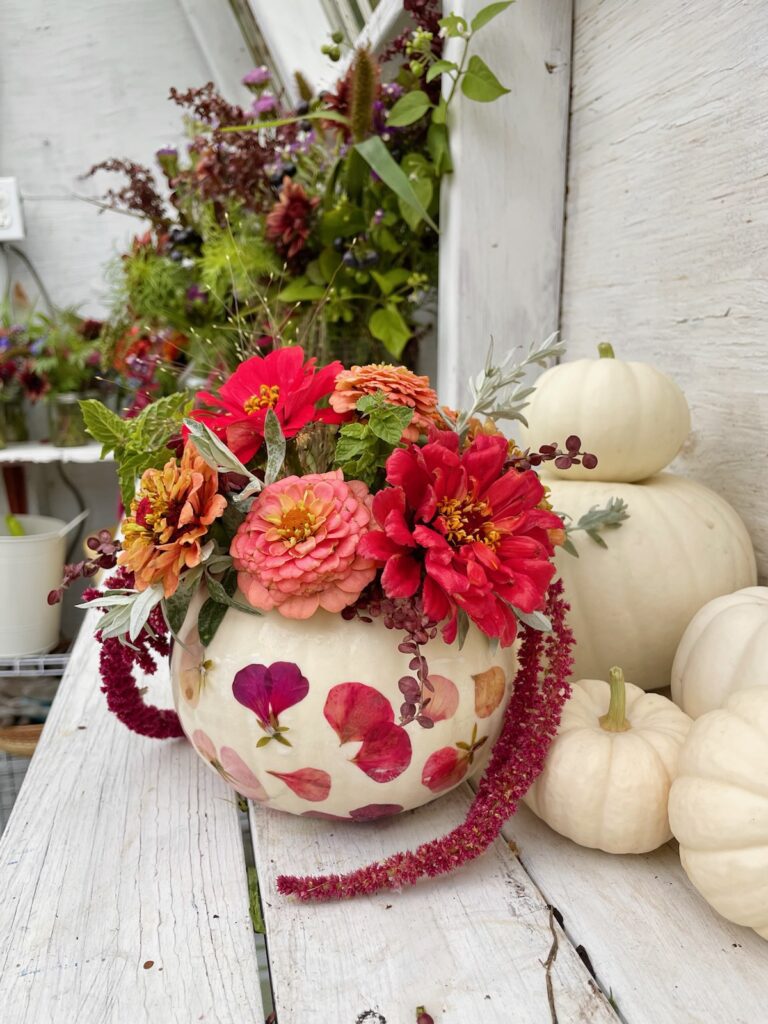
The pumpkin should last until March since you’re not cutting into it. It’s possible to use the decoupaged pumpkin for flower arrangements, and it works just fine, though the pumpkin will have a significantly shorter lifespan!
How do you make a pumpkin centrepiece with flowers?
Making pumpkin centrepieces involves a lot of trial and error. Check out this blog post to learn about making long-lasting pumpkin centrepieces, and check out all the videos I’ve made about pumpkin centrepieces on my YouTube channel here.
Would you rather order pre-made centrepieces? Follow along with my pumpkin centrepiece sales at my sister site, Shifting Blooms!
Related: Do This For the Longest Lasting Pumpkin and Flower Centrepiece
If you liked this blog post, find me on Facebook, TikTok, and Instagram for more cold-climate vegetable gardening tips, delicious recipes, and cut flower goodness! I also make weekly videos over on my YouTube channel. I hope to see you there!
P.S. If you love the content I create for Shifting Roots, consider joining our community on Patreon. Your support means the world to me and I am grateful for each and every one of you!
WANT TO EXTEND YOUR CREATIVITY TO BOUQUET MAKING?
Bouquet Recipes is a collection of my best bouquets of all sizes, throughout all seasons, including a flower-by-flower list with pictures for every single one! I also share my favourite colour palettes that I return to over and over again. Whether you’re a backyard gardener or a farmer florist, this highly visual ebook will help you create better-looking bouquets and give you more confidence that you’re growing the right things.
If you’re planning for an event and ready to take your flower farming to the next level, this ebook is also available in the DIY Wedding Bundle alongside Cut Flowers Made Simple, Bouquets Made Beautiful, and the Flower Farmer Garden Planner.


Join the conversation