
When it comes to seed starting, the container you choose can make or break your experience. You can go the DIY route with household items, use standard nursery trays, or invest in professional-grade plastic that lasts a lifetime. You can even ditch the plastic entirely!
All of these options will have varying price points, amounts of work, and space requirements to fit under your grow lights. After years of experimenting with every method in this leist, I’ve finally found my sweet spot. My current setup is about 75% soil blocks, and I’m slowly replacing my old, flimsy trays with heavy-duty Bootstrap Farmer ones.
Whether you’re a total beginner or looking to upgrade your setup, this blog post will give you the breakdown of what actually works.
This post contains affiliate links, which means that I earn a small commission if you purchase something at no extra cost to you. You can read more about it in my privacy policy. Thanks for supporting Shifting RoMilk jugs for winter sowing: you can cut them in half to create two planting containers.
The Best Seedling Trays for At-Home Seed Starting
Budget-Friendly Upcycled Containers
If you’re looking for the cheapest way to get started, look no further than your recycling bin. Here are my favourite household items to repurpose:
- Milk Jugs: Perfect for winter sowing. Simply cut them in half, fill the bottom with soil and seeds, tape the top half back on (leave the cap off for airflow), and send them out into the snow!
- Milk Cartons: I have fond memories of my grandma starting marigolds in these on her windowsill. Just cut off the top, poke a few drainage holes in the bottom, and you’re ready to go.
- Disposable Cups: Hot to-go coffee cups often have a waxy coating that keeps them from getting soggy. If you use red Solo cups, just be sure to add drainage holes to avoid root rot.
- Clear Food Containers: Rotisserie chicken or bakery containers make excellent mini-greenhouses for regular seed starting or winter sowing (check out the video below!).
What should you plant in these? Honestly, anything! Tomatoes do particularly well in deeper cups. However, I recommend avoiding egg cartons and toilet paper rolls—they rarely break down fast enough and can lead to frustrated, root-bound plants.
Pro tip: Regardless of the container, aim for one seed every 1.5 inches to give your seedlings room to breathe!
Related: DIY Seed Starting From Your Window
DIY Newsprint Pots
Making your own seed-starting pots from newspaper is incredibly cheap, though it is a bit more labour-intensive!
If you don’t get a regular newspaper delivery, head to your local small-town post office and grab a stack of free flyers. In Canada, newspapers and flyers now use soy-based inks and non-toxic pigments, but always double-check if you’re growing vegetables, herbs, or anything edible.
While it takes a little longer to prep, the benefit of newsprint pots is that they can be planted straight into the ground, where they decompose perfectly.
They’re my go-to choice for:
- Poppies: They don’t like their roots being disturbed. Using a newsprint pot means zero transplant shock!
- Pumpkins and Luffa Sponges: Because they need a bit more space to start.
Want to see exactly how I fold mine without using any fancy tools? Check out my video tutorial below!
Related: DIY Compostable Newsprint Seed Starting Pots
Nursery Trays
You can reuse or purchase the cheaper plastic trays typically found at nurseries and greenhouses, but the downside is that they only last 2-3 years, tops, and then they start to break down. If you’re buying them new, make sure they are all a consistent size so they fit easily under your grow lights!
Pro tip: No matter what quality of plastic trays you go with, you have options! You can use a flat seedling tray on its own or topped with plug inserts. West Coast Seeds offers cheaper plastic trays in 12-, 18-, 24-, or 72-cell sizes, depending on your preferences and needs!

Professional Trays
In the past, I’ve used 128-cell, 72-cell, and 50-cell trays. Now, I only use the 50-cell trays.
When starting ranunculus and anemones, I’ve found the 128-cell trays make it too easy for them to get waterlogged. When I was using all of the sizes more regularly, they were wonderfully modular, fit easily under the grow lights, and lasted a solid 5+ years!
Pro tip: When using plug inserts, you need a flat tray underneath! Bottom watering is an advantage of this method, whether you’re using professional or nursery-quality trays.

P.S. I found these silicone trays while browsing online and think they’re an even better option than the trays in my photos, as they likely will be less prone to cracking. I will buy them as soon as I’m able to try them out!
Bootstrap Farmer Trays
If you have the budget for these, or can even buy one or two a season, this is the best bang for your buck! Bootstrap Farmer trays will easily last over 10 years, and as a bonus, they come in a variety of fun colours!
If you want to order your own Bootstrap Farmers trays, use code SHIFTINGROOTS to get 10% off at www.gardengirl.ca!

If Bootstrap Farmer trays don’t fit your budget but you still want higher-quality plastic, the trays pictured below are from Epic Gardening and are a great alternative! I bought mine from The Gras Shop in Saskatoon, but you can also get them from Epic Gardening on their website.
These trays especially make sense for a smaller setup. If you’re gardening in a backyard in the city, you don’t need the big trays that Bootstrap Farmer offers!

The Low-Plastic Alternative: Soil Blocks
Lastly, you can skip most plastic use altogether and make soil blocks!
Soil blockers require an upfront investment and a bit of a learning curve, but once you try them, you’ll see the difference in your plants immediately. One year, I started half my seeds in soil blocks and the other half in traditional trays; the success rate of the soil-blocked plants was noticeably higher. Once you see the space savings alone, you’ll want to switch!
Note: If you garden in Canada like me, you can’t get Swift Blockers yet, but if you’re in the United States, I highly recommend them!
If you’re planning to make the switch, here are my guidelines:
- Replace 128-cell trays with the Micro 20 Soil Blocker
- Replace 72-cell trays with the Mini 5 Soil Blocker
- Replace 50-cell trays with the Mini 4 Soil Blocker
I like to put my micro soil blocks in these flat, microgreens trays and my mini soil blocks in flat Bootstrap Farmer trays.
See how I make my soil blocks in the video below:
Related: The Soil Block Recipe That Actually Holds Together
If you liked this blog post, find me on Facebook, TikTok, and Instagram for more cold-climate vegetable gardening tips, delicious recipes, and cut flower goodness! I also make weekly videos over on my YouTube channel. I hope to see you there!
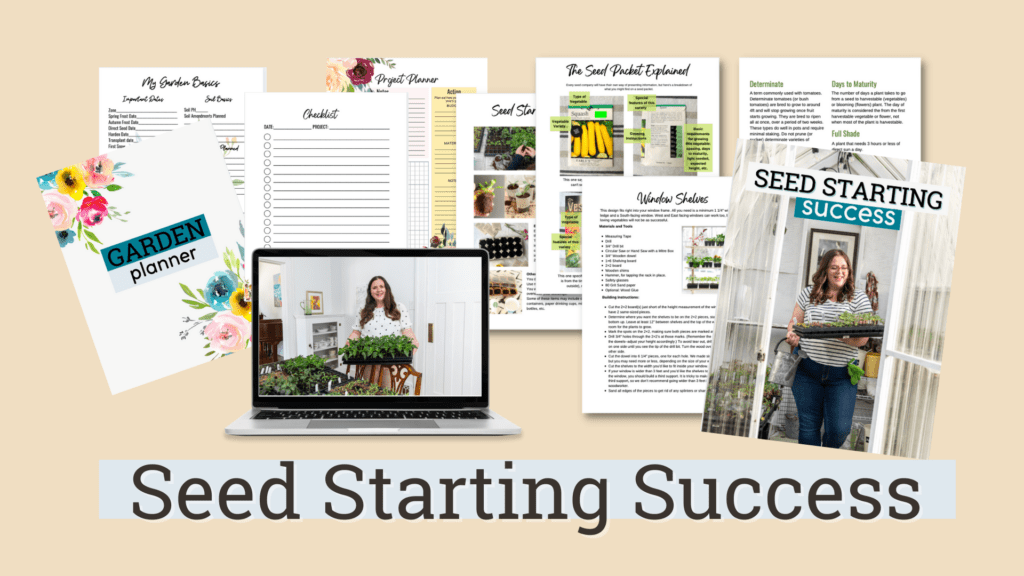
HAVE YOU TRIED SEED STARTING, ONLY TO BE LEFT WITH STRETCHED-OUT SEEDLINGS AND DEAD PLANTS?
You’re not a bad gardener–you just need a little know-how. For the price of a few seed packets, you can stop wasting time and money and start growing seedlings that actually live, and you get to harvest. Don’t miss out on another growing season. Get your copy of Seed Starting Success now (videos included)!

Join the conversation