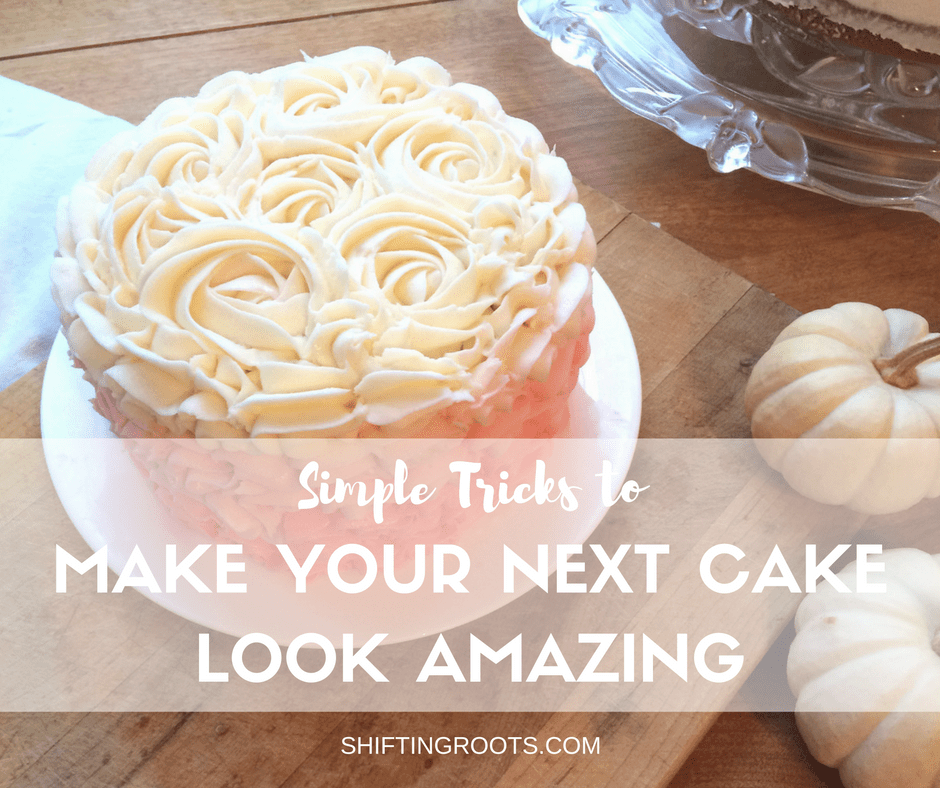
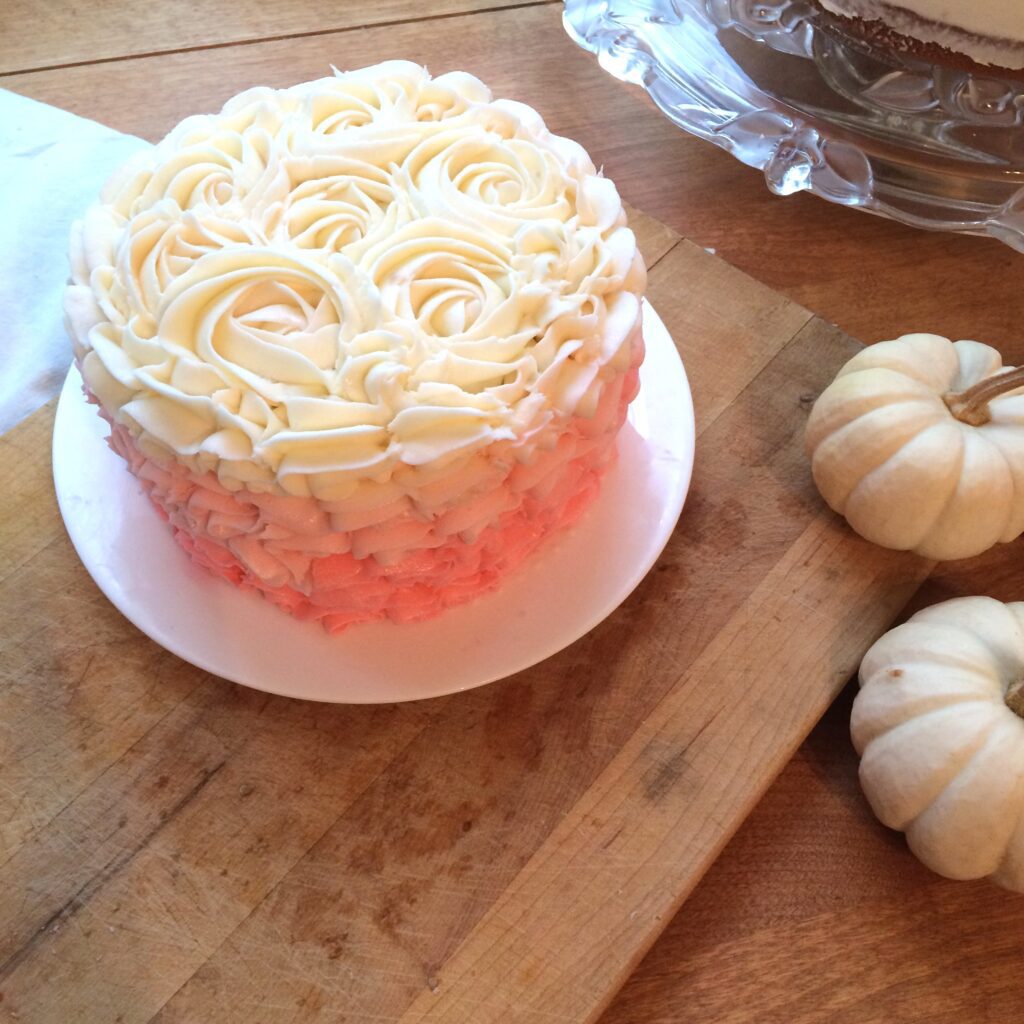
Do you want to have the glory that comes from being the person who brought “the nice cake” to the party? Of course you do!! One of my readers was asking how I made that rose cake last weekend, so I thought I would do a post about the easy tricks I use to make cake look amazing. It’s really simple, and the only fancy thing you need to go out and buy is a cupcake-sized drop flower or closed star icing tip, and a piping bag. Don’t try and put it in a ziplock bag to be frugal. You will hate your life.
No cake pans? No problem.
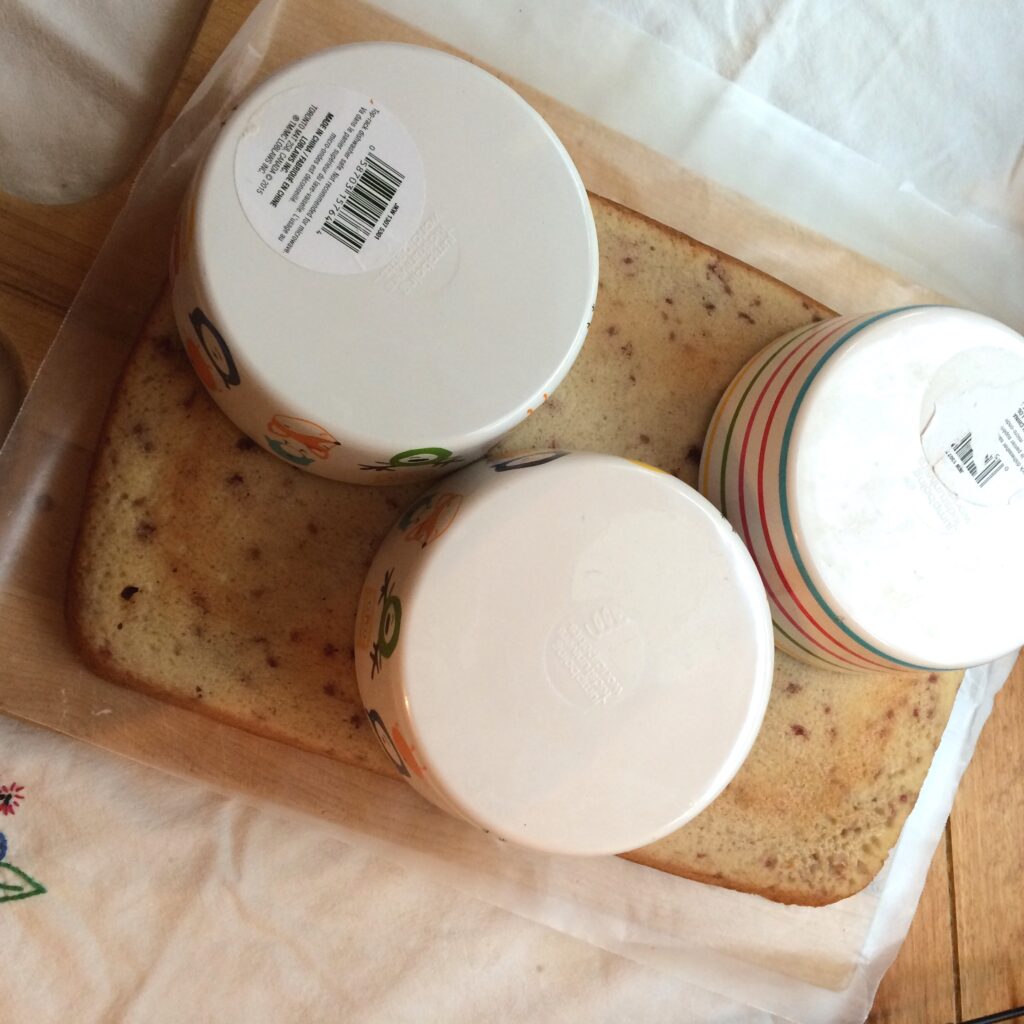
Make a sheet cake in a 9×13 pan, cut around same sized bowls, and call it a day. Don’t fret if your cuts aren’t 100% perfect. Icing can cover up a multitude of sins.
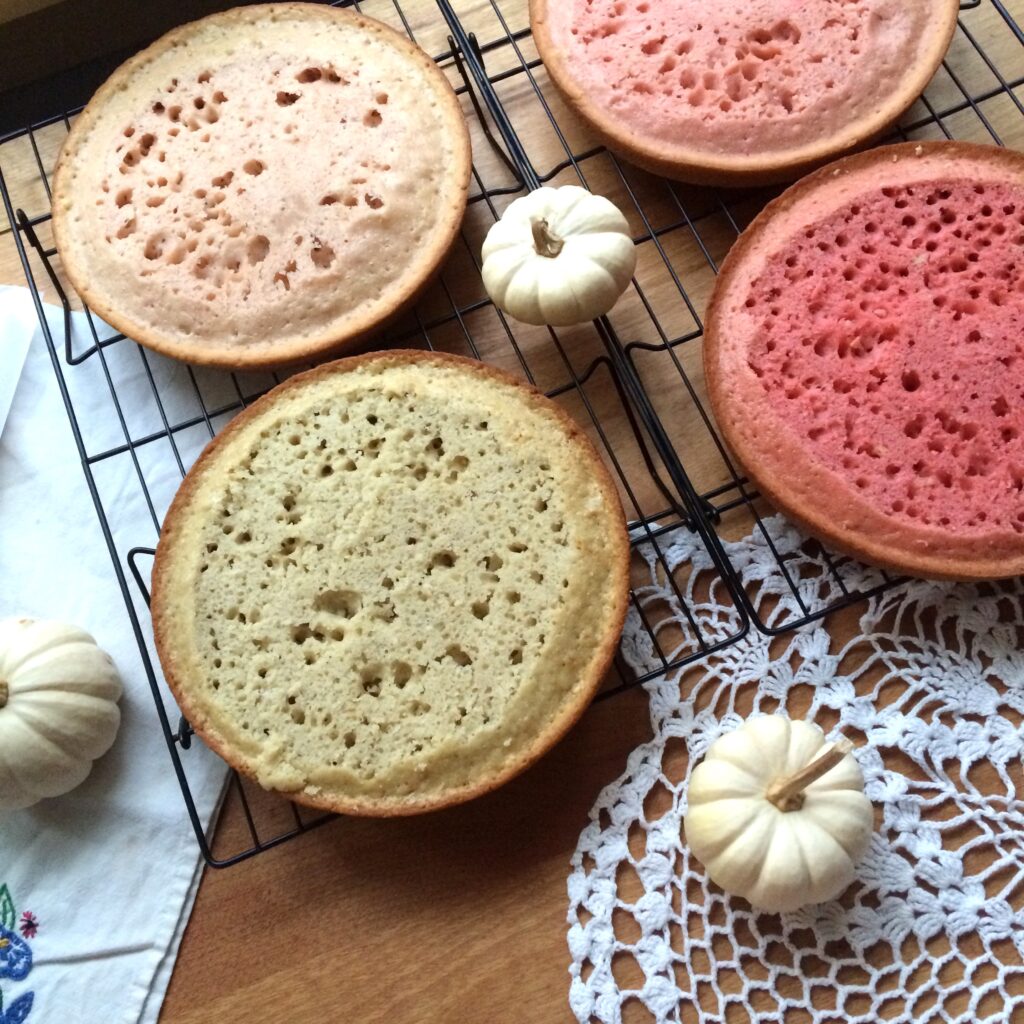
Want an ombre cake? Just use food colouring.
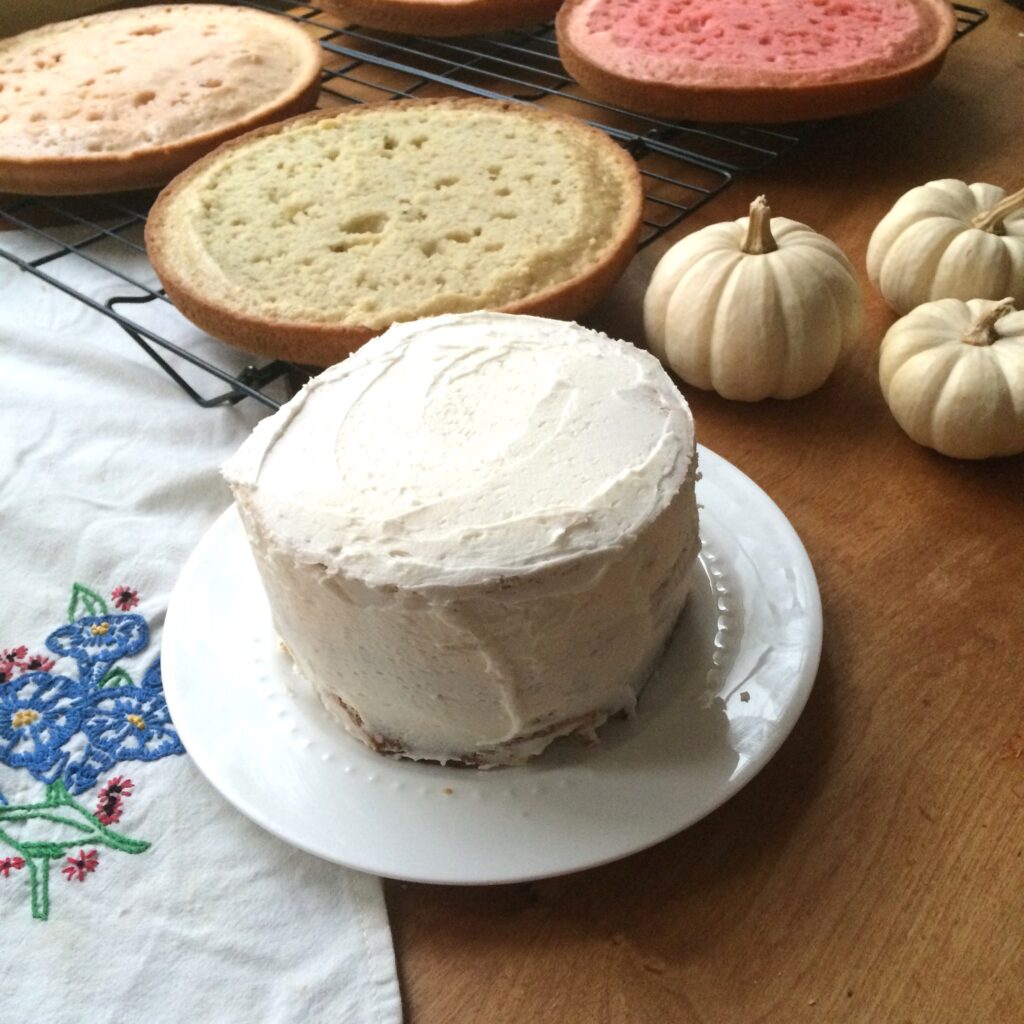
For the cakes below, I used 3 drops, 6 drops, 9 drops, and left one white. You could go darker, just use an even ratio of drops.
As you can see, my cakes did not come up perfectly flat. Seriously, do they ever? Level the tops by cutting with a bread knife, and hide any mistakes with icing.
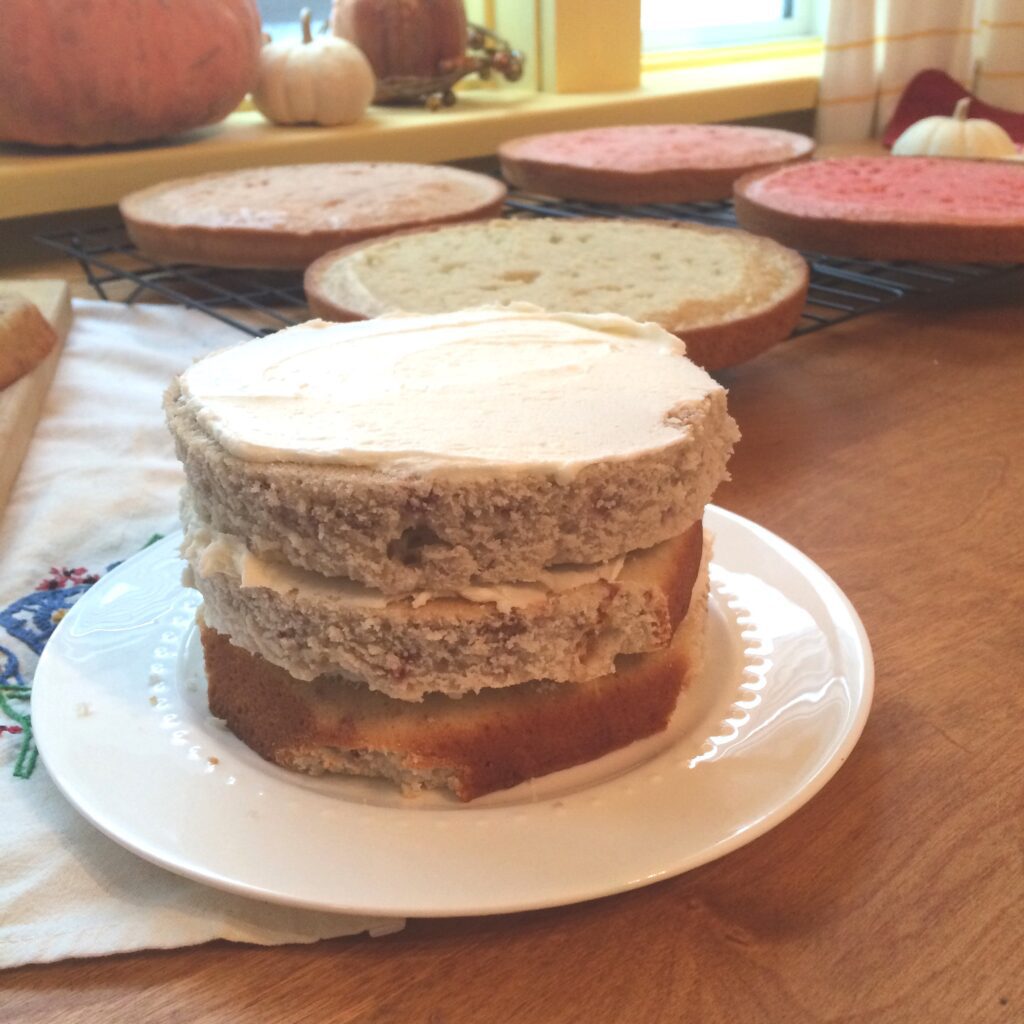
Note the uneven edges. After the crumb coat no one will be the wiser.
Make a crumb coat
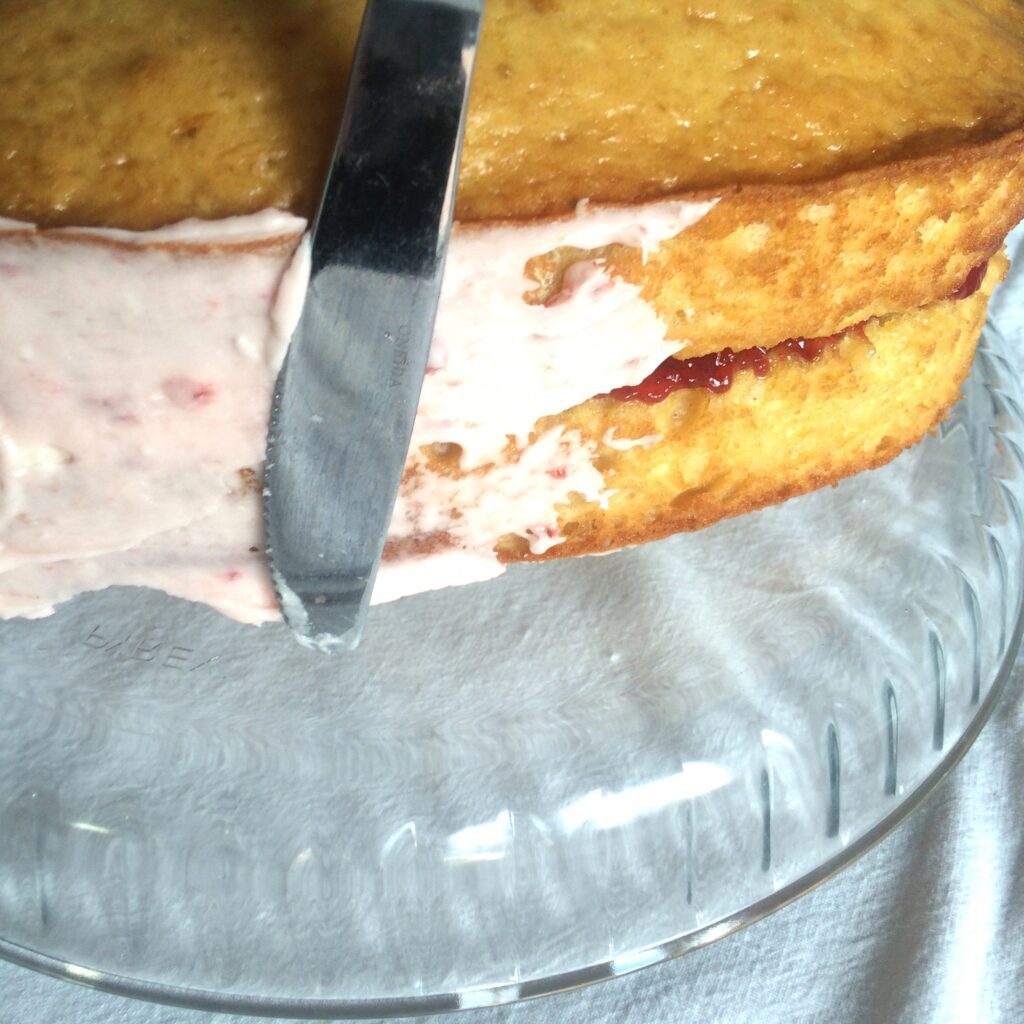
A crumb coat is just a thin layer of icing that traps in all of the cake crumbs. Do not skip this step. You don’t need any fancy tools, just a simple table knife will do.
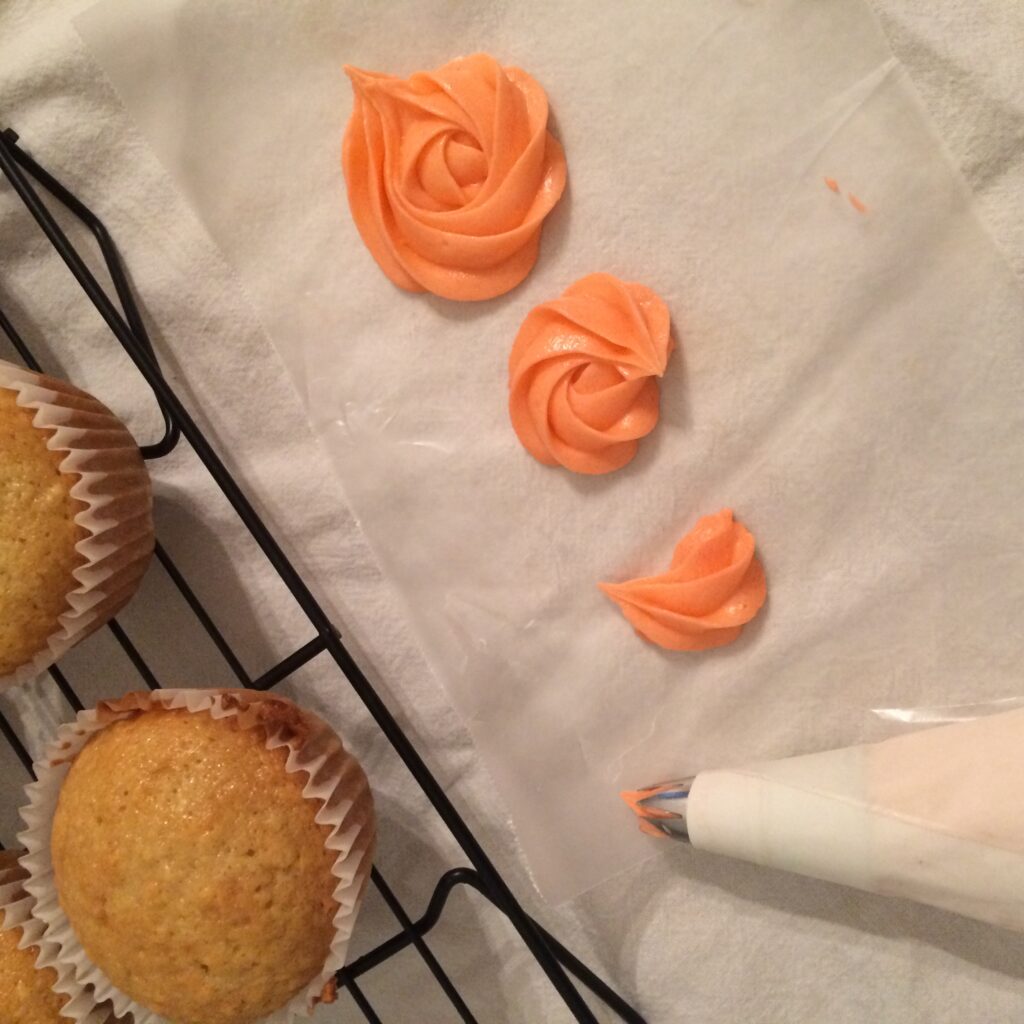
Now it’s time for the fun part, the icing! Grab that cupcake-sized icing tip and I’ll show you how I make roses step by step:
Here’s another big hint: Circle from the inside out=roses, Circle from the outside in=cupcake.
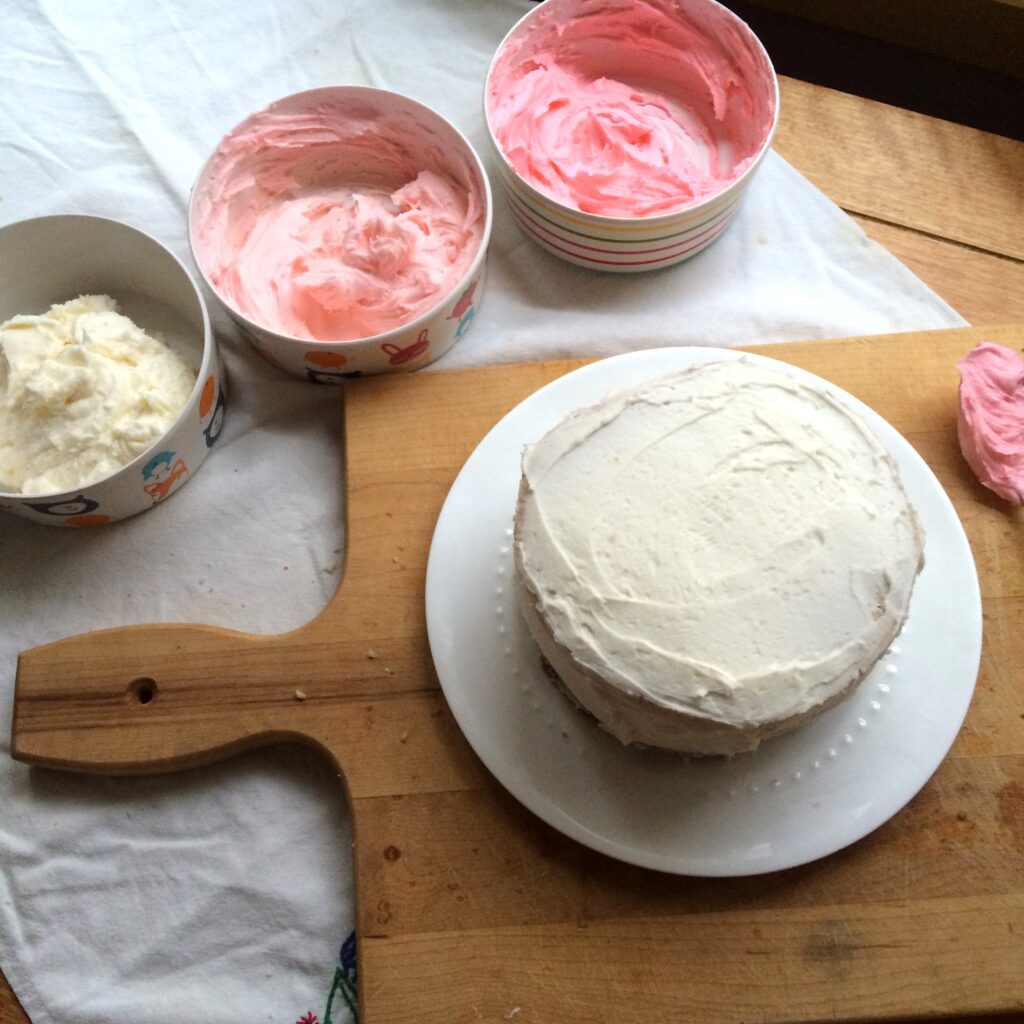
For an ombre cake, you’ll need at least 2 shades of your colour, plus white. Use the same ratio you used for the cake batter.
It’s easier to keep things even if you start from the bottom up. This particular cake was quite small, so I made ruffles on the sides and did roses on the top only.
There you have it! You may not be the life of the party, but you can bring the cake that gets the “ooo’s and aah’s.”
Is there anything else you’d like to see me write about? (Except renovations, I’m still not quite healthy enough to tackle a day of painting yet.) Let me know!


Join the conversation