
Many people grow a vegetable garden in part to save money, but a lot of the savings can be lost in a dry year if you constantly have to water with water you pay for. You can easily take matters back into your own hands by building this simple rainwater collection system. We find that one full barrel of rain is enough to water our backyard city garden for approximately a week.
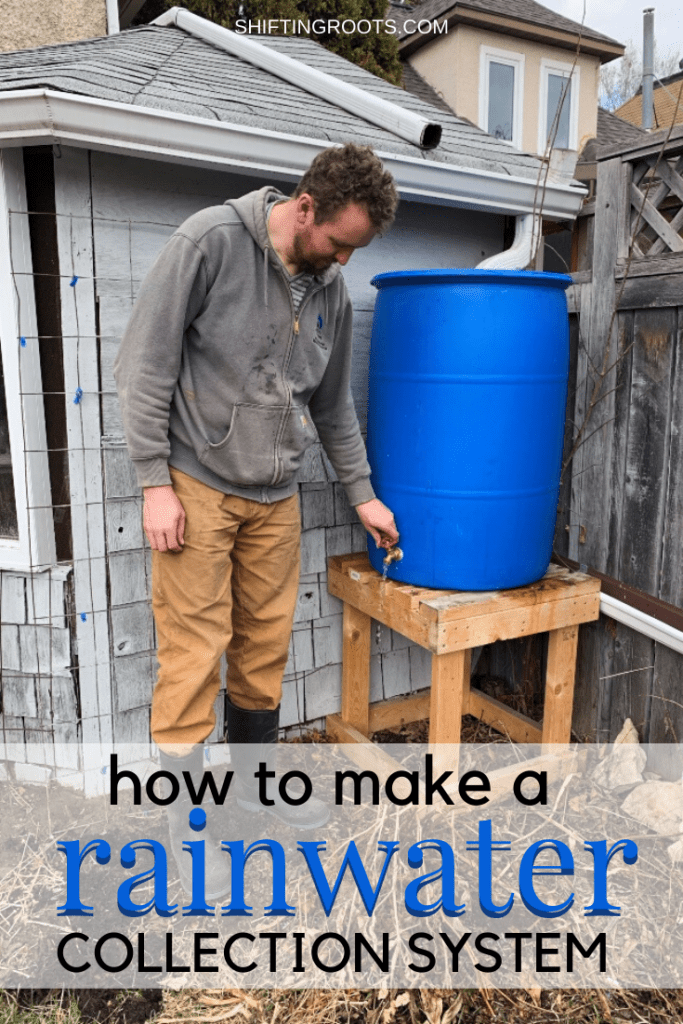
Want to make your own? Here’s how and what you need to know.
What Can You Do With Collected Rainwater?
Unfortunately, you can not drink collected rainwater without a filtration system, especially if you have asphalt shingles on your roof. However, the water you collect is perfect for watering your garden. You can also use it indoors for your houseplants. At the end of the season, I like to save whatever rainwater is left in empty milk jugs, and water my houseplants with it throughout the winter.
Where do you Buy the Rainwater Barrels?
If you’re reading this post, it’s probably safe to assume you’re not going to purchase a rainwater barrel for $80-$150 at a big bog store! We’ve managed to get all of our barrels through places like Kijiji, Craig’s List, or Facebook Marketplace, and we’ve paid as low as $15 and as much as $30.
You’ll need to purchase the other parts at a hardware store.
Tips for Building a Rainwater Collection System
You might be surprised by how quickly your rain barrel will fill up during a rain. A nice medium rain–not a sprinkling or a summer storm–filled up our rain barrel within 3 or 4 hours. This is water from half of our roof on a 1050 sqft. house.
That’s why it’s essential the your barrel have an overflow spout–don’t skip this step!!
We’ve installed bug netting on the top of our system to keep mosquitos from breeding in the water, but there are other methods you can use to keep bugs out and water in.
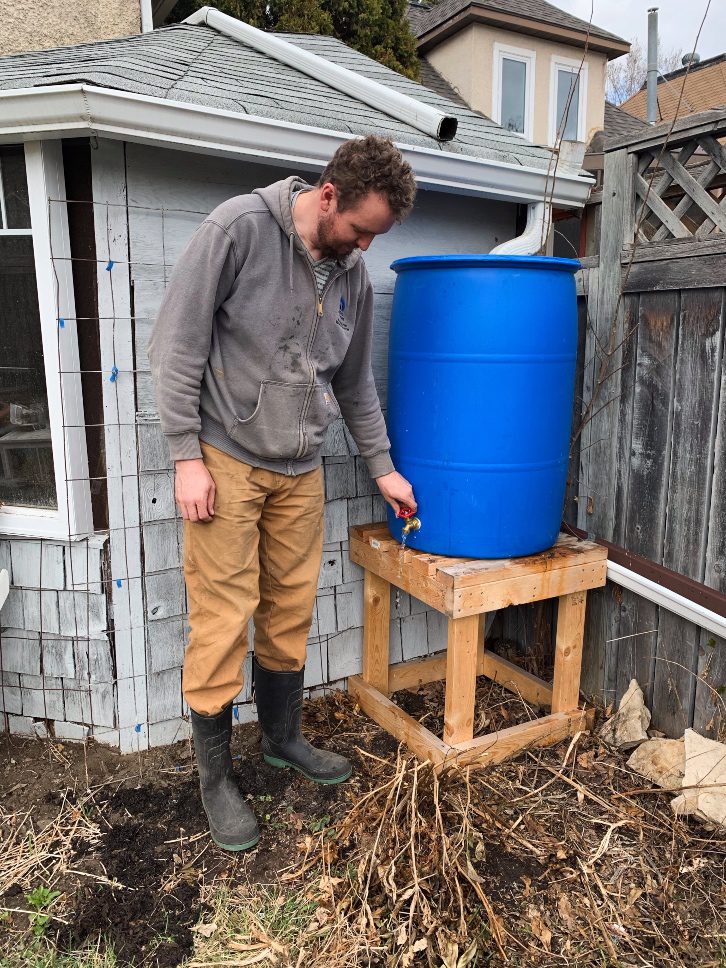
Finally, it’s best to raise your rainwater harvesting system on a platform of some sort, so you can easily fill up your watering can.
Materials
- 1 Rain Barrel
- Tank Faucet Valve
- 90 Degree Overflow Valve
- Silicon or Teflon Tape
- Old hose
- Bug netting or screen
- Twine or something to secure the bug netting or screen
- Downspout material
Tools
- Drill
- Drill bits
- Reciprocating Saw
- Crescent Wrench
Directions
- Cut the top off of the rain barrel with a reciprocating saw or jigsaw.
- Near the bottom of the rain barrel, drill out a hole that is the same diameter as the inside of the threads on the valve.
- Put some silicon onto the valve threads and the edge of the hole. Screw in the valve until it sits flush against the rain barrel. If the valve comes with a walking nut, be sure to install that on the inside with silicon.
- Drill out a hole near the top, and install the overflow valve with the same process. Make sure you check where you want the overflow valve to be before drilling.
- Wash and scrub out the inside of the rain barrel as best you can to remove any plastic debris or residue from its previous use.
- Put bug netting over the top, and secure with twine tied around the top.
- Put rain barrel on a stand–the higher the better. Make sure its positioned where you can easily direct the downspout from your gutter into it.
- Cut out a slit in the bug netting for the water to go into, easily, and redirect your downspout to that spot.
That’s it! You can repeat the process for multiple barrels, putting the overflow valve into the next barrel.

Erica