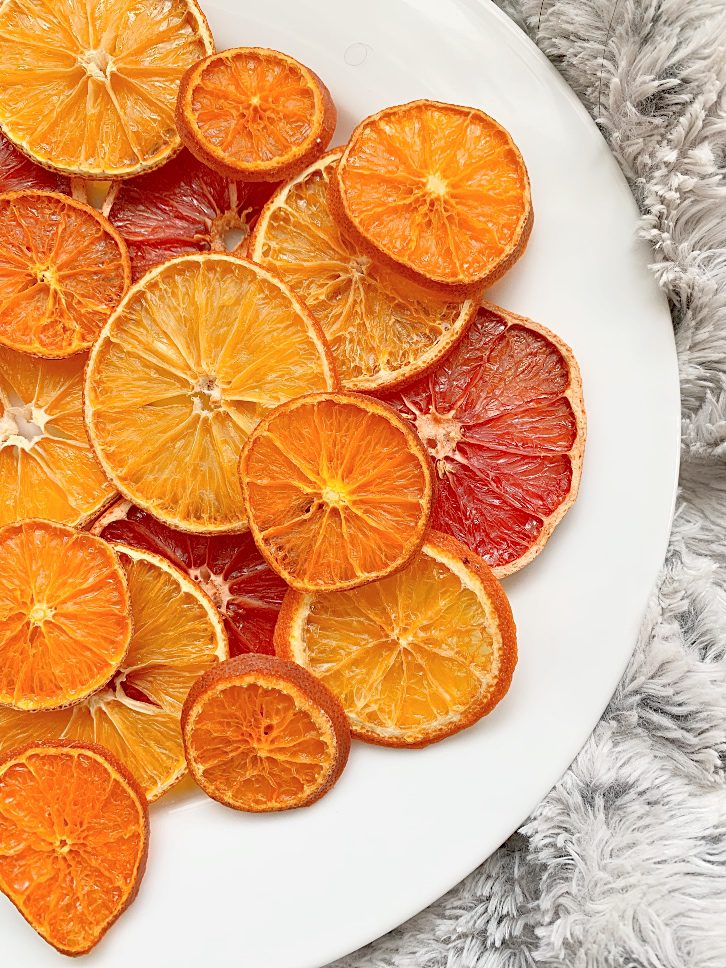
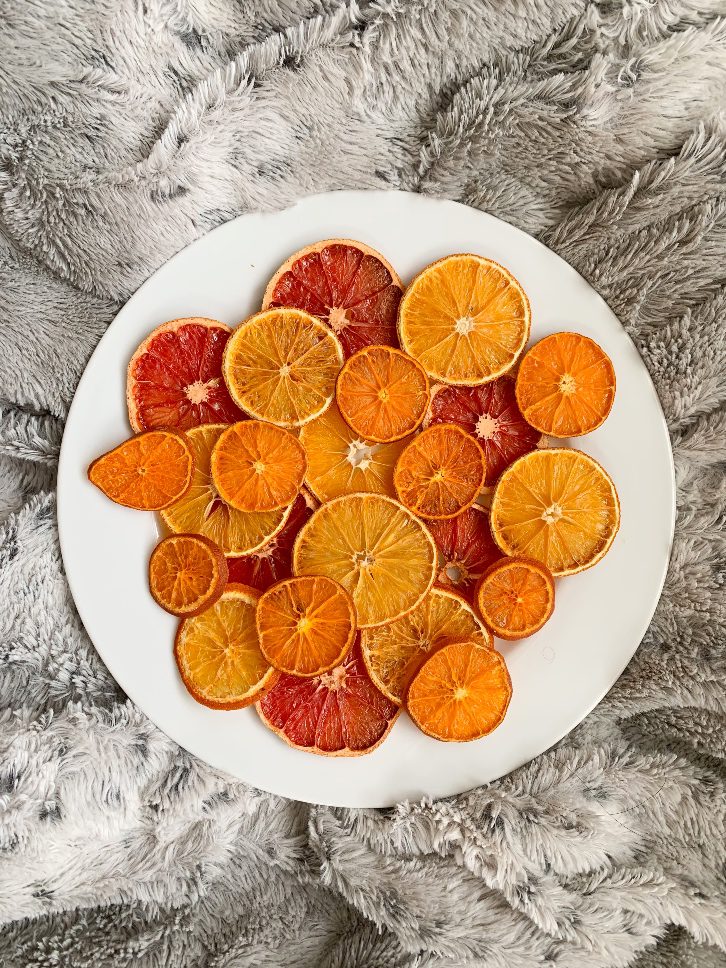
For the past couple of years, I’ve been really into natural, rustic Christmas decor–think lots of boughs of evergreen and cedar, pinecones, berries, and dried citrus fruits. The other elements are easy, but drying oranges and grapefruit in the oven takes a bit of finesse.
Sure, it might seem simple, but when you dry orange slices without a dehydrator, you have to get the timing just so, otherwise they burn. For those of you who prefer videos, you can watch the process below. If you prefer to read, read on!
STEPS FOR DRYING ORANGES & GRAPEFRUIT IN THE OVEN
1. Pick Tired-Looking Oranges
The whole process is actually a lot easier if you use older oranges and grapefruit, to begin with. The fruit is drier inside, which makes the time in the oven faster. The outside skin is firmer, which makes it easier to cut. Sure, there’s nothing wrong with drying fresh oranges. The time in the oven will be longer.
2. Slice the Oranges as Thinly as Possible
Slice your oranges or grapefruit as thinly as your knife skills allow–around 1/4 inch or 5 millimetres. Keep them as even as possible. Use a mandolin if you own one for a much easier time slicing and less waste.
3. Arrange the Oranges on a Silicone Sheet or Parchment Paper
Arrange the oranges as tightly as possible on a silicone mat (set on a baking sheet, of course). Don’t worry if one or two oranges have to overlap ever so slightly to make everything fit, as the oranges with shrink with dehydrating in the oven.

4. Put in the Oven to Dehydrate
Here’s where things get dicey and the internet has many opinions. I put my oranges in the oven at 225 Fahrenheit for 2-3 hours. Wow, Kristen, that’s a ridiculous range of time and not very helpful! I hear you.
The thicker and larger the slices, the longer the oven time. So, for grapefruits and larger varieties of oranges, it will be 2 hours and 45 minutes to 3 hours. Smaller mandarin oranges will be more like 1 hour and 45 minutes to 2 hours.
The process also goes slower if you try to do two batches on the third and fourth racks. This might not be the case if you have a convection oven, but I have the cheapest and most basic oven you can buy, so I don’t know.
Finally, some ovens tend to run hot and others run cool, so you’ll have to adjust your expectations based on how your oven tends to bake. If your oven tends to finish baking something in the least amount of time suggested on a recipe, you’ll want to check your oranges & grapefruits earlier.

5. Flip the Oranges around an Hour in
Easy enough.
6. Check the Oranges for Browning
The line between an underdone dried orange, a perfectly done dried orange, and a burnt crisp is surprisingly fine. I find that in my oven, in order to get a full tray of perfectly dried oranges that are crisp with no remaining juicy/leathery bits, I have to sacrifice at least four slices to the burn pile.
After making a couple of batches, I learned the sweet spot was to watch for when the oranges started to get a very slight brown on them. At that point, most of them will be hard enough and completely dry, and you won’t lose any to burning. Even if some oranges are still tacky in spots–TAKE THEM OUT! Or watch them like a hawk. If you insist on keeping them in the oven, commit to checking on them every 10 minutes or risk having a lot of them burn.
NOTE: Since I need to take pictures for this blog and burnt oranges are not appealing, I tended to take a tray out even if not every single orange was crisp, but do as I say, not as I do!

Can I Use Dried Oranges that Aren’t Perfectly Dried?
I live in a pretty dry climate, so I’m willing to take the risk of not having perfectly done oranges and am hoping that the tacky bits will air dry. However, if you live in a more humid climate, you might end up with mouldy oranges.
Don’t store any oranges that aren’t completely dry for next year. They will mould and should go into the compost instead. Any oranges that are completely dry should last for years.
What Do you Use Dried Oranges For?
I use dried oranges for Christmas ornaments, garlands, and wreaths. They add a beautiful hit of colour to Christmas decor and look really striking paired with blue spruce.

If you liked this blog post, follow me on Facebook, TikTok, and Instagram for more cold-climate gardening tips, delicious recipes, and cut flower goodness! I also make weekly videos over on my YouTube channel. I hope to see you there!
P.S. If you love the content I create for Shifting Roots, consider joining our community on Patreon. Your support means the world to me and I am grateful for each and every one of you!
WANT TO MAKE BEAUTIFUL, BOUTIQUE-WORTHY NATURAL CHRISTMAS DECOR AT A FRACTION OF THE COST?
The Natural Christmas Crafts Masterclass is your frugal solution to making high-end-looking wreaths, garlands, and more. No talent or crazy amounts of money are required. Learn how to make bespoke Christmas decor using natural greens, berries and more, for a fraction of the retail cost!


Sylvia H
Kristen Raney