
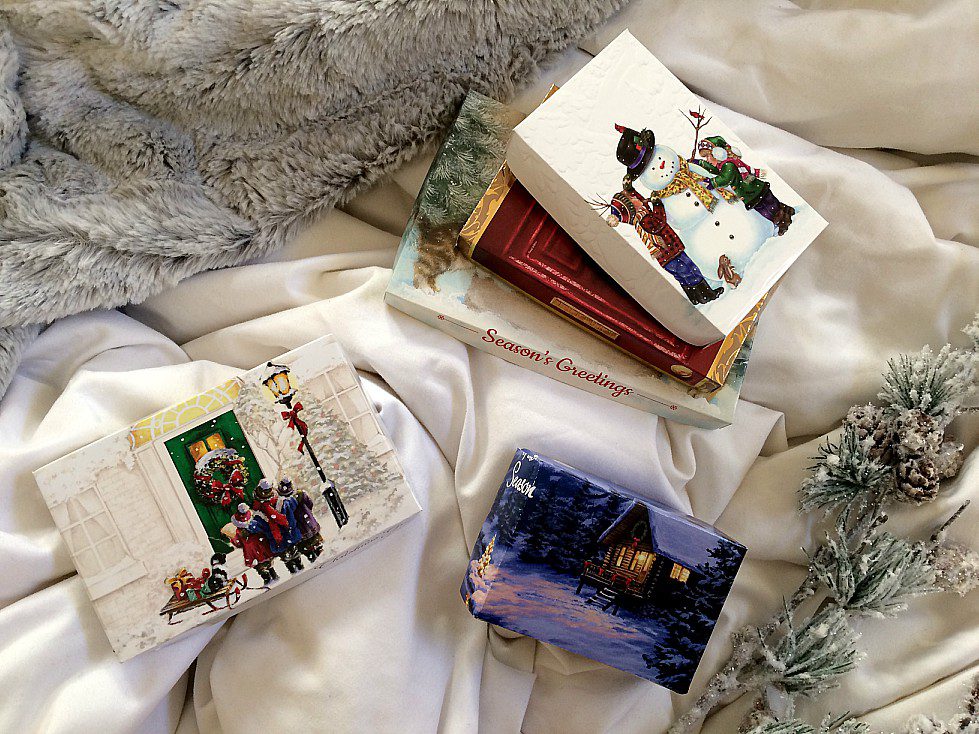
The other day, I was finishing up my Christmas shopping with my Mom. Some sparkly gift card boxes caught my eye, and I put them in my cart. They would be perfect for Dominic’s teacher appreciation gifts.
“What are you buying those for?” my Mom asked. “Don’t you remember when we used to make those boxes out of old cards? Put those back. We’ll make some boxes, and it will make a great blog post.”
Looks like your Mom is always right.
What you need to make DIY Christmas Boxes
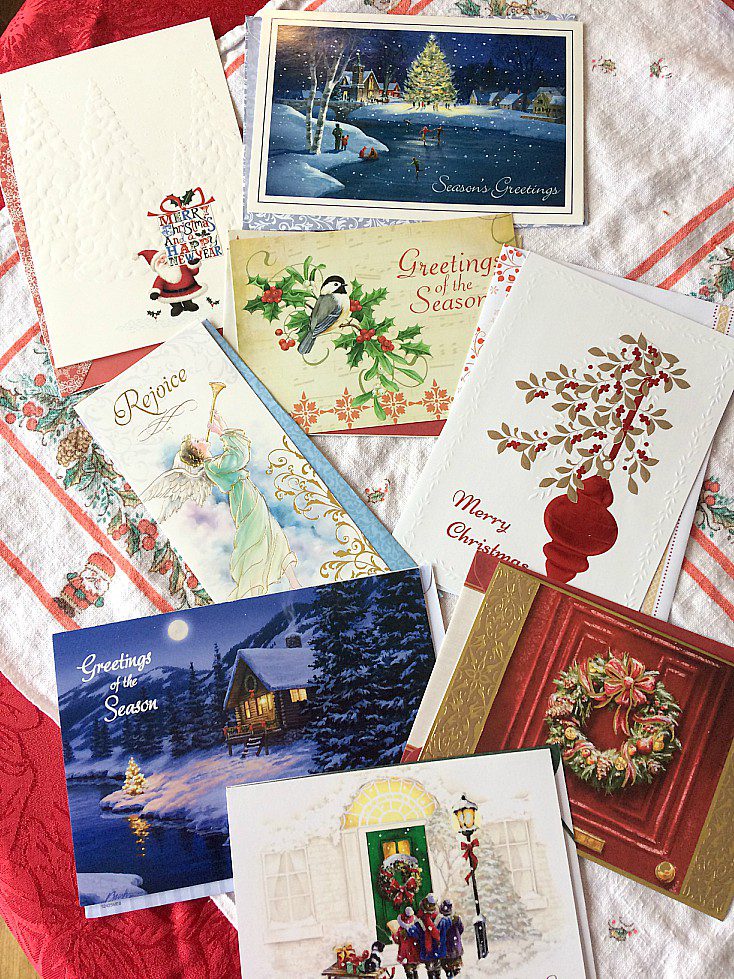
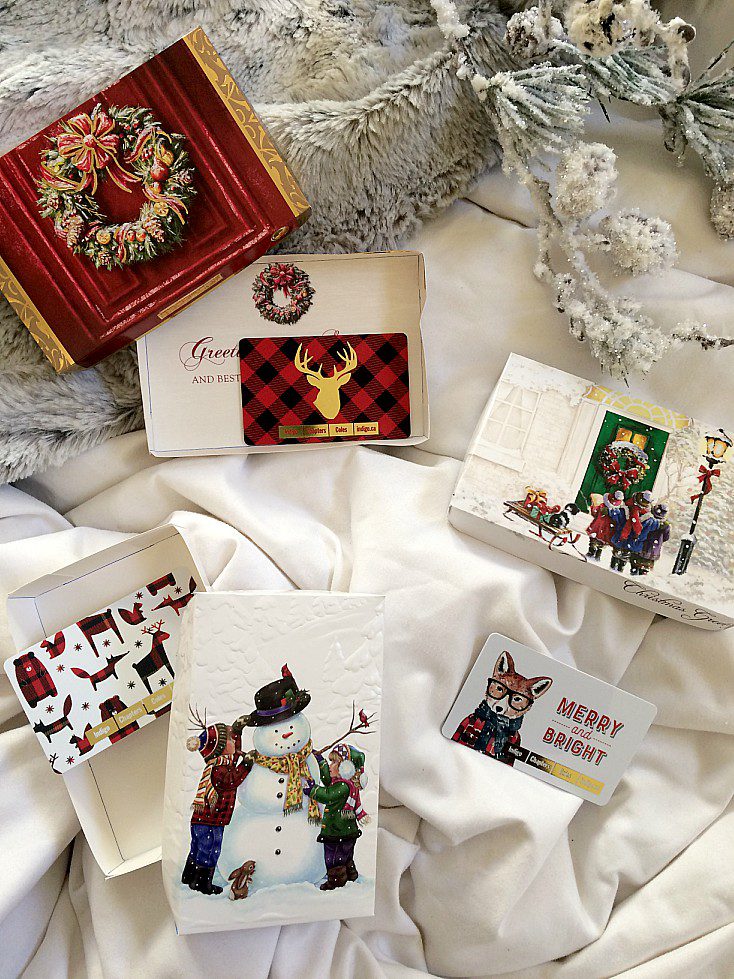
Start by going through last year’s Christmas cards and picking the ones you like. Good candidates have a central image and no writing or writing that’s on the side.
Most of the cards in the image below are good candidates. The white one with Santa in the corner is not. The Rejoice one with the angel would be good for a necklace or jewelry but too narrow for a gift card.
If you’re looking for new Christmas cards, I highly recommend my friend Melissa’s shop, Fine Lime Designs. I ordered these cute Victorian House ones this year.
DIY Gift Card Boxes… the Pretty Way
When I started making the gift boxes, I couldn’t 100% remember how we used to make them. The way I’m going to show you is the way I like to make them so I can be in control of how the picture looks on the front of the box. Further down the post, I have instructions for the easy, no-measuring way that my Mom reminded me of. Choose whatever seems easiest to you.
P.S. If you prefer video content, check out my quick reel on how to make these beautiful beginner-friendly boxes here!
Step-by-Step Instructions for DIY Gift Card Boxes
Start by cutting your card in half. Trim the bottom piece 3 millimetres or 1/8 inch on one horizontal and one vertical edge. This ensures that your box will close nicely.
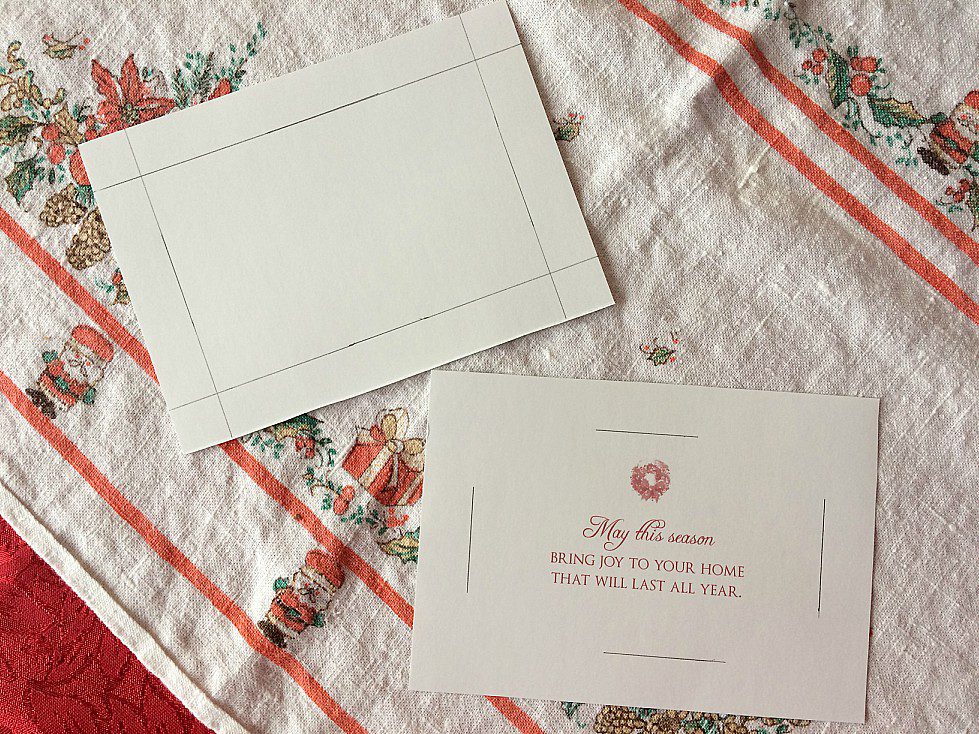
Draw four lines at an equal distance around the inside of your card. I like to look at the front of my card and pick the width based on how I want the picture to look on the front of the box.

Cut the card like in the picture above. Fold all the edges in. Add glue dots or double-sided tape and fold the tabs inside.
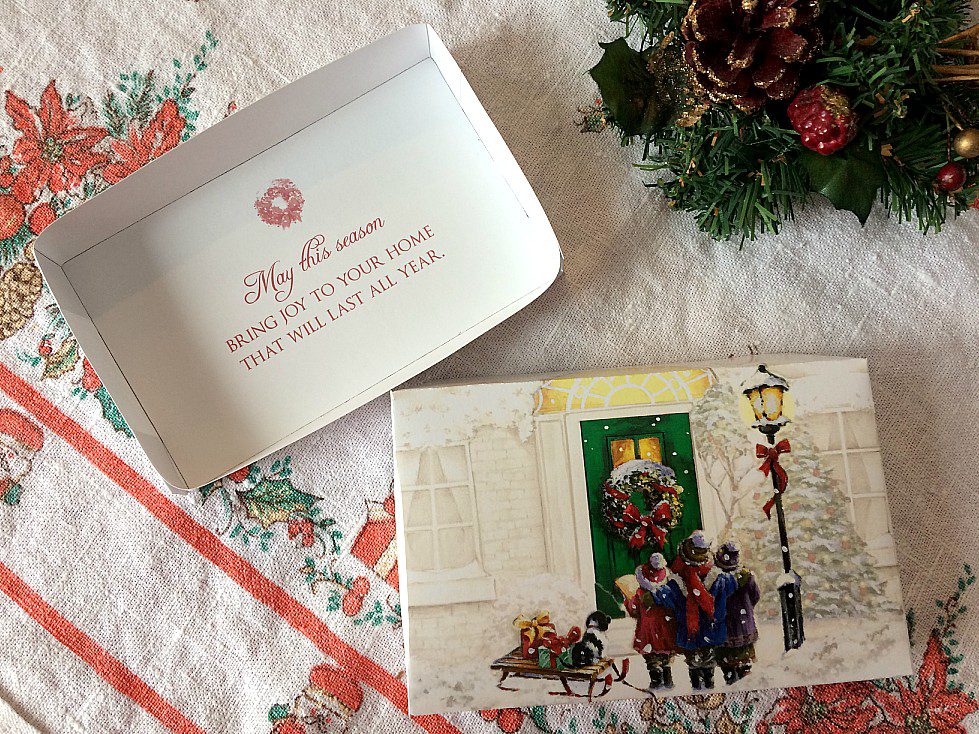
If you’ve centred the card nicely, the recipient will get a lovely message at the bottom.
Ta-da! Super cute boxes to put your gift cards in. Bonus: the cheapness, up-cycling, and zero waste factor.
The Kid-Friendly No Measuring Method
This way of making boxes is actually easier, but you have less control over how the picture looks on the front of the box. I can tell you from experience that it rarely lines up perfectly unless the subject is dead centre.
But! This way is so quick, and will keep my 8-year-old-self your crafty kid occupied for hours.
- Start by making an X on each side of a cut card. Fold each side to the centre. Cut out tabs as shown in the last example.
- Fold the tabs in, fold the long bit over, and tape to secure.
No matter which method you choose, you’re sure to have a beautiful box!

If you liked this blog post, follow me on Facebook, TikTok, and Instagram for more cold-climate gardening tips, delicious recipes, and cut flower goodness! I also make weekly videos over on my YouTube channel. I hope to see you there!
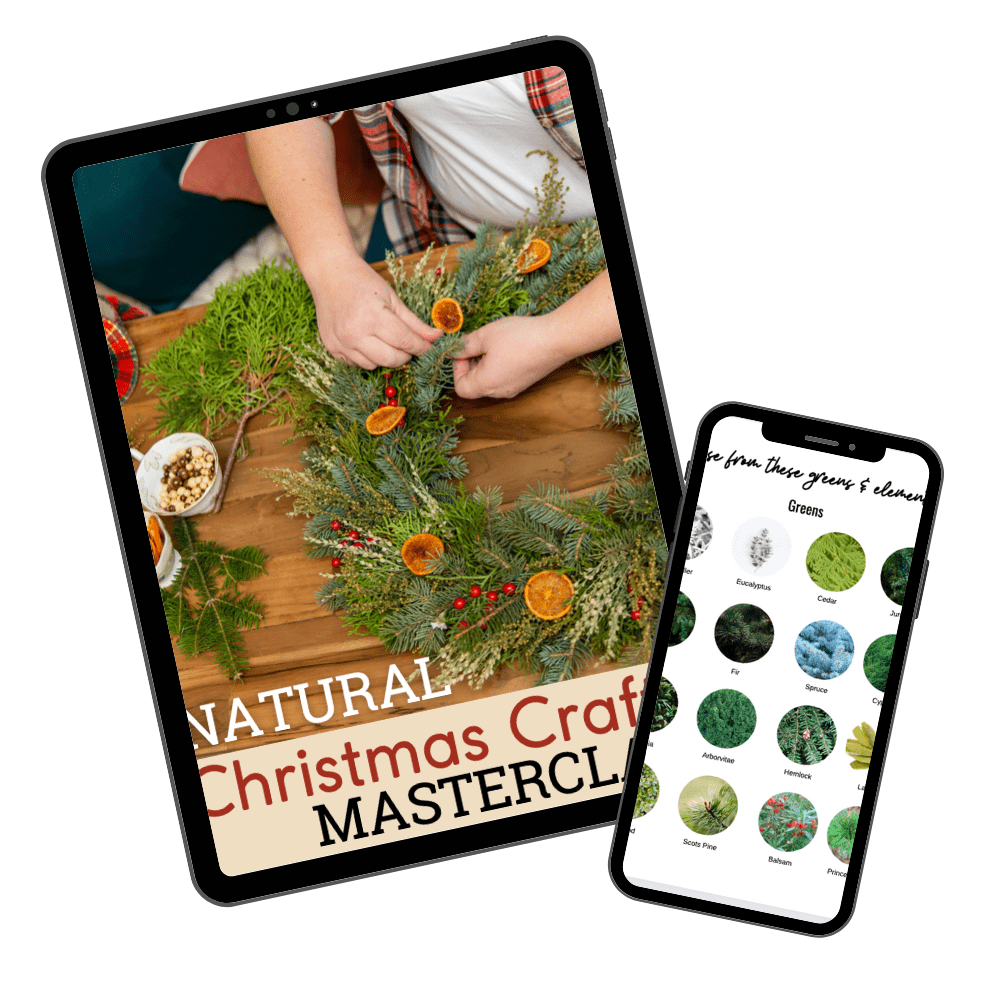
WANT TO MAKE BEAUTIFUL, BOUTIQUE-WORTHY NATURAL CHRISTMAS DECOR AT A FRACTION OF THE COST?
The Natural Christmas Crafts Masterclass is your frugal solution to making high-end-looking wreaths, garlands, and more. No talent or crazy amounts of money are required. Learn how to make bespoke Christmas decor using natural greens, berries and more for a fraction of the retail cost!

Yolanda
Kristen Raney
Suzanne
Joelle