
I have a confession to make. I really wanted to reveal my kitchen to you guys, so I started the whole decluttering series to make sure my kitchen would be clean enough. A series is not made out of two posts, you say? Don’t worry, more is coming.
Let’s all take a moment and remember how ugly the kitchen used to be.

I can’t. even. gah.
If you’ve just joined this blog recently, you can catch up on the kitchen renovation process with these posts:
Decision Making in the Kitchen, Kitchen Progress, and Kitchen Cabinet Interiors 3 Ways.
The kitchen will always be small and kind of awkward without a lot of cabinet space, but it’s come a long way.

The Beautiful cabinet pulls are from an independent vintage home decor store in Humboldt. It’s also where I got the chalk paint and tough coat to paint my kitchen cabinets. The backsplash is wallpaper. Yes. Wallpaper. I painted it and added 3 coats of tough coat and it’s held up really well this past year. The butcher block countertop is from Ikea, as well as the tiny sink.
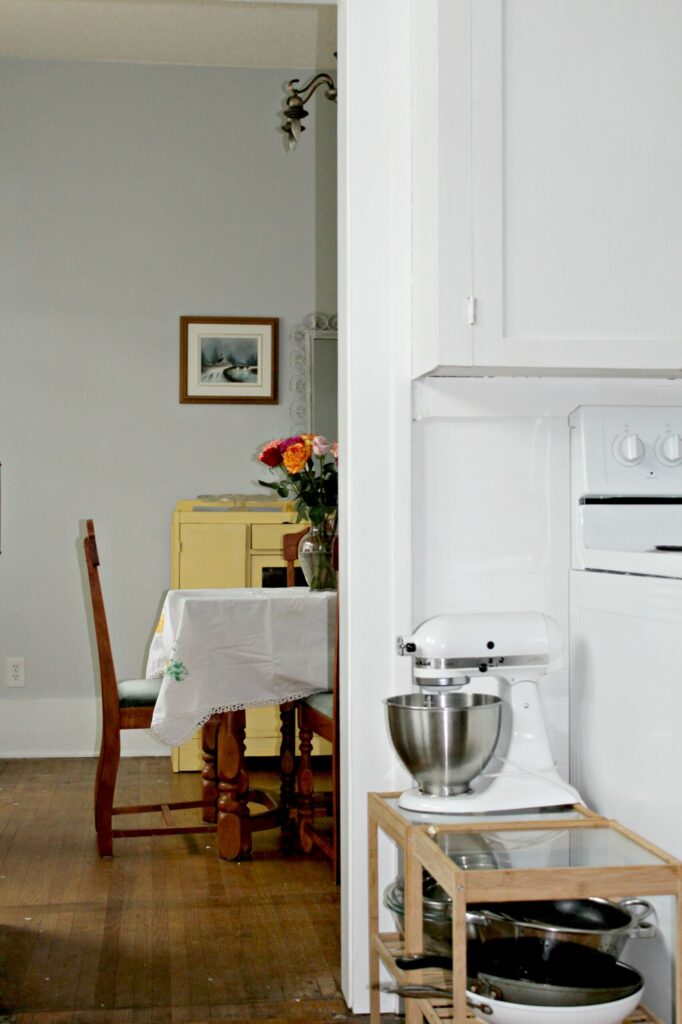
I’ve had to seriously improvise when it comes to counter space and storage. This slapped together storage solution is two $15 Ikea end tables.
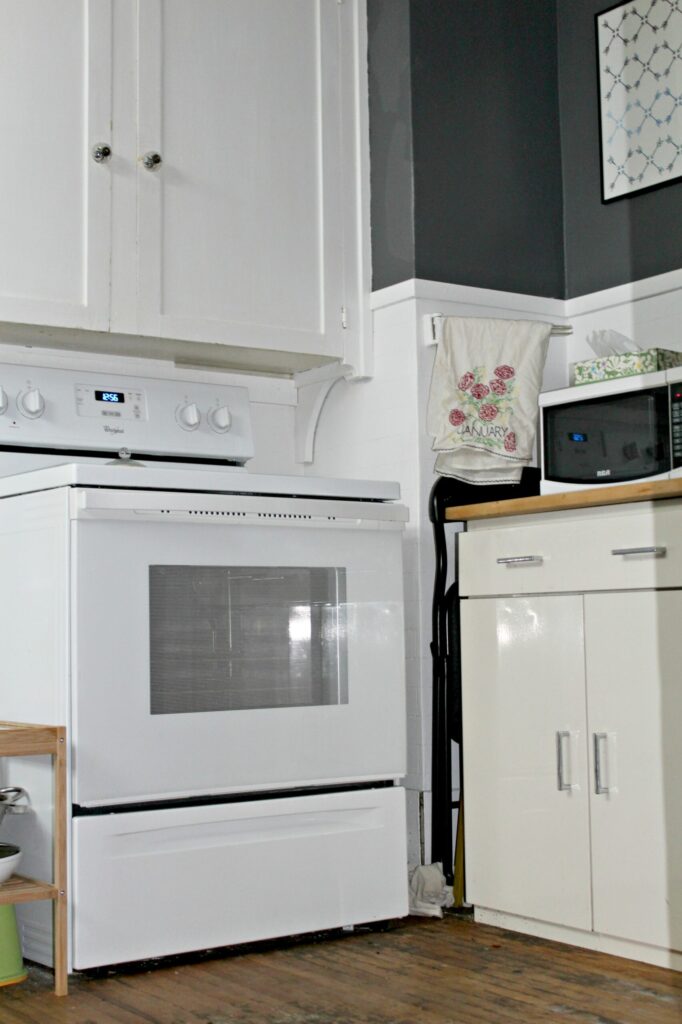
The oven that originally came with the house was retro puke yellow and only had two working burners. This off-white cabinet has also seen better days. At some point I would like to replace it, or at least spray paint it white.
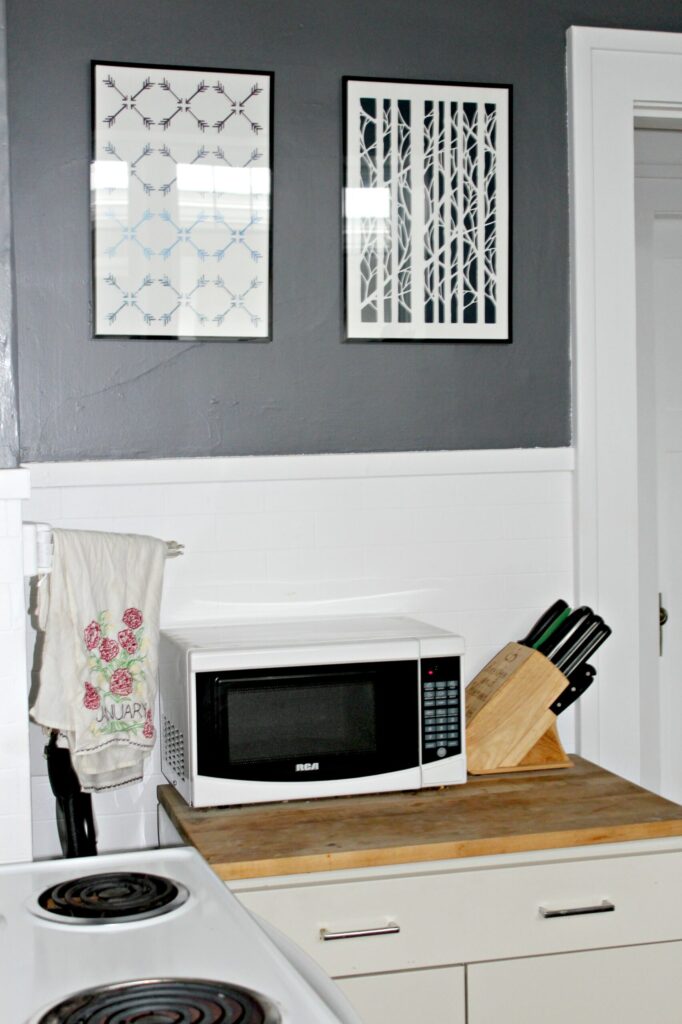
My sister-in-law made the sweet artwork you see here. This is kind of an awkward corner, but it works much better than when this cupboard was originally by the fridge.
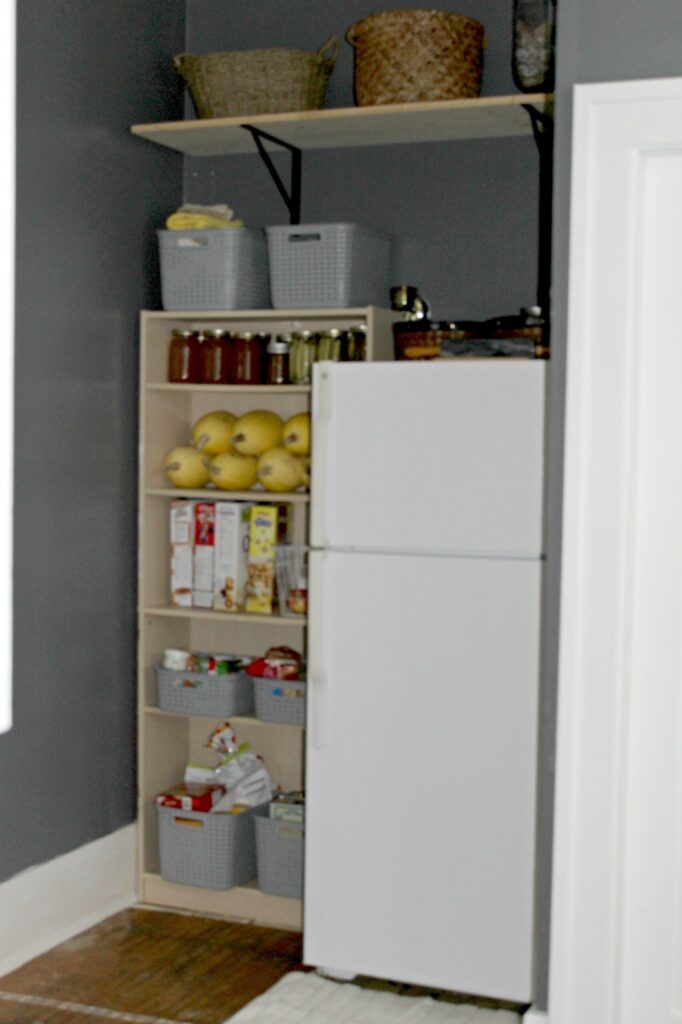
This corner of the kitchen was formerly the most awkward area and was a real waste of space. This corner works way better with the newly decluttered shelves and an extra shelf lovingly installed by my husband.
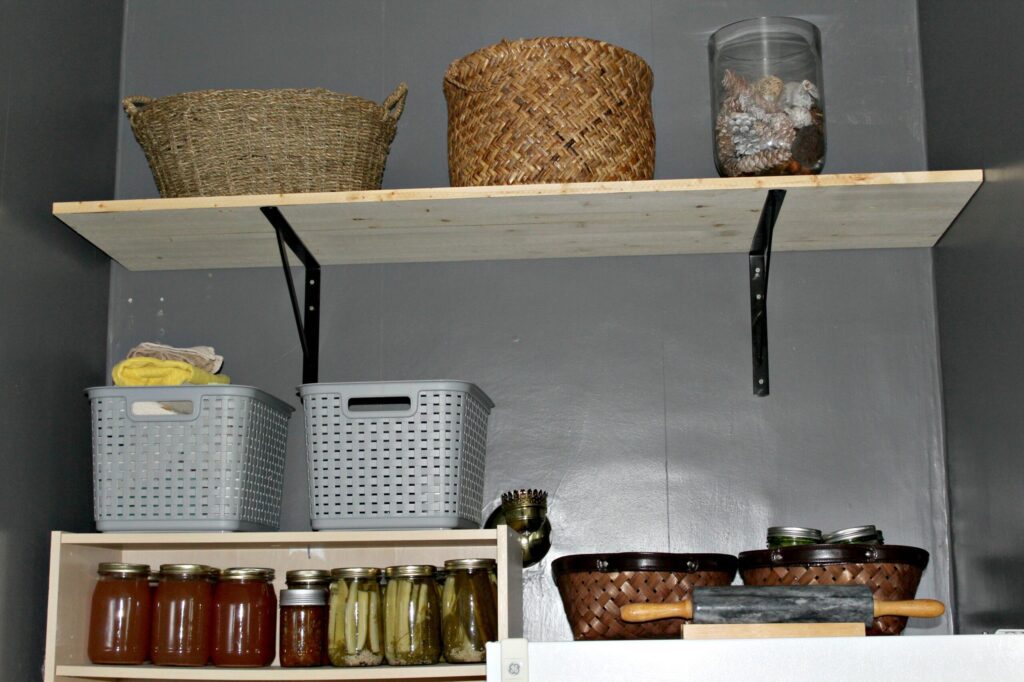
In fact, lets all take a moment to behold the awesomeness that is the upper shelf. For the really observant, you will notice that the shelf does not touch the wall on one side. This is an attempt at an optical illusion that will make the shelf look centred. Because of course the studs are not where I want them.
The wood is a piece of hobby pine from the home depot, which was pre-cut and cost $25. The brackets are also from Home Depot and cost $10 each.
I painted over the wallpaper because I just couldn’t do it anymore. I tried scraping some of it and it was obviously plastered up there with superglue, so I let it be.
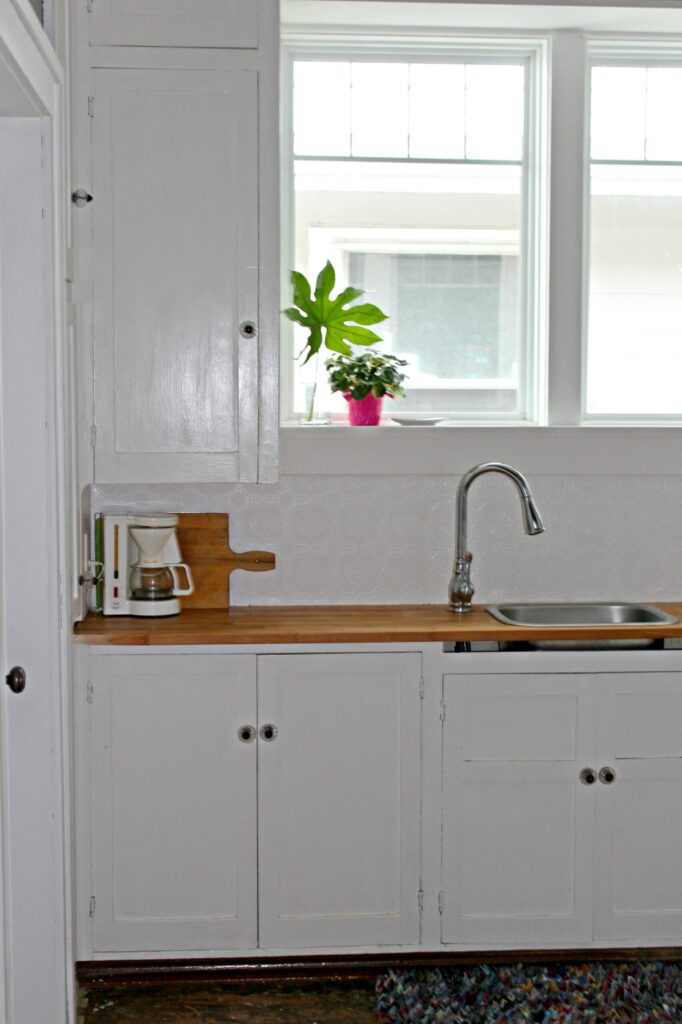
My kitchen facelift is much nicer looking in real life than in these pictures. The lighting is really difficult to work with and I ideally need a wide angle lens to get everything in. Regardless, I’m super happy with how it’s turned out and love whipping up meals in it.
What do you think? Have you undertaken a kitchen facelift?

Erin
Anna B
Naomi Suchan
Amy
Lori
Jan
Cheryl