Glads are sometimes considered an old-fashioned flower, but the memories of seeing a glad growing in your grandma’s garden probably make you want to grow a few as well. Thankfully, once started, glads are very easy to grow, and as long as they get enough water and sun, they should do well in your garden.
I live in a short growing season, so if I don’t get them into the ground immediately after the last frost date, I might not see them bloom, especially if we have an early frost. Therefore, I start my glads about 4-6 weeks before my last frost date, which pretty much guarantees that I always get to see my blooms. You can also use this to your advantage to try and stagger your bloom time with your glads, starting half of your supply and then direct sowing the other half.
Growing glads in Zone 3 comes with its own particularities, so if you want to know more about growing glads in a cold climate, including how deep to plant the bulbs, how far apart to space them, how to winterize glads, and answers to other frequently asked questions, this blog post is for you!

This post contains affiliate links, which means that if you purchase something, I earn a small commission at no extra cost to you. You can read more about it in my privacy policy. Thanks for supporting Shifting Roots!
How to Plant & Harvest Glads
In my cold climate, I’ve found that May is the best month to plant gladiolus, but I highly recommend pre-starting them! To plant glads, dig a hole approximately 6-8 inches deep. Put the bulbs pointy side up and cover them with soil. Don’t worry if the green doesn’t show above what you’ve dug. It soon will. Plant gladiolus bulbs using egg carton spacing, so you get tons of flowers in a small space.
Make sure you water your glads regularly. Once they start poking through the soil and are around 8-12 inches tall, you can start staking them. Or, if you planted them with egg carton spacing, you might not have to except for a bit of twine around the edges of your patch. You can harvest glads as soon as you see some colour in the stem, but I prefer to harvest mine when about a third of the blooms have opened.

Related: How to Start Gladiolus Bulbs Indoors
where to purchase glads
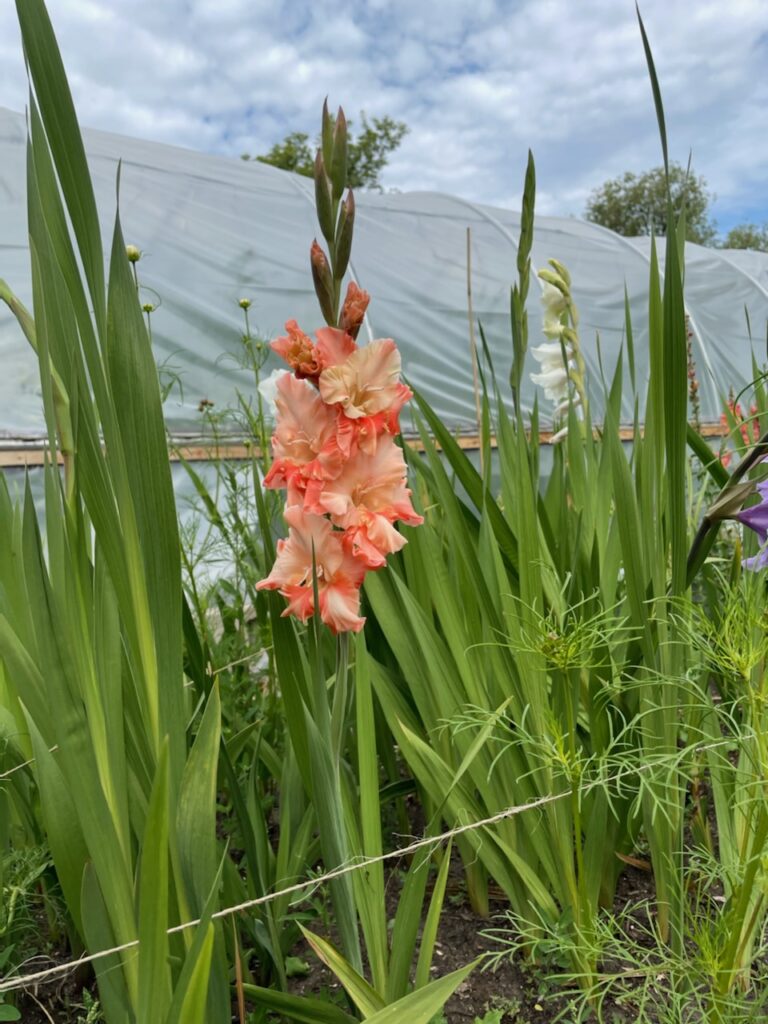
Glads can be easily purchased at any big box store or online seed company. I usually get the basic Costco glads and then buy one or two special varieties that I think look nice. I planted a beautiful peach ruffly variety from West Coast Seeds this year, and I love them! Unfortunately, they take spring planting bulbs off their website this time of year, so I can’t remember the exact variety!
saving gladiolus bulbs
In the fall, once the first frost has happened, you can winterize your glads by removing them from the soil, cutting off the greens, drying them out for a week or two, and storing them in a dry dark location to use next spring. When you dig out your glads, you may notice little glad babies! Save and plant them, as they’ll grow next year and provide you with a new full-size corm even if they don’t flower.
Curious about what your corms might look like? Watch this video:
Related: How to Overwinter Glads in a Cold Climate
Frequently Asked Questions
Can you grow gladiolus in pots?
Yes, you can! I have some that are currently in a pot and am patiently waiting for them to bloom to take a picture of them.
Can you grow gladiolus from cuttings?
Unfortunately, no. You can’t grow glads from cuttings, only from corms.
Do gladiolus spread?
Glads don’t spread, but they will make more glad babies.
Do gladiolus come back every year?
Because we can’t leave our gladiolus bulbs in the ground in Zone 3, glads don’t come back every year. However, if you dig up and store your corms over the winter, you can have new flowers the next year when you re-plant them!

If you liked this blog post, find me on Facebook, TikTok, and Instagram to follow more of my farmer florist journey and join in the cut flower conversation! I also make weekly videos on my YouTube channel. You can also sign up for bouquet-making events and buy my flowers at my sister site Shifting Blooms. I hope to see you there!
P.S. If you love the content I create for Shifting Roots, consider joining our community on Patreon. Your support means the world to me, and I am grateful for each and every one of you!
READY TO GROW YOUR OWN BEAUTIFUL CUT FLOWER GARDEN WITHOUT THE HASSLE?
I’ve taken all the guesswork out of creating a cut flower garden with my e-book, Cut Flowers Made Simple. It’s the perfect way for beginner and intermediate gardeners to start their own cut flower garden with or without seed starting.
Finally, you can create a stunning cut flower garden with everything you need to make beautiful bouquets all summer long.
Click on the picture to find out more, or get your copy now!


Join the conversation