
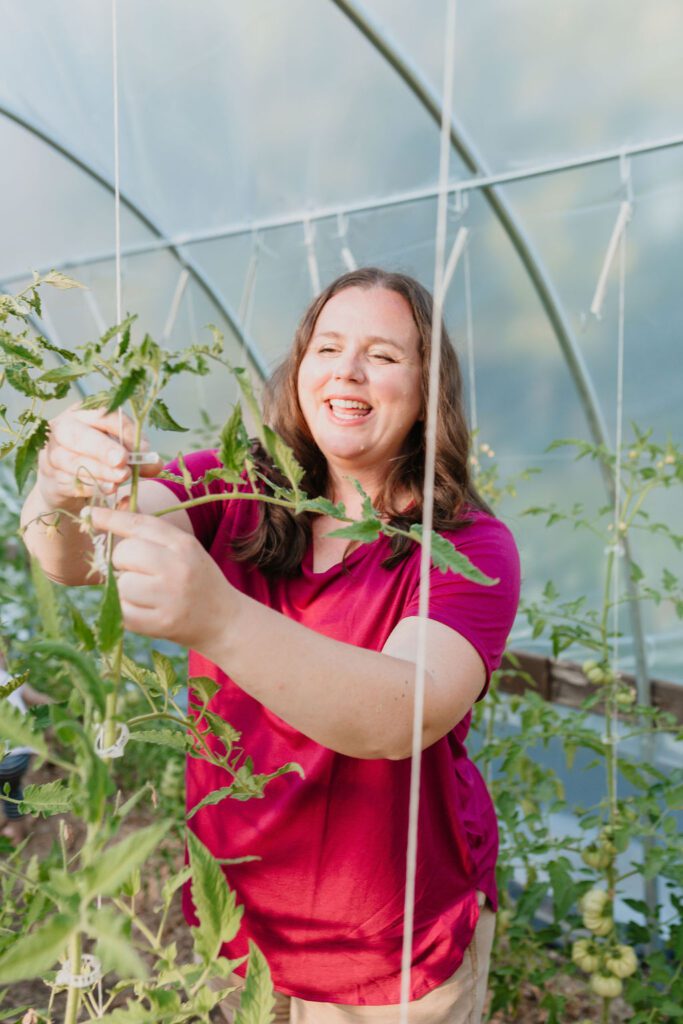
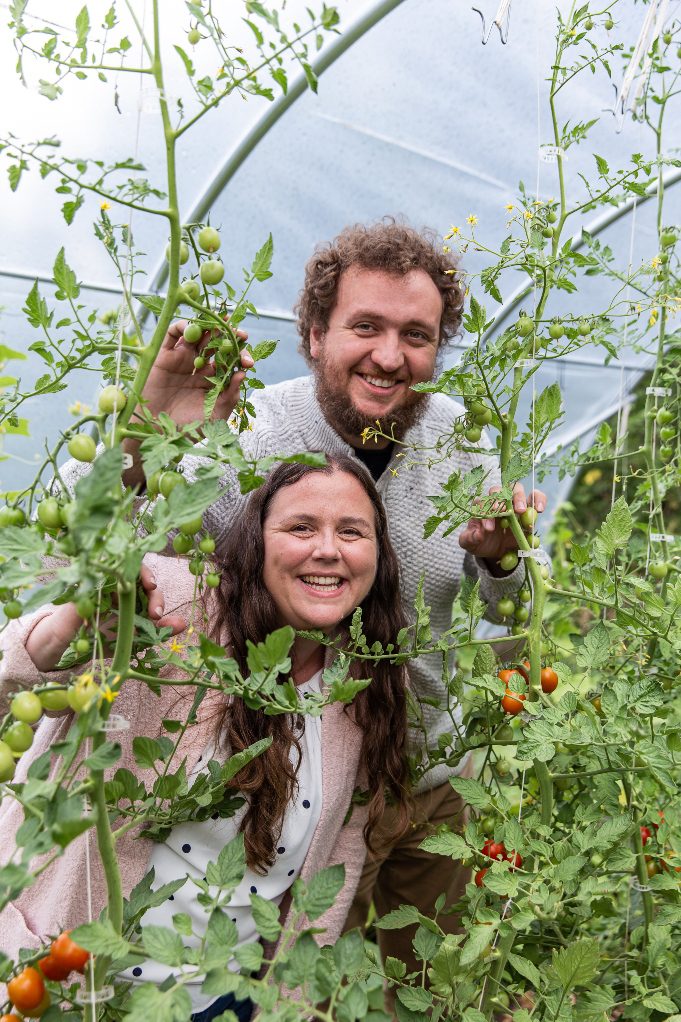
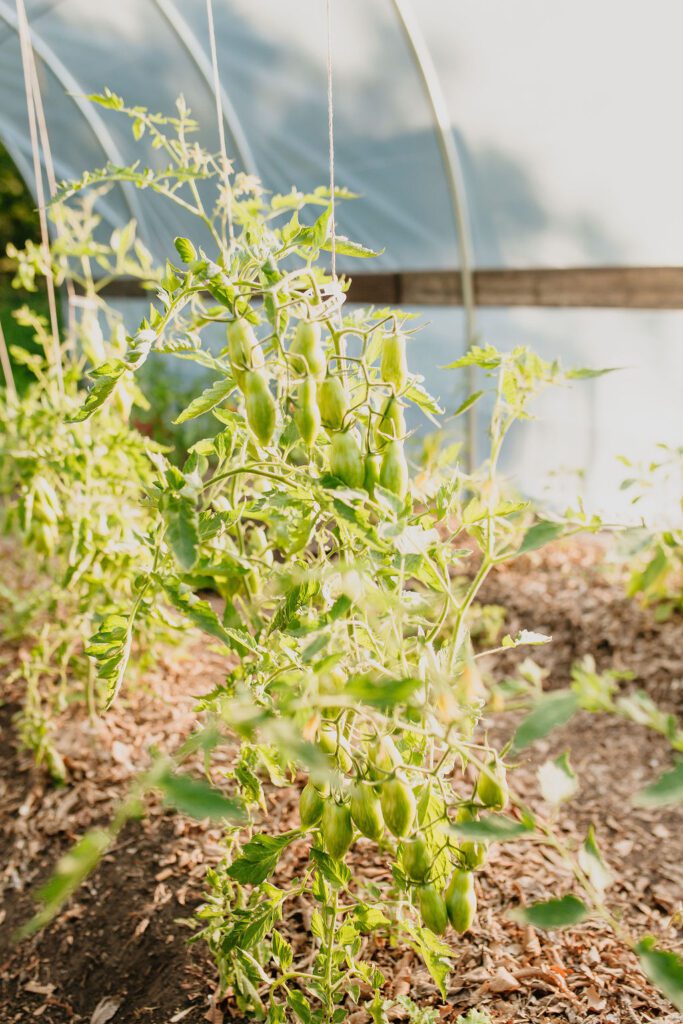
If you live in a cold climate like I do near Saskatoon, Saskatchewan, in Zone 3, then a high tunnel or greenhouse is a gardening game changer. Suddenly, all those heat-loving vegetables that struggle–like tomatoes, peppers, eggplants and more–are, dare I say, easy to grow.
With a high tunnel, you can finally have those huge tomatoes that are red before anyone else’s. I’ve also experimented with using my high tunnel to grow cool flowers earlier and keep my dahlias blooming longer.
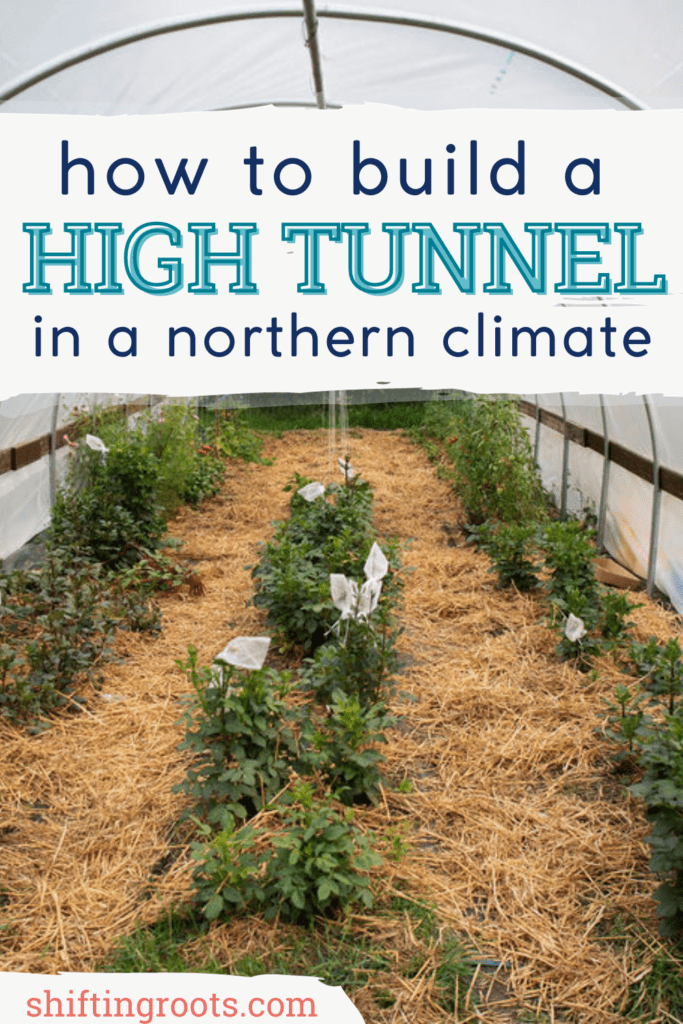
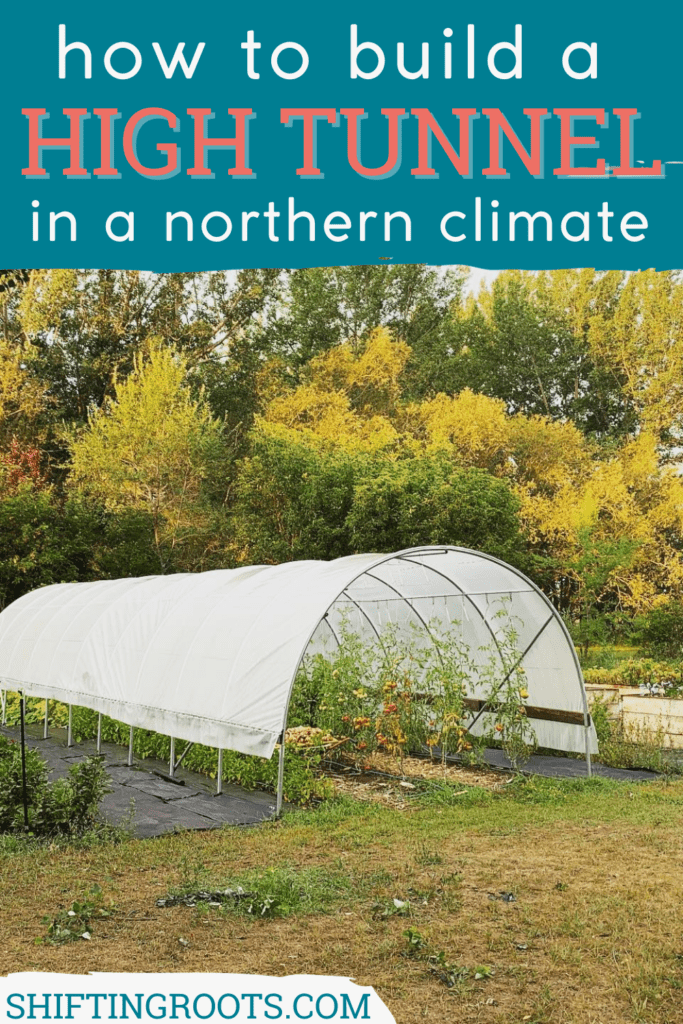
In this post, I’ll answer some of the most common questions about building a high tunnel and share videos that take you step-by-step through the process. Hopefully, by the end of this post, it will help you decide if you should try and design your own high tunnel or save time and purchase a kit.
What is the difference Between a High Tunnel and a Greenhouse?
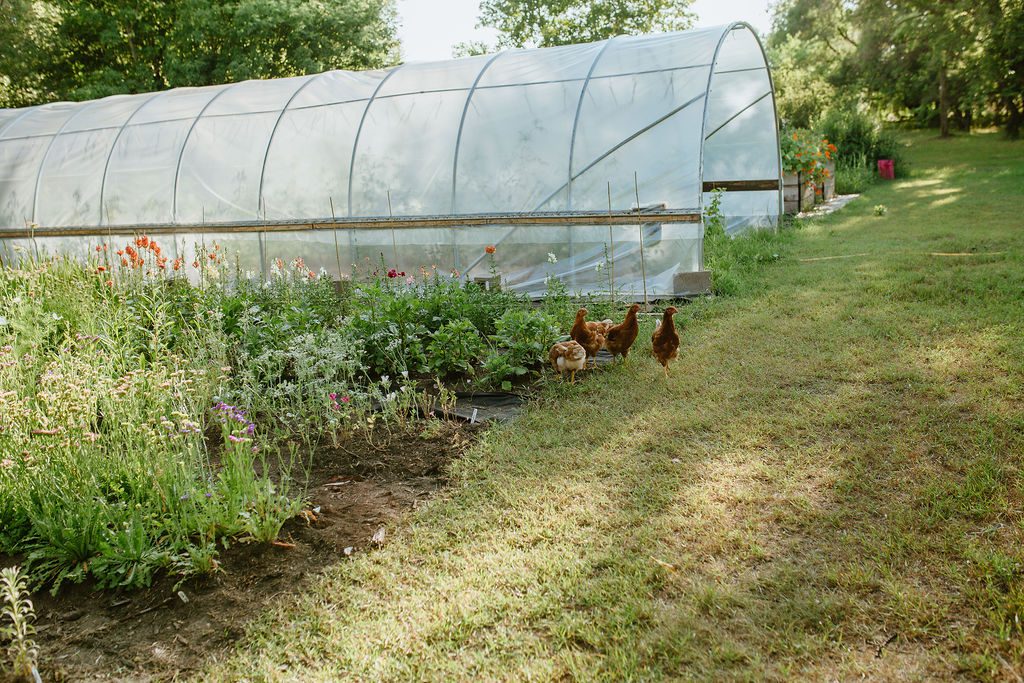
Simply put, a high tunnel has open sides, and a greenhouse is enclosed on all sides and will require ventilation. We did not intend to build a high tunnel. Our intention was to build a greenhouse; we just ran out of time and decided that a high tunnel would be good enough for the first year. We plan to enclose the high tunnel and turn it into a greenhouse when the snow melts.
As for benefits, a high tunnel is cheaper to build because you don’t need as many materials. The learning curve is not nearly as steep, and you don’t need to watch the temperature and ventilation.
It may seem obvious, but remember that you’ll have to have some method of watering your plants because the crops inside won’t have the benefit of the occasional rain.
How Much Does it Cost to Build a High Tunnel Greenhouse?
Prices will vary depending on where you live, the price of materials in that area, and how big your greenhouse is. Our total investment when building our high tunnel was about $700, which included these different components:
- Hoop bender
- Steel posts
- Greenhouse plastic
- Wood–leftover on the acreage, so free
- Screws, clips, string, etc.
- Irrigation
- Gas to drive to Calgary and pick up supplies
Is a High Tunnel Worth it?
Oh, friend. Once you have a high tunnel or greenhouse, you will never go back.
In Saskatchewan (or, honestly, even Canada in general), you never know what weather you will get. Will it be a cool spring? Drought? Hail storms? A high tunnel is like an insurance policy on your garden. While your plants will still die if you neglect them, you have a much better chance of getting a good harvest with them. And, once you figure out the timing to extend the season a bit, you can grow for longer.
Wouldn’t it be nice to eat your spring spinach three weeks earlier? Or to have an abundance of peppers instead of struggling with one per plant?
[convertkit form=722289]
How We Built Our DIY High Tunnel without a Kit
Our greenhouse journey started with purchasing a 12-foot hoop bender from Bootstrap farmer. We purchased it back in November to account for any possible delays in shipping.
Michael took a trip to Calgary in March to purchase most of the supplies from a greenhouse supply company. At the time, we didn’t know of anything closer, and the cost savings justified the expense of driving. In a non-pandemic year, we likely would have just phoned in an order and got it shipped out. But with the way gardening supplies were disappearing with increased demand, we didn’t want to take any chances.
Once the snow melted in April, we got started with ground prep. The greenhouse didn’t actually get finished until late May. We found there are so many other things to do garden-wise in the spring that it’s hard to take time for building projects. Also, we didn’t live on the property, so it was always a juggle of daycare, weather, and Michael’s job commitments.
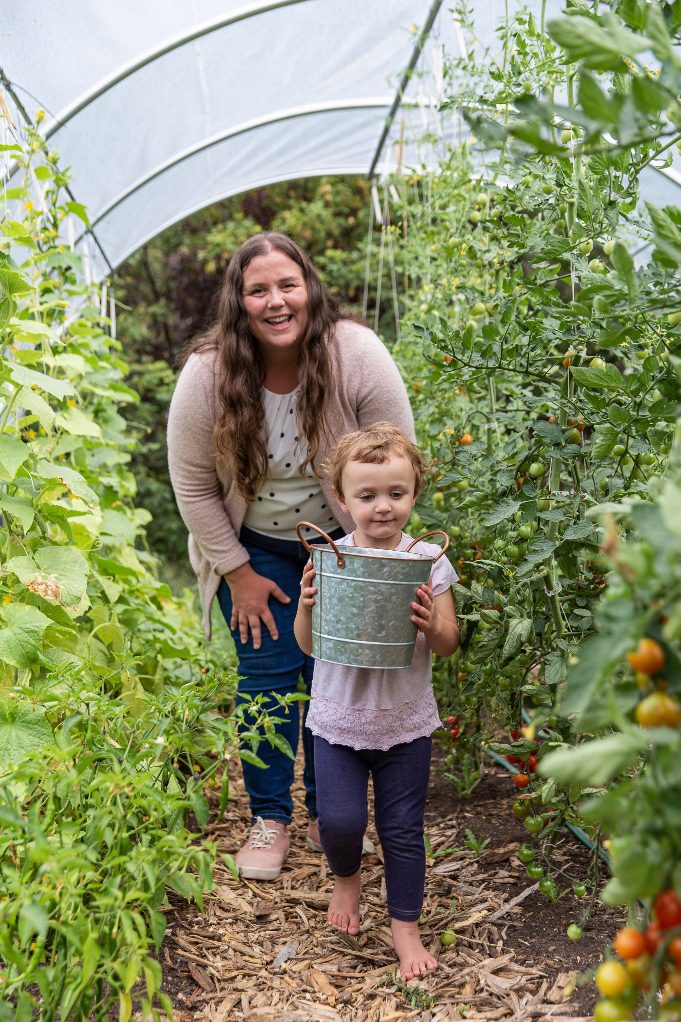
This greenhouse was entirely the Hermit’s design and doing. My job was to document the process and fill the growing space up with peppers, cucumbers, and tomatoes. In these three videos, we share the plans for the high tunnel. Watch for a fourth, where we share our trellising system.
Is it Better to Get a Kit or DIY?
When we first set out on this project, we thought doing it ourselves would save a lot of money and be worth the extra time. After going through the process, sorting out the materials, and making a few mistakes along the way, I feel like we didn’t save much money, if any, in doing everything ourselves.
The one nice thing about DIY was that we weren’t limited by shortages or supply delays for kits as long as we could source the materials somewhat locally.
We tried to source everything as early as possible to allow for some inevitable delays.
The only large hiccup we ran into was that Mike miscalculated the width of the greenhouse plastic. However, it wasn’t the end of the world, and we could still grow impressive vegetables.
Where can you purchase Greenhouse Kits and Building Supplies?
If you’re just an average person searching the internet, it can feel like the where-to-buy piece of the greenhouse equation is a bit of a mystery. While this isn’t a comprehensive list, here are a few resources to get you started:
- Bootstrap Farmer
- Johnny’s Select Seeds
- BC Greenhouses
- Grower’s Supply
- Arctic Acres (for greenhouse domes)
- Northern Greenhouse
- Irrigation Direct
If you liked this blog post, find me on Facebook, TikTok, and Instagram for more cold-climate vegetable gardening tips, delicious recipes, and cut-flower goodness! I also make weekly videos on my YouTube channel. I hope to see you there!
P.S. If you love the content I create for Shifting Roots, consider joining our community on Patreon. Your support means the world to me, and I am grateful for each and every one of you!
NEED HELP IN THE GARDEN?
Green thumbs aren’t just given out at birth. They’re a combination of learning about gardening and trial and error. If you wish you knew more about gardening and had more confidence in your abilities, you need the Growing Roots Beginner Gardening Guide. It’s an e-book plus six bonuses–everything you need to go from complete garden newb to confident in one growing season. Get all the details of what’s inside here!


Cyndi
Sam hughes
Jim Chase