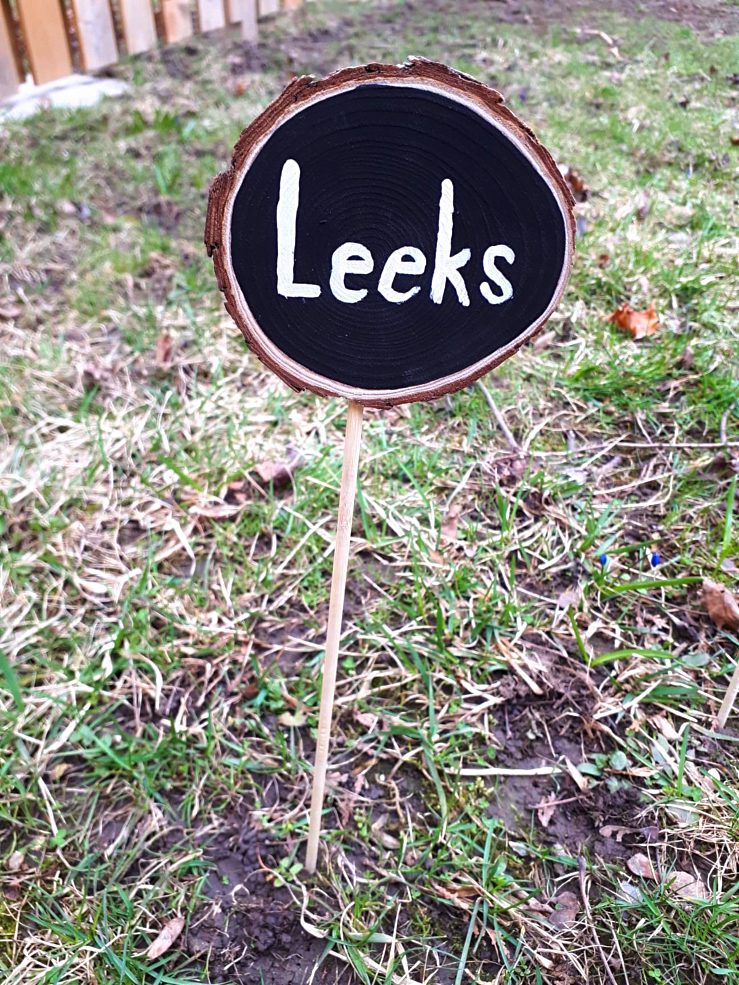
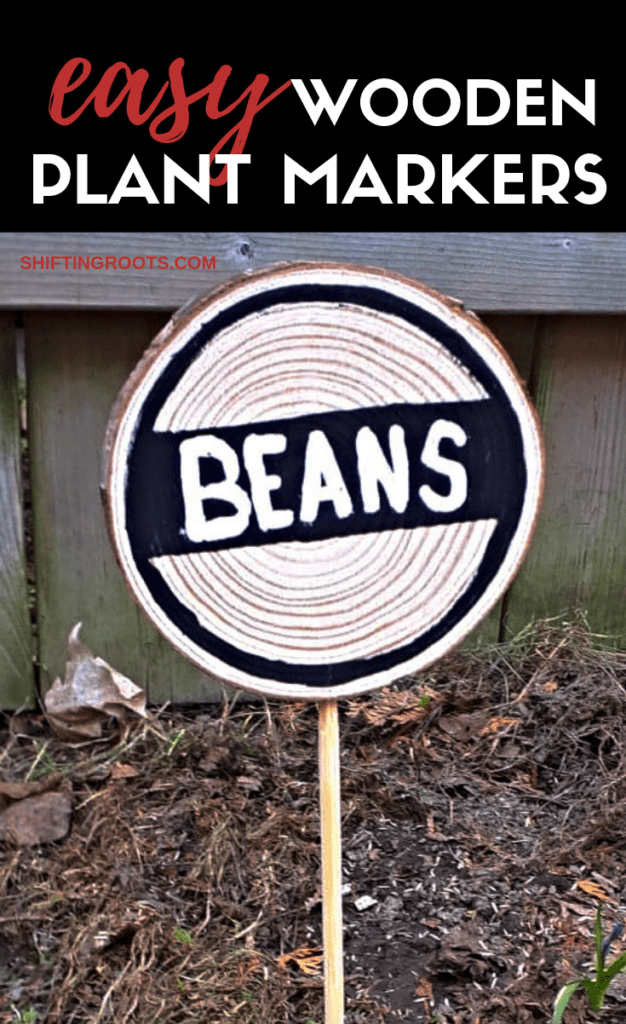
A garden looks perfectly beautiful on its own merit. Who doesn’t love to look through a well laid out and weeded garden? And the smell! But the gardener needs to know what’s what- especially at the beginning of the season.
This means you’ll need garden markers. And, because they’ll get the full force of the great outdoors, you’ll definitely want weatherproof plant markers! So many gorgeous gardens are ruined by those flimsy plastic labels.
Here are some garden markers that can be made very quickly and will enhance the beauty of your garden. With the rustic wooden look they will fit in with any garden.

This post contains affiliate links, which means that if you purchase something, I earn a small commission at no extra cost to you. You can read more about it in my Privacy Policy. Thanks for supporting Shifting Roots!
Supplies
- Wood slices (mine are 9-10cm)
- Vice
- Drill
- Acrylic paint (Black and White)
- Giant BBQ skewers (If you’re concerned about these biodegrading throughout the season you could use the wire from a hanger instead. These will provide more durability. However, my BBQ skewers were inexpensive and came in a pack of 30, so I’m just going to replace my skewers as needed.)
- Damp Cloth
- Spray Varnish (I didn’t actually do this with mine. They’ve been outside for a month in all this rain, and they look good as new.
- Stamp set, wood burning kit, Cricut or paint pen
Note: if you purchase these pre-drilled wooden slices, you can skip the vice and the drill.

All Garden Row Marker Styles Start With:
- Clamp your wood slices into a vice and drill holes (about half an inch deep).
- Using your damp cloth, wipe off each wood slice. The slices come pre-sanded, so this is just to get the saw dust and bits off. If you plan to use an adhesive stencil for your garden markers you’ll want to sand it down (gradually) to 240 grit so the stencil adheres properly and doesn’t leak.
Chalk Board Style Garden Row Markers:
- After the wood slice is completely dry paint your black circle onto it. You will probably need two coats of paint. I used the grain of the wood as a guide, so none of mine looked the same. If you prefer, you can make perfect circles or ovals for the name. I thought it looked woodsier following the grain.
- Wait for the black to dry completely. Don’t get impatient! It will mess up your black (and maybe ruin your white marker) if you don’t wait for it to dry.
- Using your preferred method of lettering, write on your plant name. Obviously the idea is for it to look like a chalk board, so I recommend using white paint. I used a brush to paint mine, but maybe you prefer a little bit more control and are going to use a paint pen. Maybe you prefer a lot more control and are going to opt for a stencil. Whatever you want to do, now is the time.
- Allow to dry.
- Insert the BBQ skewers into the hole on the bottom of the wood slices and stick them into the ground.
Learn the Basics of Gardening in Just a Few Minutes

Gardening doesn't have to be complicated. Learn the basics in minutes, get started with your first garden in a day or less, and start your lifetime gardening adventure.
Enter your name and email address to download the Quick Start Garden Guide. You'll also get a mini-email course and weekly gardening tips and advice.
Wood Grain Style Garden Row Markers:
- This is by far the simplest one! All you need to do is use a Sharpie to write the plant name onto the wood slice. Alternately, you can use a paint pen, wood burning kit, stamp set or stencil and paint.
- Stick the BBQ skewers into the bottom of the wood slices and stick them into the ground!

Black Label with Border Garden Row Markers:
- Tracing the grain, paint a black circle around the border of your wood slice.
- Using a straight edge, draw two lines. The first goes about a quarter of the way from the top and the second about halfway. Paint in this rectangle black.
- Allow to dry.
- Using white paint write the plant name on the black space.
- Allow to dry.
- Insert the BBQ skewers into the hole on the bottom of the wood slices and stick them into the ground.

If you’re loving how these adorable large wooden plant markers improved the look of your garden, and are craving another little garden craft, be sure to check out Kristen’s post DIY Fairy Garden. It is so darn cheerful! Happy Crafting!

Join the conversation