
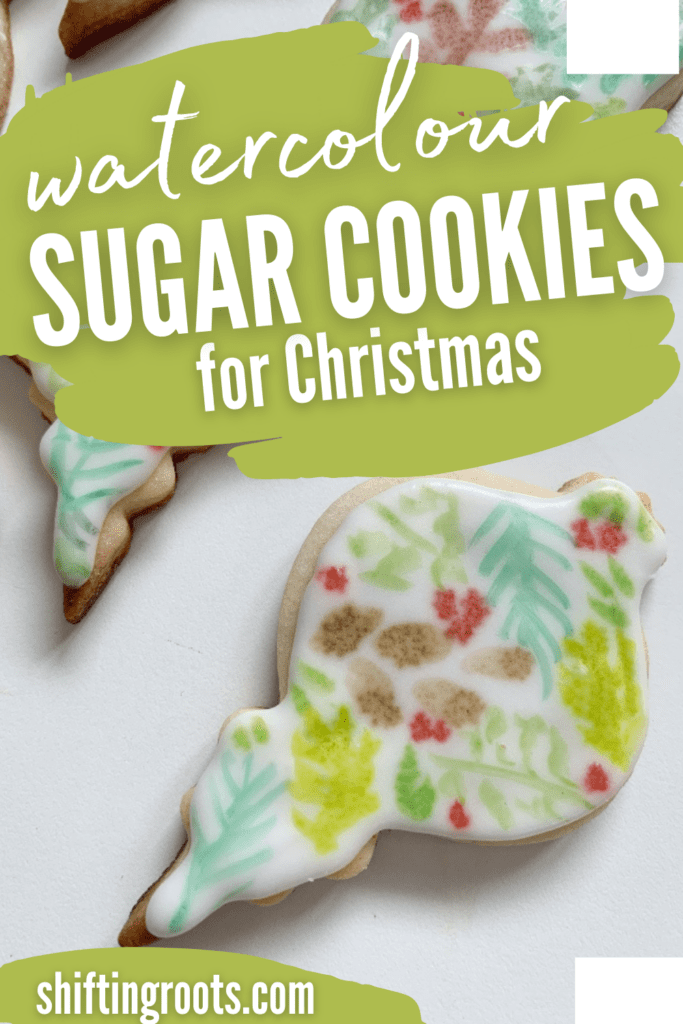
When you need a Christmas gift that looks like a million dollars but isn’t, these cookies are your new best friend. Sure, these sugar cookies take some time to execute. But the trade-off is worth it! You only need simple food colouring and dollar store paint brushes–things that are very accessible & affordable to most people.
Don’t be intimidated, thinking you need to have huge amounts of artistic ability. If you can draw a reasonably straight line, and hold a paintbrush with a light touch, you can create these cookies. You’ll get slightly better & easier results if you use gel food colouring instead, but I wanted to use the liquid kind that’s easier to find to show you can do it with a lesser quality product.
For those of you who like to watch things, here’s the YouTube video:

Sugar Cookies with Royal Icing
An easy sugar cookie recipe with royal icing
Ingredients
- Sugar Cookies
- 1 cup salted butter
- 1 1/2 cups white sugar
- 2 eggs
- 1 tsp vanilla
- 3 cups All purpose flour
- 2 tsp baking powder
- Royal Icing
- 3 cups icing sugar
- 3/4 teaspoon cream of tartar
- 2 egg whites
- 1 tbsp water
- Decoration
- 2 drops per colour of food colouring
- 3-4 drops water per colour of food colouring
Instructions
- Cream butter, sugar, eggs, and vanilla together.
- Mix in flour, and baking powder.
- Cool in the fridge for 30 minutes.
- Roll out to approximately 1/4 inch or 5mm thickness with a rolling pin on a lightly floured surface.
- Cut into shapes with cookie cutters and transfer to a cookie sheet.
- Bake in a 350 degree fahrenheit oven for 8-10 minutes.
- Cool cookies and decorate with royal icing.
- Beat two egg whites in a a clean bowl with no hint of grease.
- Add icing sugar, cream of tartar, and water. Mix until smooth
- Put icing in a piping bag and pie on cookies
- Let icing dry overnight
- If decorating with watercolours, add the drops of water to the drops of food colouring and decorate cookies with a clean brush.
Notes
The time in the description is just for cooking one batch of sugar cookies. The royal icing should dry overnight on the cookies for best results.
Nutrition Information:
Yield: 40 Serving Size: 1Amount Per Serving: Calories: 149Total Fat: 5gSaturated Fat: 3gTrans Fat: 0gUnsaturated Fat: 2gCholesterol: 22mgSodium: 73mgCarbohydrates: 24gFiber: 0gSugar: 17gProtein: 2g
Once you make the sugar cookies, it’s time to decorate with a base of royal icing. Pipe a border around the cookie, and fill in with lines of icing. Then Fill out any spaces by scratching over the cookie with a toothpick. It works better if you do one cookie from start to finish at a time. In the pictures, I outlined the cookies, then went back and filled them in. While it worked, you could still see the outline when it dried, which wasn’t as nice.
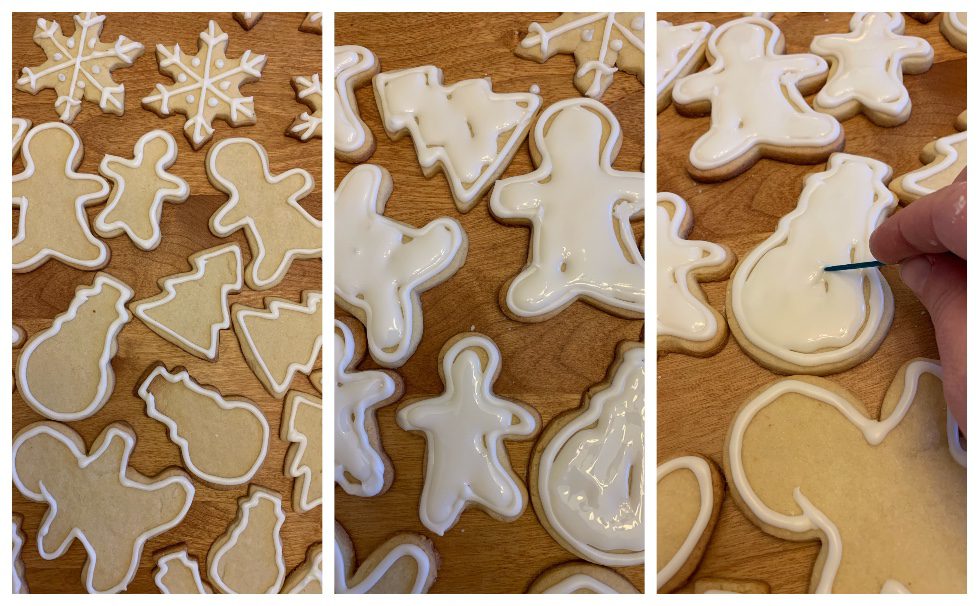
Leave the cookies to dry overnight. If the icing is even slightly wet, the cookies will not look as nice when you decorate them.
When it’s time to decorate, you will need:
- a clean plate
- food colouring (liquid is fine, but gel works better)
- small container of water
- 1 thin clean brush
- 1 thick clean brush
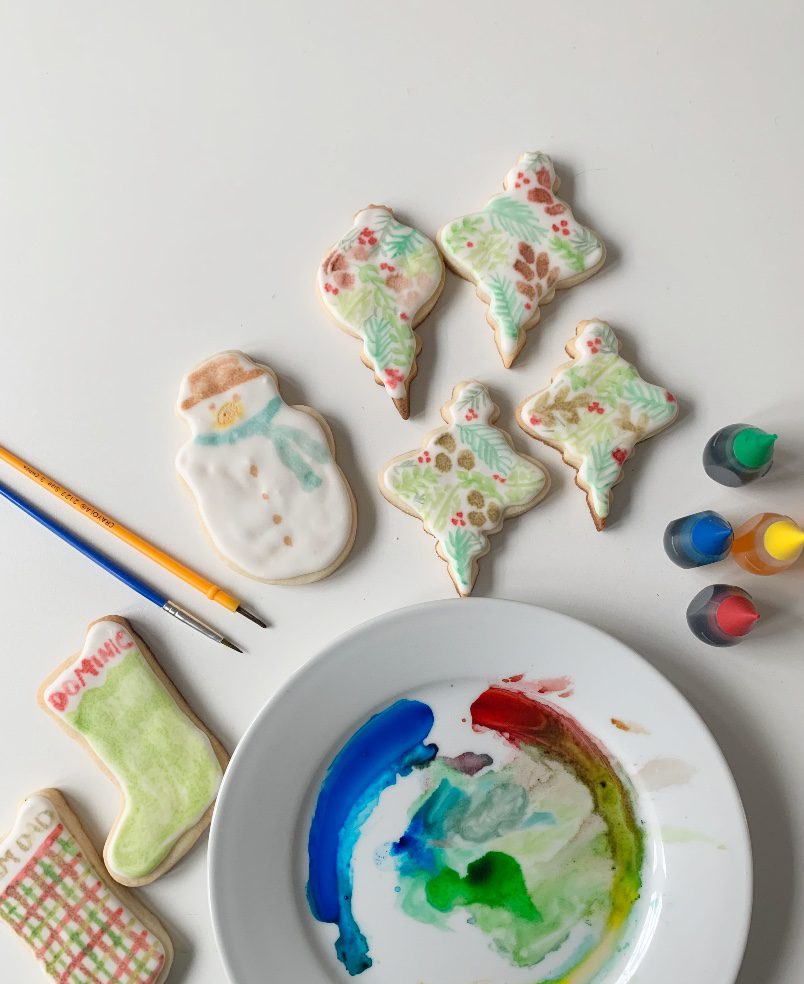
Put one or two dots of food colouring on the plate, and add 3-4 drops of water to each colour. Then you can use the colours as-is, or combine them to create whatever colours you desire.
A small dab of red will tone down the bright green. Mix equal amounts of red and green to get a brown. Since Christmas cookies lend themselves to using a lot of green, I like to make 4 greens–a brown green, blue green, yellow green, and a truer green with that little dab of red to mute it.
Once your palette is ready, it’s time to decorate! I’ll start with the easiest projects and move on to the most complicated.
Ways to Dress Up Your Sugar Cookies
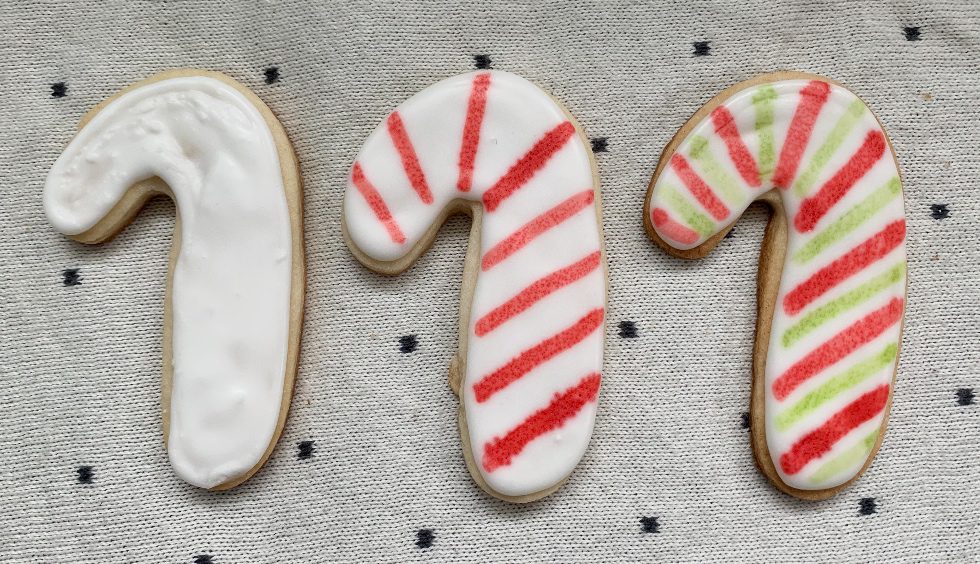
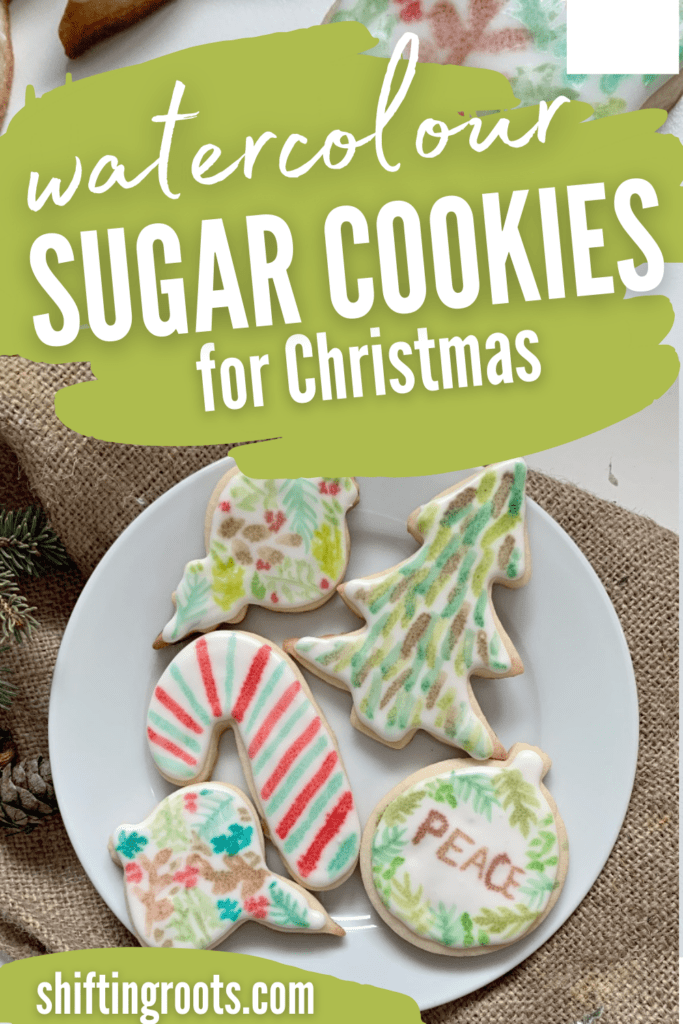
Candy Canes
Start by painting red diagonal lines all along the candy cane. Clean the brush and paint green diagonal lines in the spaces.
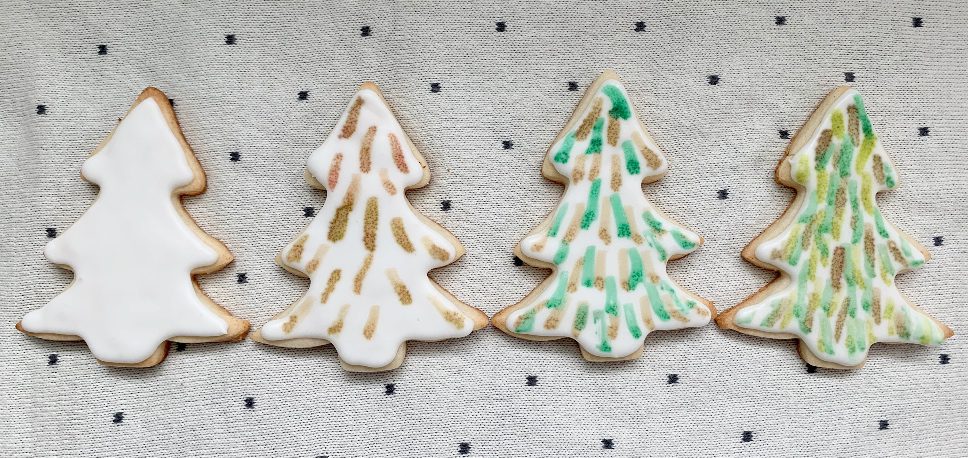
Christmas Trees
For this one, you’ll need 3-4 different shades of green. I like to start with a darker or browner green, then work my way from darker shades to light. But you can add colours however you like. Use a thicker brush and keep your brush strokes light. Don’t worry about being too perfect.
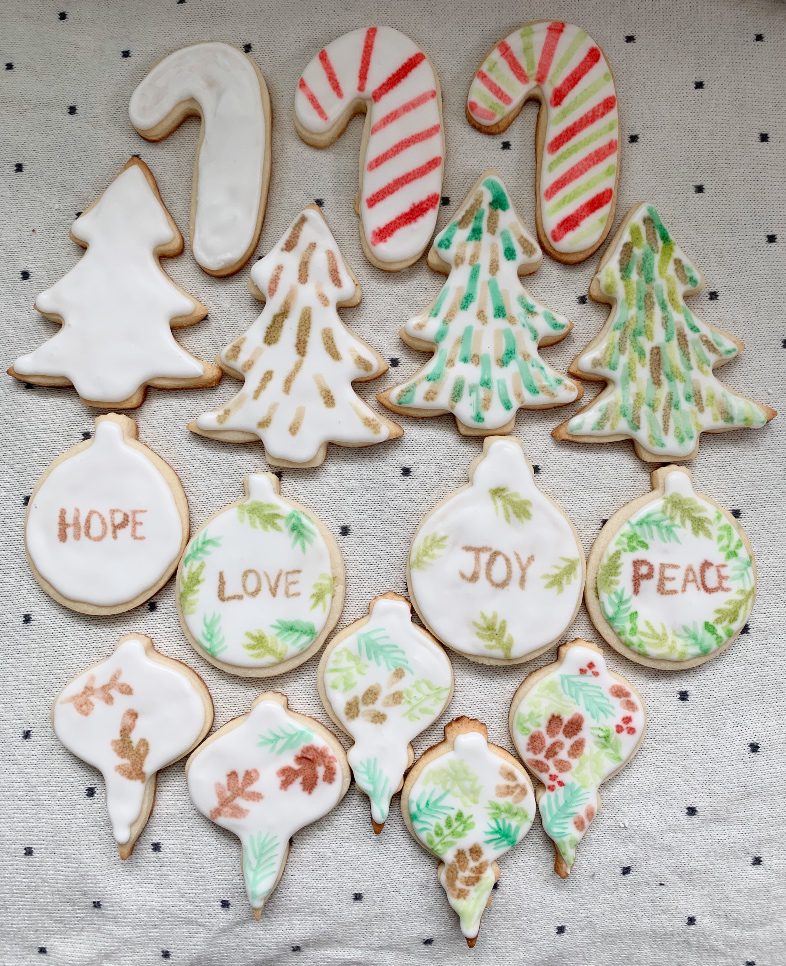
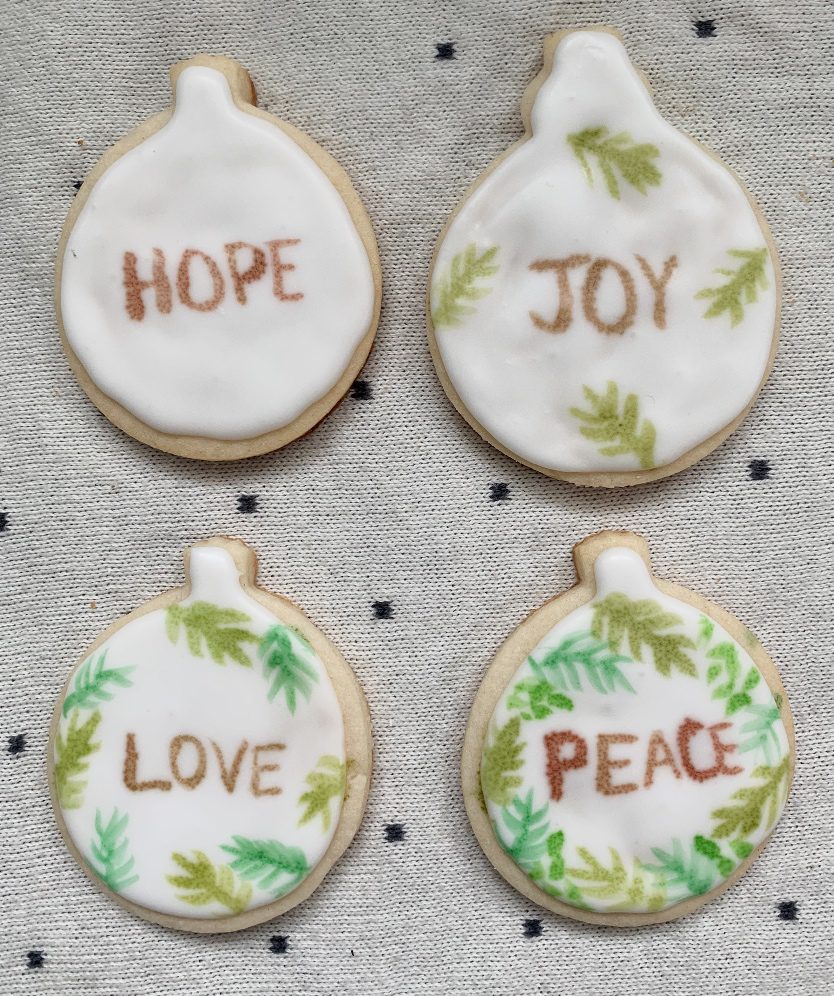
Ornaments (Easy)
Start by writing your word, a person’s name, or the year on your sugar cookie ornament. Make four evergreen leaves with one shade of green. Switch shades and make 4 more equally around the circle. Finally, fill in the gaps with a third shade of evergreen leaf.
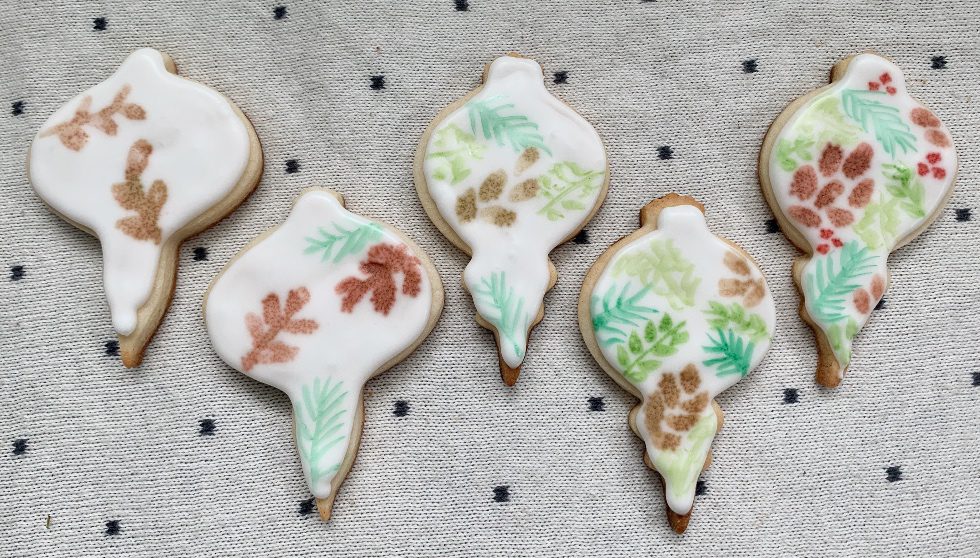
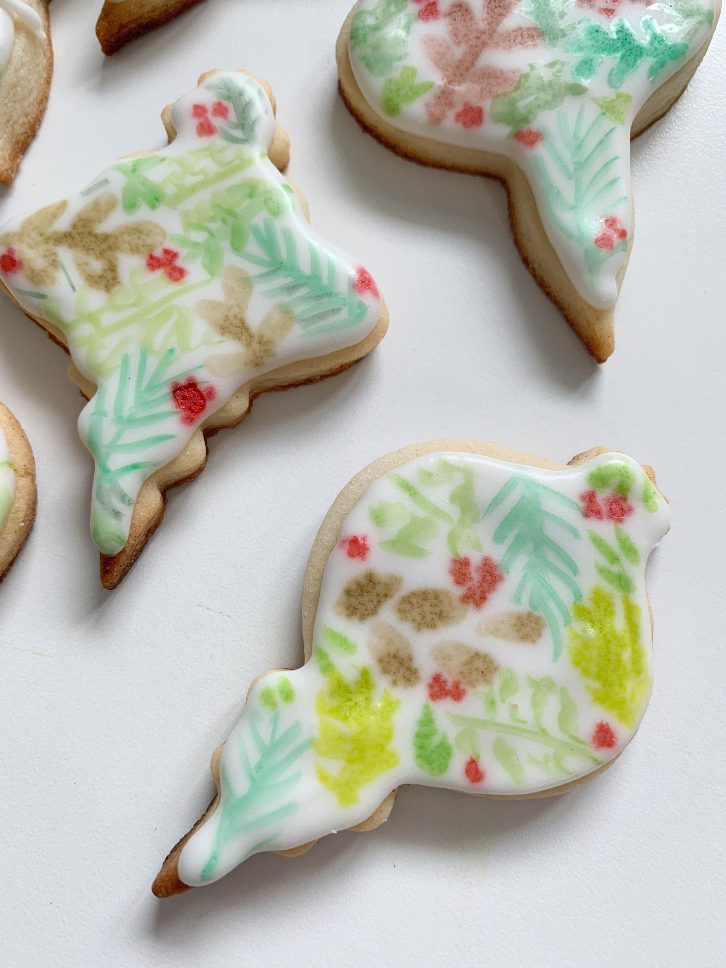
Ornaments (More complicated)
For the most detailed instructions on how to make each element, watch the video at the beginning of the post. For these ones, I had fun using different colours and leaf shapes to create a fun winter vibe. I did two types of each colour leaf, and placed them randomly around the ornament. Then at the end, I filled in any bare spots with red berries, made by dotting red with a fine paintbrush.
Water vs. Gel Food Colouring
I did this project with water based food colouring, because I wanted to prove that you could do it with cheap and commonly accessible supplies. I’m currently writing this in December of 2020, and I don’t want you to have to run around from store to store unnecessarily. However, if you’re able to get your hands on gel food colouring, it definitely works nicer, and the colour dries better.
The Best Way to Manage this Project
I won’t mince words: This is a long project. It can be easy, but it is not quick. I found that the best way was to make the dough and bake the cookies in the morning, ice the cookies in either the afternoon or evening, let them dry overnight, and then decorate with the food colouring watercolours the next day.
In the first batch of cookies I tried, I was WAY too impatient and I decorated the cookies when the icing wasn’t dry all the way through. Every time I pressed a little too hard, the icing broke and it make the cookies look weird.
I hope this post has both inspired you and encouraged you to make these cookies. I would love to see your results. Please tag me @shifting_roots on Instagram if you make them.
Planning out your Christmas Baking? You’ll love these recipes too!
If you liked this blog post, follow me on Facebook, TikTok, and Instagram for more cold-climate gardening tips, delicious recipes, and cut flower goodness! I also make weekly videos over on my YouTube channel. I hope to see you there!
WANT EVEN MORE HOLIDAY RECIPES TO FILL UP YOUR COOKIE TRAY?
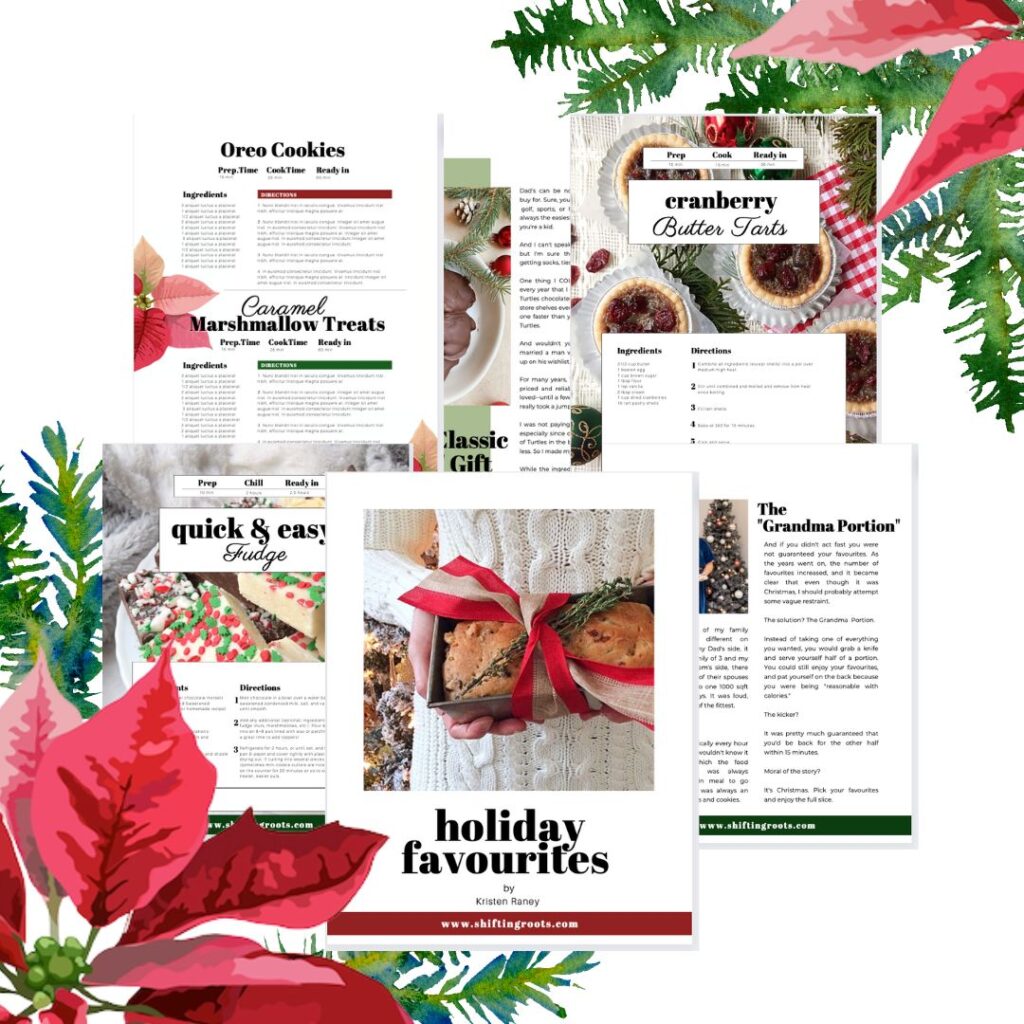
Holiday Favourites E-Recipe Book is a collection of my favourite Christmas baking recipes entwined with special memories and helpful tips all designed to help you make a holiday baking tray that everyone is sure to love! Click the photo below to get your copy today.

Join the conversation