
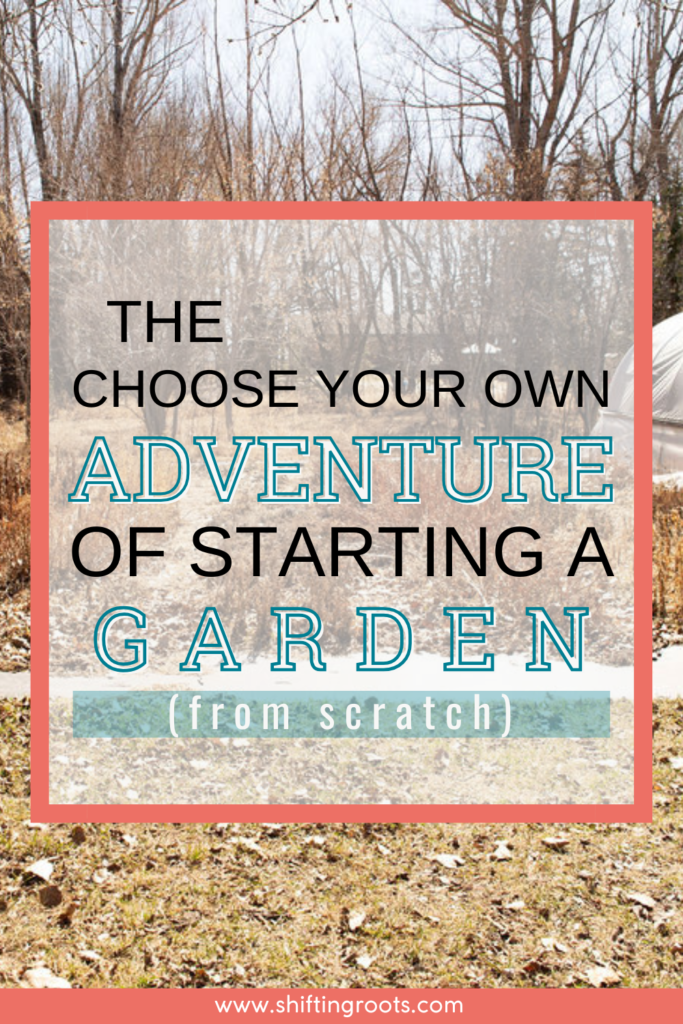
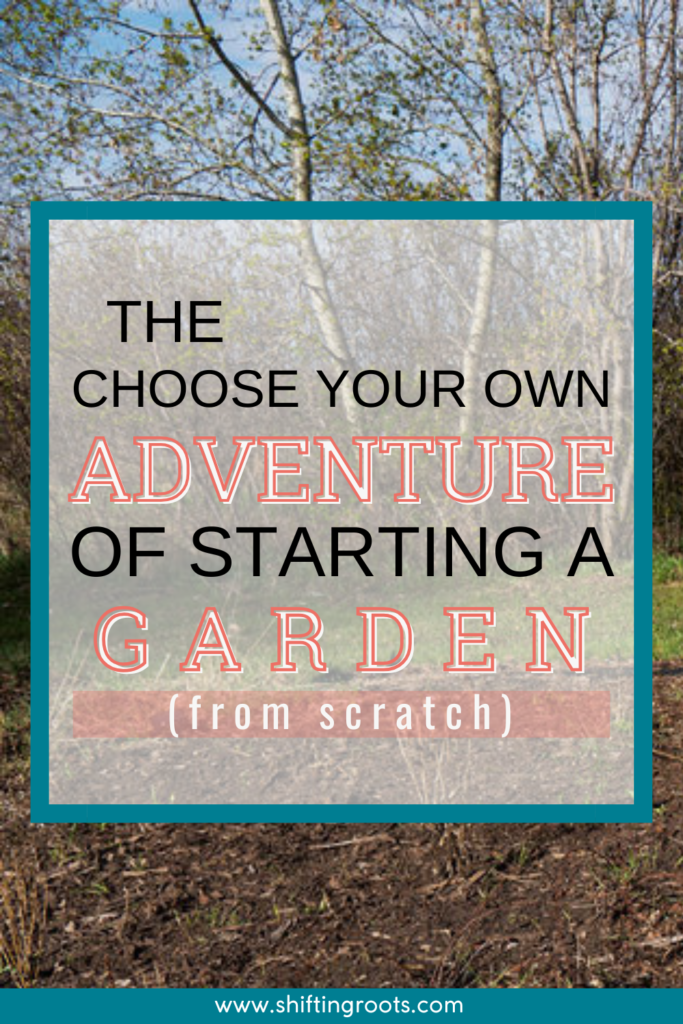
There’s no one-size-fits-all way to start a garden plot from scratch. It all depends on what you’re working with–your soil quality, how much time and money you have, or whether you’ve got access to tools like a tractor or materials like cardboard and newspaper.
In this blog post, I’ll walk you through several different approaches. Think of it like a “choose your own adventure” story, and pick the method that fits your resources, your space, and your level of ambition!
It really comes down to three things: time, money, and how bad the problem is.

How to start your garden if you have…
Lots of time, no budget, and a grassy area
Manual digging
If you’ve got more determination than dollars, and you’re working with a grassy yard, this is the hardest but most budget-friendly way to start. I’ve done it, and I can promise—it sucks.
Scrape off the top layer of grass with a shovel or garden claw, then work the soil underneath. If you can scrounge up any amendments like compost, manure, or leaves, add them in. Weeds will definitely come back, so mulching is your best friend.
Honestly, you might just want to plant potatoes the first year and call it good.

Lots of time, low budget, and a weedy or grassy area
Silage tarp method
If you’ve got time to spare but not much cash, and your future garden space is full of weeds or grass, this method works surprisingly well.
You can use a silage tarp (black on one side, white on the other), cover the entire area, and hold it down with tires, heavy buckets, and chunks of cement so no rain or light can get in. When we did this, we left it for two months to kill off the seedbed. It wasn’t perfect (especially around the edges), but it worked well in the middle.
Expect to spend around $100–$300 on the tarp. Once the weeds are dead, don’t till! Use a garden claw or similar tool to preserve your soil structure.
Check out how we prepped the ground on our acreage below:
Lots of time, low-to-medium budget, and a desire to build soil
Cover crop method
If your goal is to build better soil over time, and you’ve got some flexibility in budget and timing, consider using a cover crop. You can prep the area with a tarp or tilling first, then plant the crop. Once it’s grown tall, but before it goes to seed, trample it down, till it lightly, or tarp it again. This smothers weeds and feeds the soil at the same time.
Limited time, medium budget, and a compacted or grassy area
Tractor or rototiller
If you’ve got a tractor or rototiller (or access to one), this can be a fast way to get started, especially if the ground is compacted or covered in grass. You may need to pull out clumps and do a couple of passes. Add amendments as you go or after the final till.
This method gets things looking great quickly, but weeds will come back hard, especially in the first two years. If you can, mulch right away to help suppress them!
Limited time, medium-to-high budget, and poor soil
Topdressing with soil or manure
If your soil is terrible but you’ve got a bit of money or access to compost or manure, consider building up instead of digging in.
Bring in 4–6 inches of good soil or compost and lay it directly over your garden area. In an ideal world, you’d kill off the existing weeds first with a tarp or cardboard, but if time is tight, you can go straight on top. Just be aware: if you use cardboard, your soil may dry out faster, so water well during the first year!

No time, high budget, and starting from scratch
Raised beds
If you’re short on time and ready to invest, raised beds filled entirely with soil are the quickest way to get started. However, filling beds solely with soil can be expensive, and you won’t get the natural heat and moisture benefits that come from hügelkultur.
For hügelkultur-style beds, start by layering the bottom with newspaper, twigs, leaves, weeds, or grass. Then add a layer of straw to even out the surface, followed by soil, and finally a top dressing of compost or manure. By building your raised beds this way, you create a living compost pile beneath the soil that slowly breaks down, warming the soil, retaining moisture, and feeding your plants naturally. It takes a bit more effort up front, but it pays off with healthier soil and less watering later.

That’s it! Questions or advice? I’d love to hear from you in the comments.
If you liked this blog post, follow me on Facebook, TikTok, and Instagram for more cold-climate gardening tips, delicious recipes, and cut flower goodness! I also make weekly videos over on my YouTube channel. I hope to see you there!
NEED MORE HELP IN THE GARDEN?
Green thumbs aren’t just given out at birth. They’re a combination of learning about gardening and trial and error. If you wish you knew more about gardening and had more confidence in your abilities, you need The Growing Roots Gardening Guide.


Join the conversation