
We’ve all been there. After trying time and time again to rein in the chaos that is your collection of seeds, you’ve resigned yourself to the mess. There are seed packets in your greenhouse, in a pile by the door, with the seed starts, or dumped in a box somewhere. You’ve tried a couple of seed storage ideas, but nothing sticks, and your empty seed storage containers sit there mocking you.
No more.
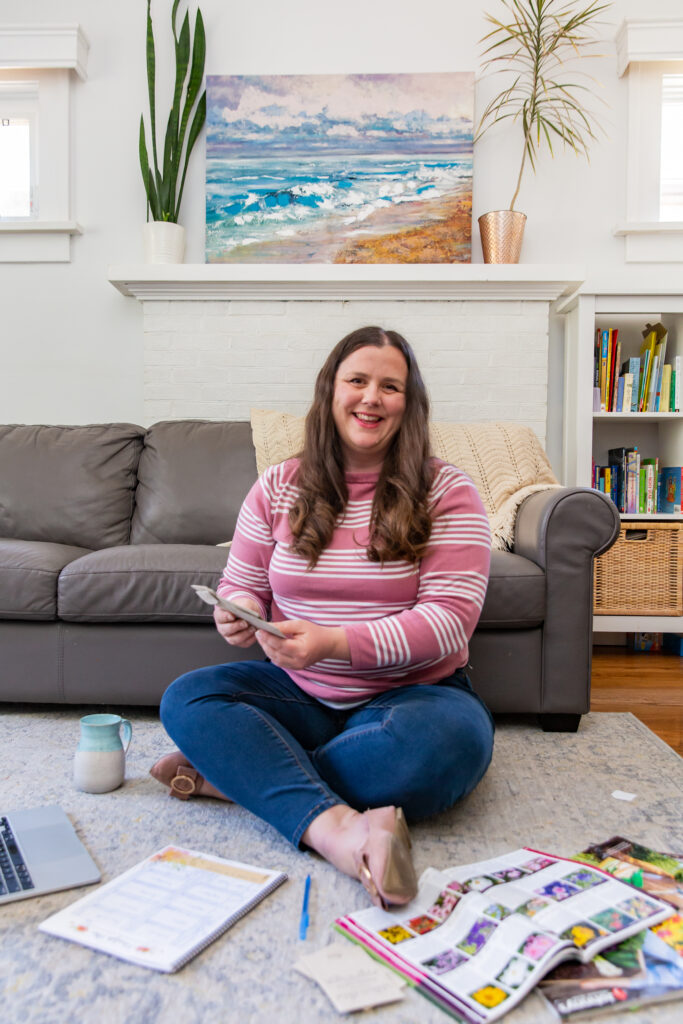
From one chronically messy and unorganized gardener to another, you’re going to love this seed storage system and actually want to keep your seeds organized.
This post contains affiliate links, which means that if you purchase something, I earn a small commission at no extra cost to you. You can read more about it in my privacy policy. Thanks for supporting Shifting Roots!
How Do You Organize Seeds to Start?
Before you start looking at storage containers, you need to assess what you’ve got and put them into logical categories. While every gardener will eventually develop their own system that works for them, here’s what I’ve landed on that works for me.
I like to organize my seeds both by type of seed and by the week I’m going to start them. As a flower farmer, I seed-start a TON of seedlings, and it’s really easy to miss the window for starting a flower if I don’t have everything organized. By grouping my seeds by both type and week, it’s easy to look through my seed collection, pick the containers labelled with the correct week of seed starting, and pull out just the boxes I need.
This way, I also avoid wasting a bunch of time and having to handle my seeds repeatedly.
How do you organize seed categories? To start making your seed-starting categories, you’ll need a calendar, a garden planner, and a chart listing the weeks you’ll need to start your various seeds.
If you don’t have a seed starting guide, you can download my free one here:
Creating a Seed Starting Calendar
The steps for creating a seed-starting calendar are simple:
- Find your last frost date. In Canada, you can find your last frost date here; in the U.S., find it here.
- Determine your seed-starting weeks: count backward twelve weeks from your last frost date, week by week. Label each week as Week 12, Week 11, Week 10, and so on. I prefer to start my planting weeks on Friday, but you can choose any day of the week that works for you. For example, if your last frost date is May 15th, Week 12 would fall around February 20th.
- Consult your seed-starting schedule and write the plants in their respective weeks to start on your calendar.
- Organize your seed packets by type (e.g., strawflowers, broccoli, cauliflower, lettuces, snapdragons) and/or by the week they need to be started. You can also create categories for special projects, such as winter sowing, or separate the seeds you plan to plant at different times or those you intend to direct sow. The choice is completely yours!
Check out how I organize my seed starting organization in the video below:
The Best Seed Storage Container to keep everything organized
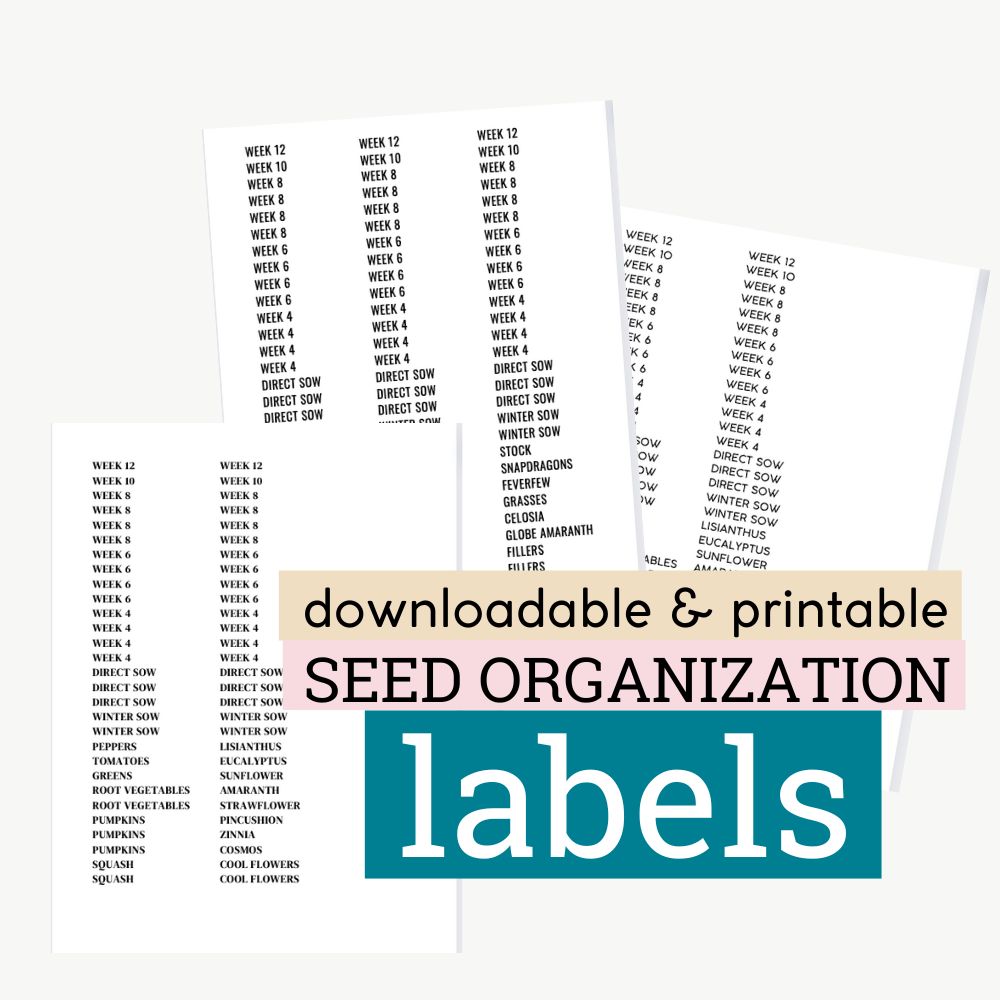
The secret to keeping everything organized is this photo storage container. While it’s meant for photos, it’s also the perfect size for storing seed packets. I’ve customized my seed organizer box with my business name on the front and labels inside, so it’s incredibly easy to grab the seeds I need and stay organized.
Want to steal my labels? Buy the printable files here!

Get printable seed organizer labels in the perfect size, available in both .pdf and .svg formats, here.
How long will seeds keep in this storage container?
Each year you keep the seeds, the germination rate will decrease. You can help slow this decline by storing the whole container in the fridge. I realize that that is probably not practical for most people. If you’re unable to store seeds in a fridge, just make sure they are in a cool (if possible) but most importantly dry location.
Without refrigeration, my seeds generally last 2-3 years, though some varieties can last much longer.
If I’m planting old seeds, I’ll often plant more than I need to try to compensate for any possible poor germination. You can also do a germination test using a wet paper towel and a clear plastic bag to determine your germination rate.
Steps for Testing Germination Rate:
- Insert a wet paper towel into a plastic bag along with a minimum of 10 seeds (make sure to count them)
- Store the bag at room temperature until the seeds germinate
- Count how many seeds germinate
- Divide the number of germinated seeds by the total number of seeds. Multiply by 100 to get your germination rate (e.g. 6 germinated seeds / 10 total seeds x 100 = 60%)

If you liked this blog post, find me on Facebook, TikTok, and Instagram for more cold-climate vegetable gardening tips, delicious recipes, and cut flower goodness! I also make weekly videos over on my YouTube channel. I hope to see you there!
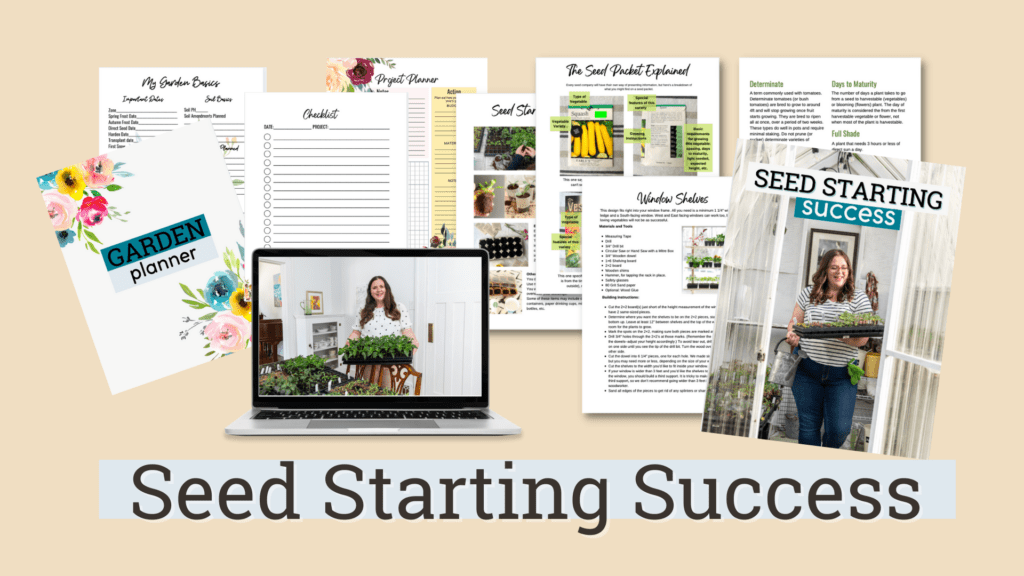
HAVE YOU TRIED SEED STARTING, ONLY TO BE LEFT WITH STRETCHED-OUT SEEDLINGS AND DEAD PLANTS?
You’re not a bad gardener–you just need a little know-how. For the price of a few seed packets, you can stop wasting time and money, and start growing seedlings that actually live and you get to harvest. Don’t miss out on another growing season. Get your copy of Seed Starting Success now!


Join the conversation