
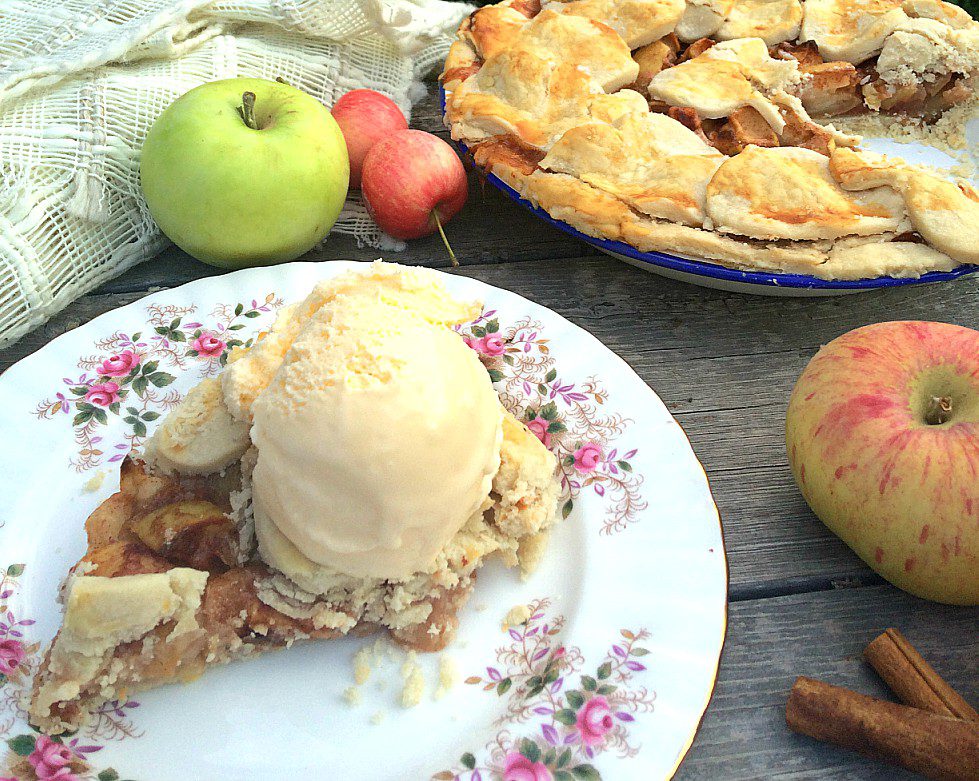
My childhood memories of both of my grandmas revolve heavily around apple pie. Both of them always had tons of pies stored in their freezer, ready to whip out at a moment’s notice for company or to send to a friend in need of encouragement.
I’ve only managed this feat once before, and it was very nice to have something homemade, ready to take to a friend with a new baby or potluck at church.
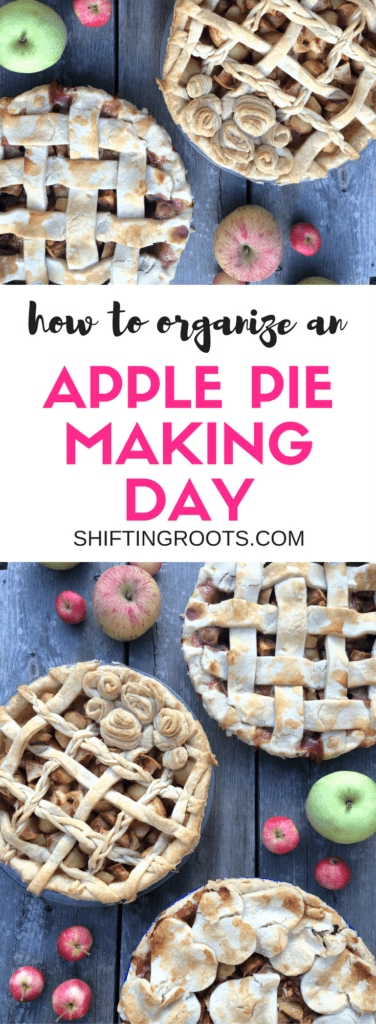
My grandma and her sister-in-law used to get together every fall and bake over 30 pies in one day. While I don’t think I’ll have that kind of time until I’m retired, my friend and I were able to crank out 10 in one day around teaching schedules and kindergarten/daycare pick-up and drop-off.
I’ll show you what you need and how to get fancy if you want. I’ve also linked to some of my blogger friends’ favourite versions of apple pie. I personally use the crust recipe from the Better Homes and Gardens Cookbook.
Disclaimer: This post contains affiliate links, which means that if you purchase something, I earn a small commission at no extra cost to you. You can read more about it in my privacy policy. Thanks for supporting Shifting Roots!
The Set-up
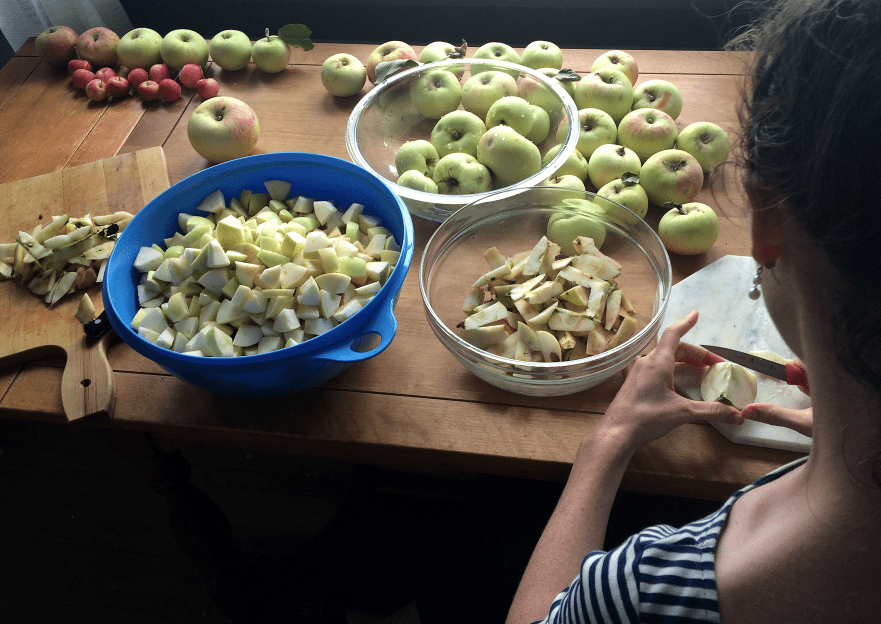
You’ll want to set aside 4-6 hours to make 8-10 pies, as cutting up the apples is the longest part of the whole process.
You’ll need three large bowls: one for whole apples, one for cut apples, and one for cores and stems. Fill the bowl intended for finished apples a quarter of the way full of water mixed with a generous splash of lemon juice. Mixing your cut apples in the lemon water mixture will help keep them from browning. Or you can live on the wild side and let them get a bit brown! I won’t judge.
Make sure you have a knife and cutting board for everyone in your apple-pie-making bee.
Choosing Your Apple Pie Crust
So many recipes, so little time! There are versions with lard, shortening, butter, and eggs… how do you know which one is the best?
I don’t know which one is the best, and I still haven’t found my perfect crust recipe. However, I’m happy to share my opinions on what tastes better and is easier to work with!
I’ve tried recipes with eggs or vinegar in the crust and haven’t noticed a difference in flakiness. Crusts with lard or butter taste the best, in my opinion. Shortening tastes a little flat to me.
Related: How to Make Crab Apple Juice
Lard or butter-based crusts are the easiest to work with. Shortening tends to fall apart a bit more easily. Please do not come after me if your favourite recipe uses shortening and you find it easy to use. I think that if you’re a seasoned pie maker, you can make any recipe work. These are my thoughts for the complete beginner.
Related: The Ultimate Sour Cherry Pie
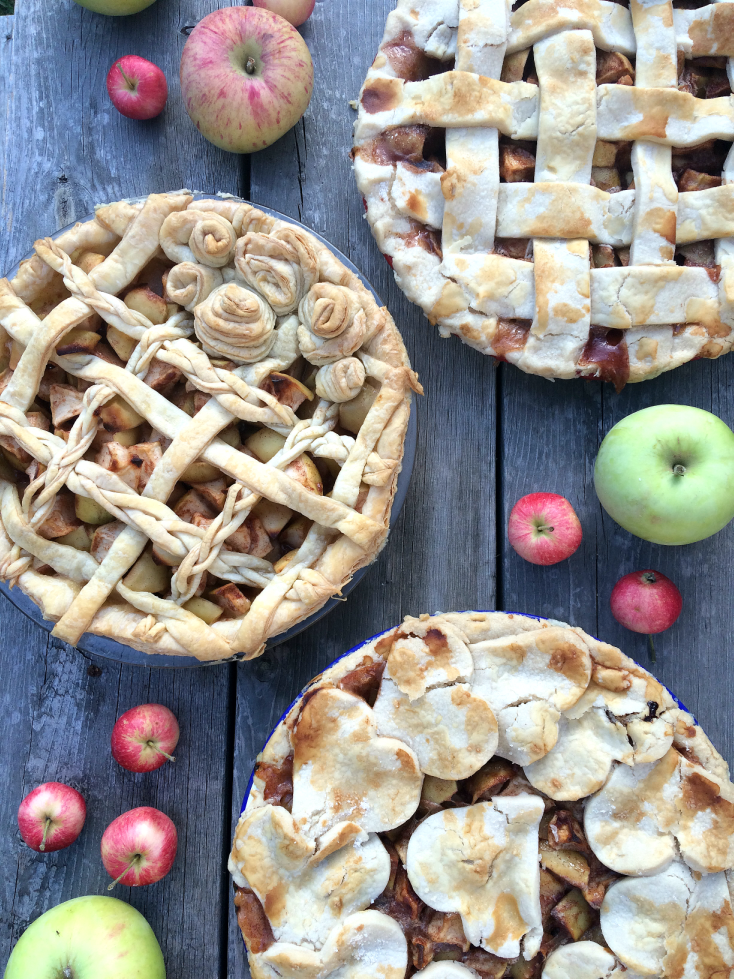
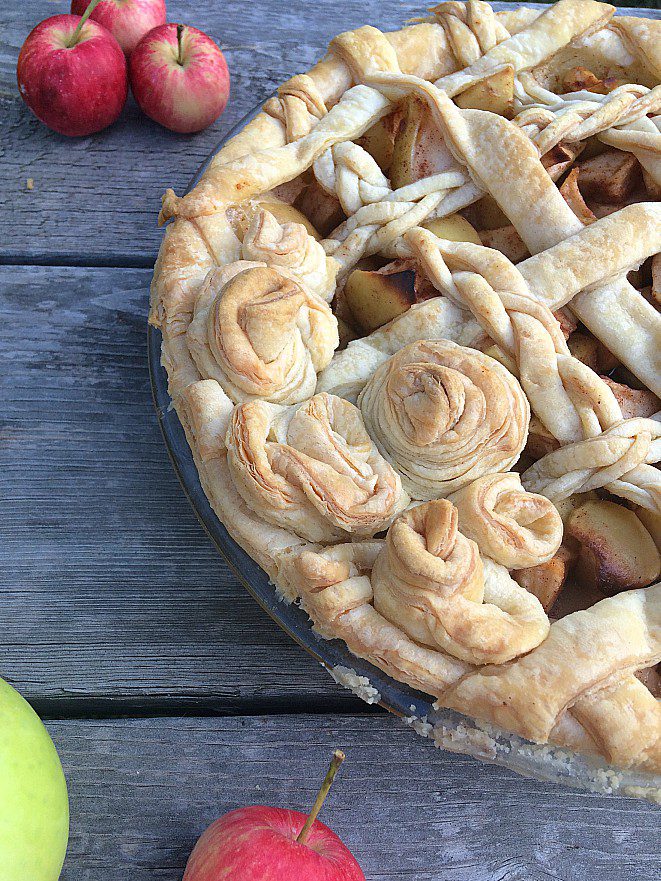
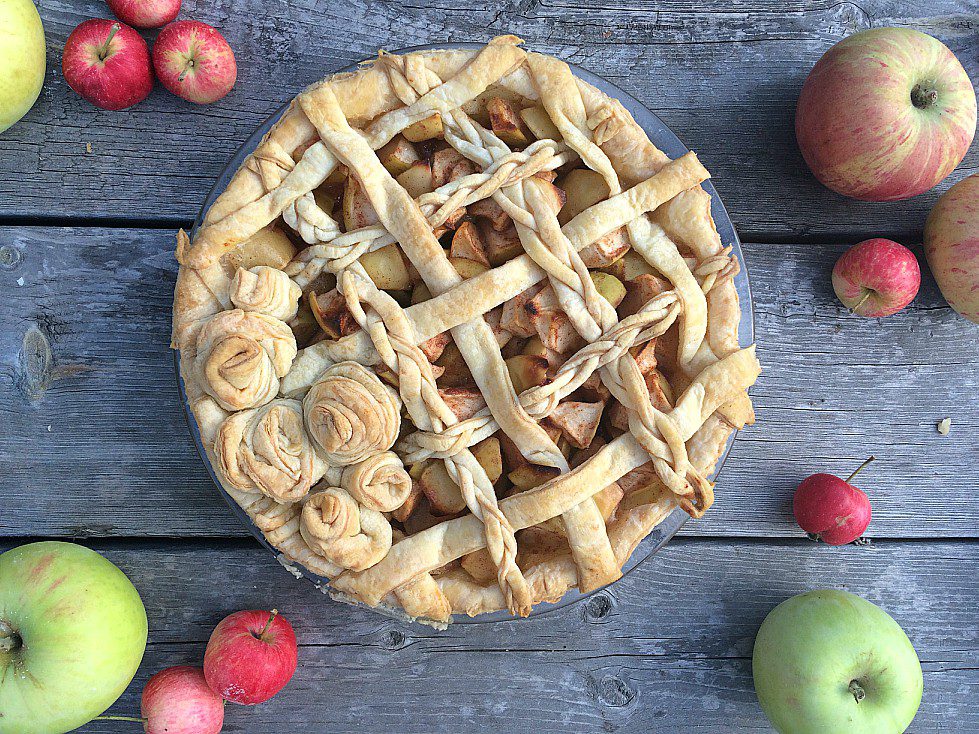
The Secret to Fancy Pie Crust
Do you want to know the secret to making beautiful pie crusts like you see on YouTube?
They use a store-bought crust.
Yes, it seems like cheating, but it is so much easier to work with. Every time I’ve tried to go fancy with homemade crust, my crust just gets tougher and tougher the more I work with it. But do I throw away dough? No, because my grandmas both burned that Depression-era mentality of not throwing away food into me!
If you want to make braids or flowers with your pie crust, you’ll probably need to buy two packages of dough. Puff pastry will do if you can’t find pie crust.
How to Work with Pie Crust
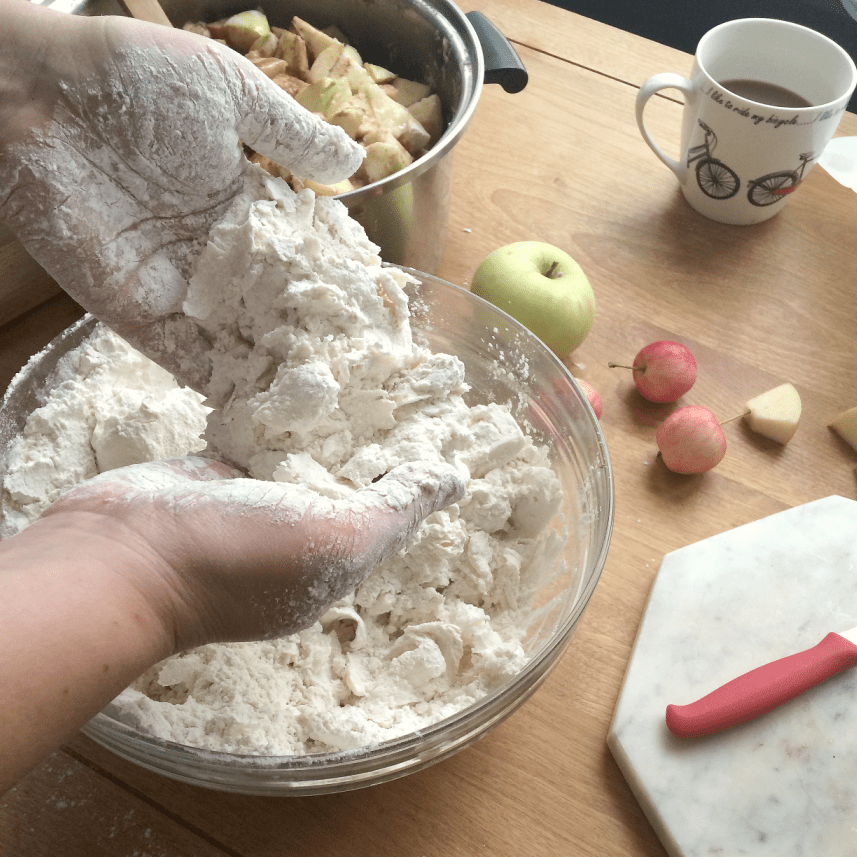
For best results, keep your hands, work surface, and rolling pin as cold as possible. Will your pie still be delicious if you can’t? Yes. Colder surfaces just keep your crust easier to work with. (And flakier on your fork!)
I personally like to mix my pie crust with my hands, but you can get a pastry cutter.
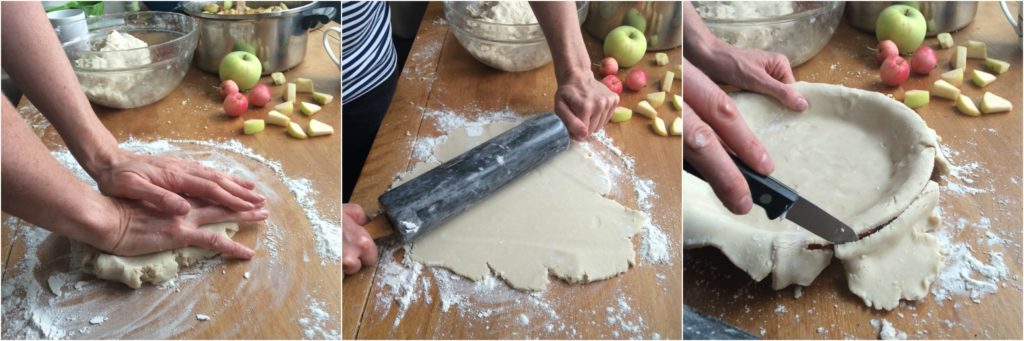
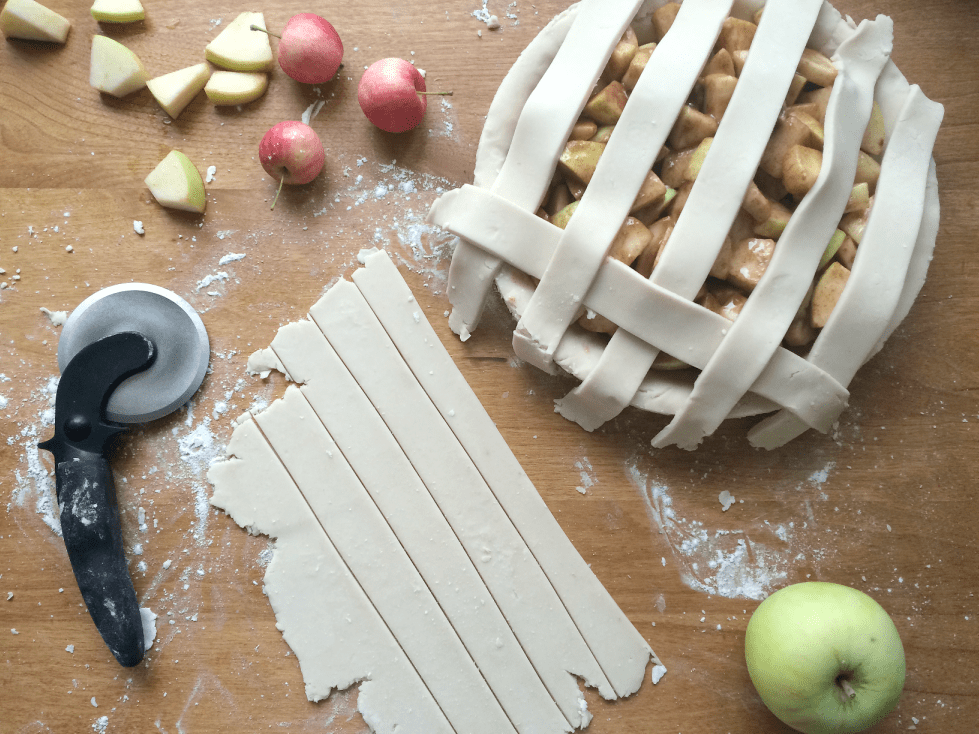
Flour your surface and flatten a ball of dough. Roll as thin as you can, fold the dough half over your rolling pin, and transfer to the pie plate. Cut around the edges with a knife.
Don’t freak out if your crust breaks a bit. Press the bits together and move on. You will get better the more you make pie, and I promise it won’t always be this awkward.
Roll out another pie crust and poke holes in the top to keep things easy. Seal the crusts with a fork.
Apple Pie Recipes
If you’ve watched the videos, you’ll notice that I don’t really use a recipe for the filling. I go by taste and what looks right to me. Here are some of my favourite apple pie recipes from some of my blogging friends:
- Apple Crumble Pie from Joy Food Sunshine
- Gluten-Free Apple Pie from Gluten-Free Homestead
- Gluten-Free Crustless Apple Pie from Strength & Sunshine
However, if you’re feeling brave, try baking by taste! If you have a huge bowl of cut-up apples, start by mixing in 2 cups of sugar, 1/4 cup lemon juice, 1/2 cup flour, and a generous sprinkling of cinnamon. Mix and taste.
Not sweet enough? Add a cup of sugar. Too sweet? Add more lemon juice. The flour is there to act as a thickening agent.
Trust yourself. You’re going to make mistakes, and that’s okay. That’s how you learn to step away from the recipe book!
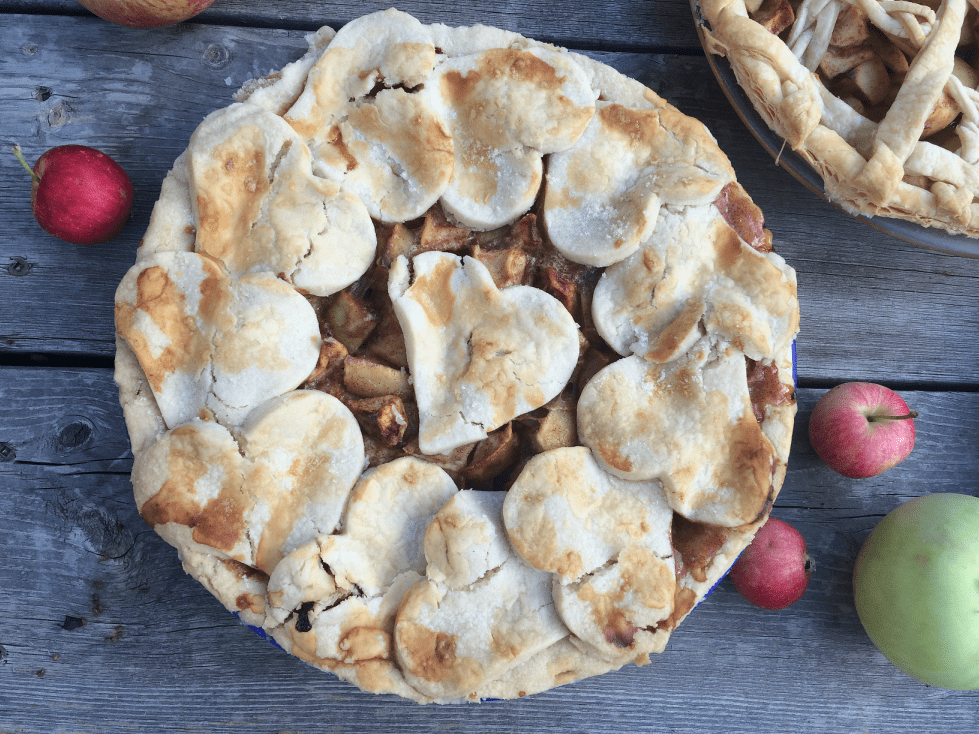
Finally, brush on a bit of milk and sprinkle with sugar to get a nice brown crust.
I like to freeze my pies unbaked, but you can bake them first and then freeze them if you like. Either way, you’ll have a delicious pie to enjoy any time of year!
If you liked this blog post, find me on Facebook, TikTok, and Instagram for more cold-climate vegetable gardening tips, delicious recipes, and cut flower goodness! I also make weekly videos over on my YouTube channel. I hope to see you there!
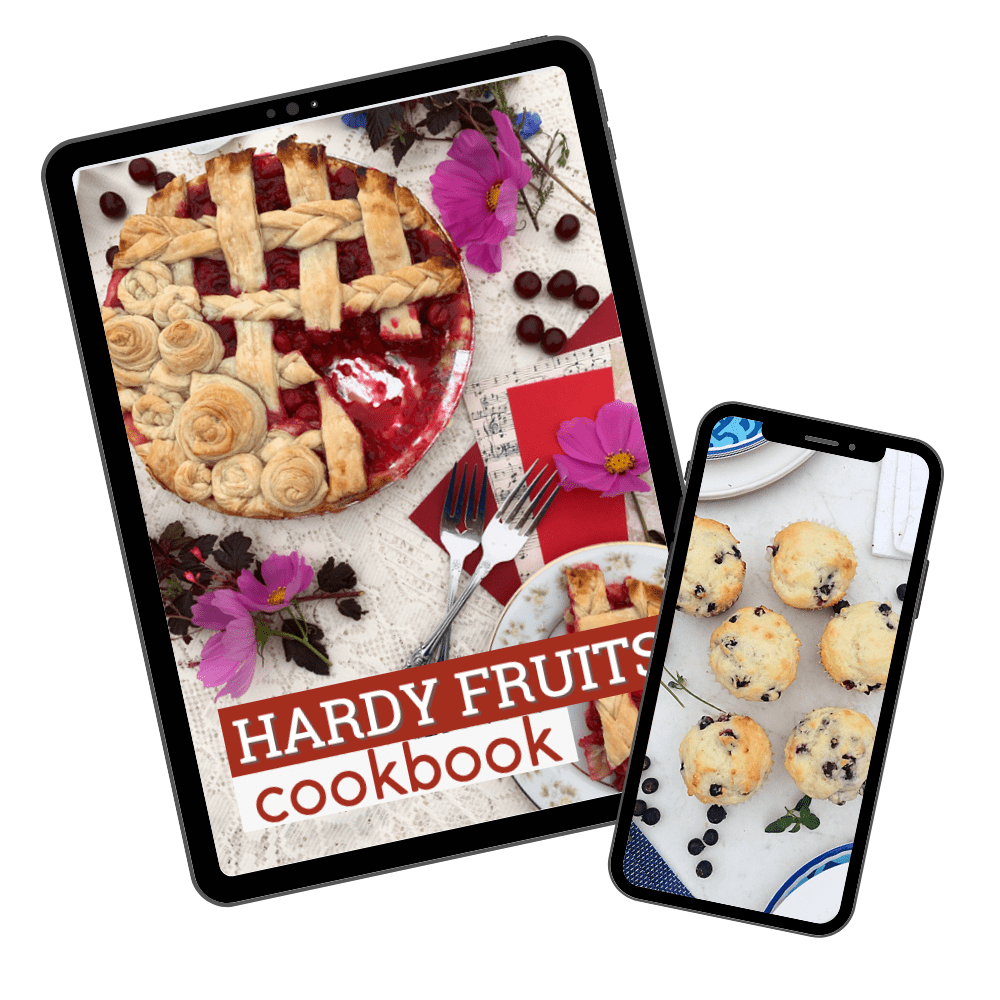
DO YOU JUST WANT THE RECIPE WITHOUT HAVING TO SCROLL TO THE BOTTOM?
Get over 25 recipes–using Saskatoon berries, sour cherries, raspberries, rhubarb and more–in my digital Hardy Fruits Cookbook!

Barbara