Every summer, my family searched high and low for a coveted box of New York Cherry Cheesecake ice cream. Not just any grocery store would carry it, and even the ones that did didn’t always have it in stock.
It was the small-town-holy-grail of ice cream.
When I was in grade three, we managed to secure a box during a sleepover with my best friend. We happily devoured the ice cream, fearing no consequence. Unfortunately, the next day I woke up with small red spots all over my body.
“Yikes, must have been the cherry cheesecake ice cream we ate last night. Maybe you’re allergic!” proclaimed my concerned nine-year-old friend.
I felt itchy all over as I imagined my fate without my favourite ice cream.
Turned out it was chicken pox.
While I’m positive that the ice cream had nothing to do with chicken pox, it is a fun memory that I always think of when I eat this ice cream.
What hasn’t changed? New York Cherry Cheesecake ice cream is still hard to find in Saskatchewan. (Thank you, Twisted Sisters in Chamberlain, SK, for carrying it!)
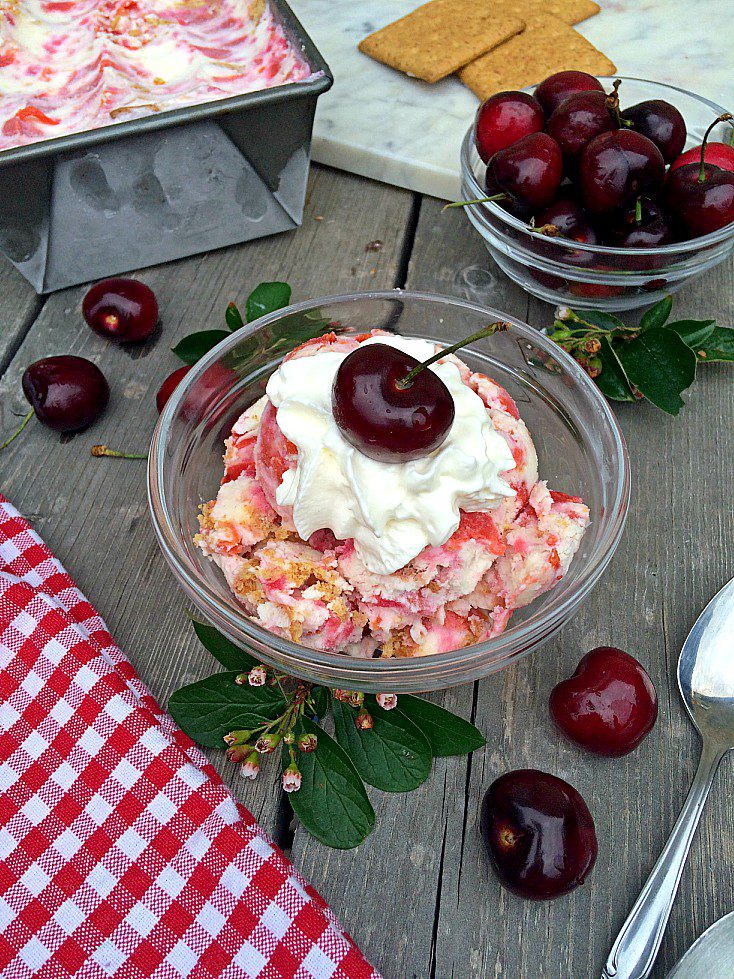
I set out to make my own.
A Sweet Dilemma
The problem with making ice cream is that it usually involves expensive equipment. Yes, I own a kitchen aid mixer, but do I really want to pay $200 for the ice cream maker attachment?
No, thank you.
Thankfully, you don’t have to own any fancy equipment to make your own version of the coveted New York Cherry Cheesecake ice cream. All you need is a large bread pan, a mixer, and some patience while the ice cream freezes.
Trust me, the patience part is hard!
Related: The Best Sour Cherry Pie
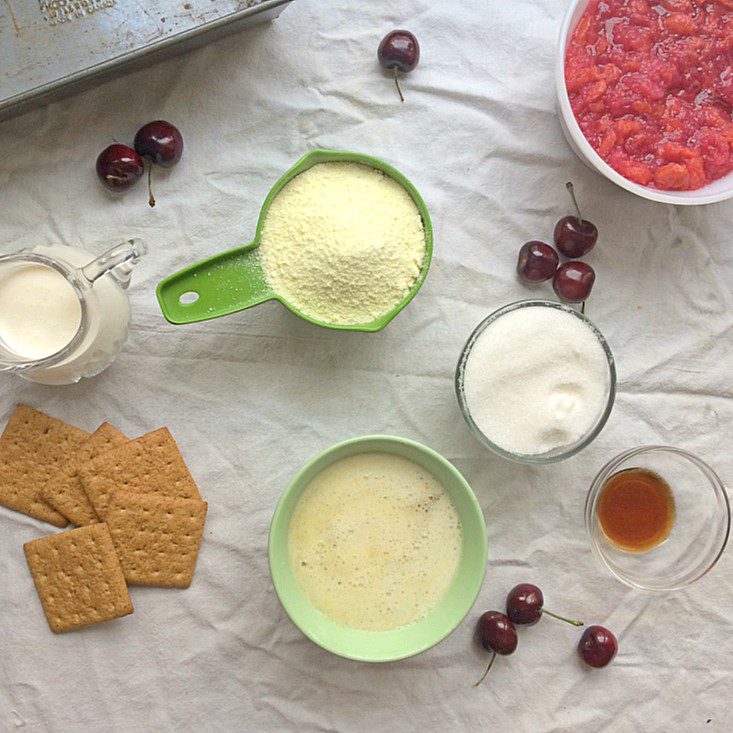
In theory, you could make this recipe with five ingredients and be done with it. However, I like to make my own sweetened condensed milk because it’s cheaper, and I can control the sugar. Prepared pie filling from a can is obviously easier, but a quick homemade version is way tastier.
Related: Cheesecake Brownie Bites
No Churn, No Problem
I already had frozen pie filling from last summer’s sour cherries on hand in my freezer. If you’re using fresh cherries, you can make your own quick pie filling with cornstarch and sugar.
Good Ice Cream Takes Time
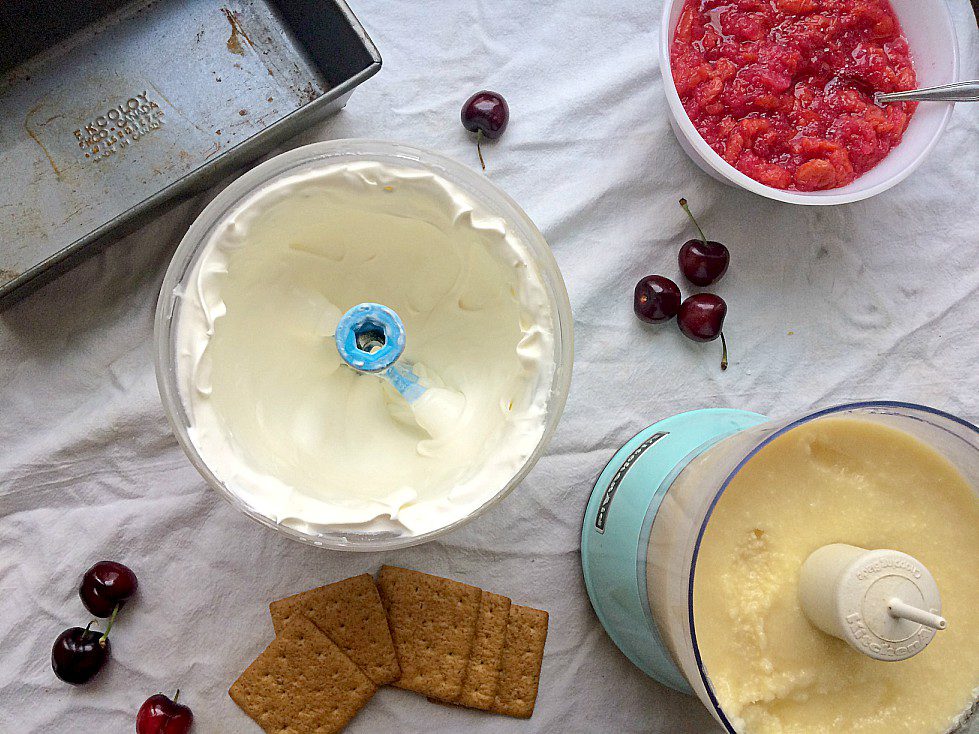
Unfortunately, this ice cream has a lot of steps. You have to whip the cream, then the sweetened condensed milk, and then the cream cheese. I’ll be experimenting in the coming months to see if I can get the amount of dishes dirtied down without sacrificing the texture.
If you make your own sweetened condensed milk, you might end up with a grainier texture than the stuff you buy in the store. Fear not. Any graininess will be gone once the ice cream freezes.
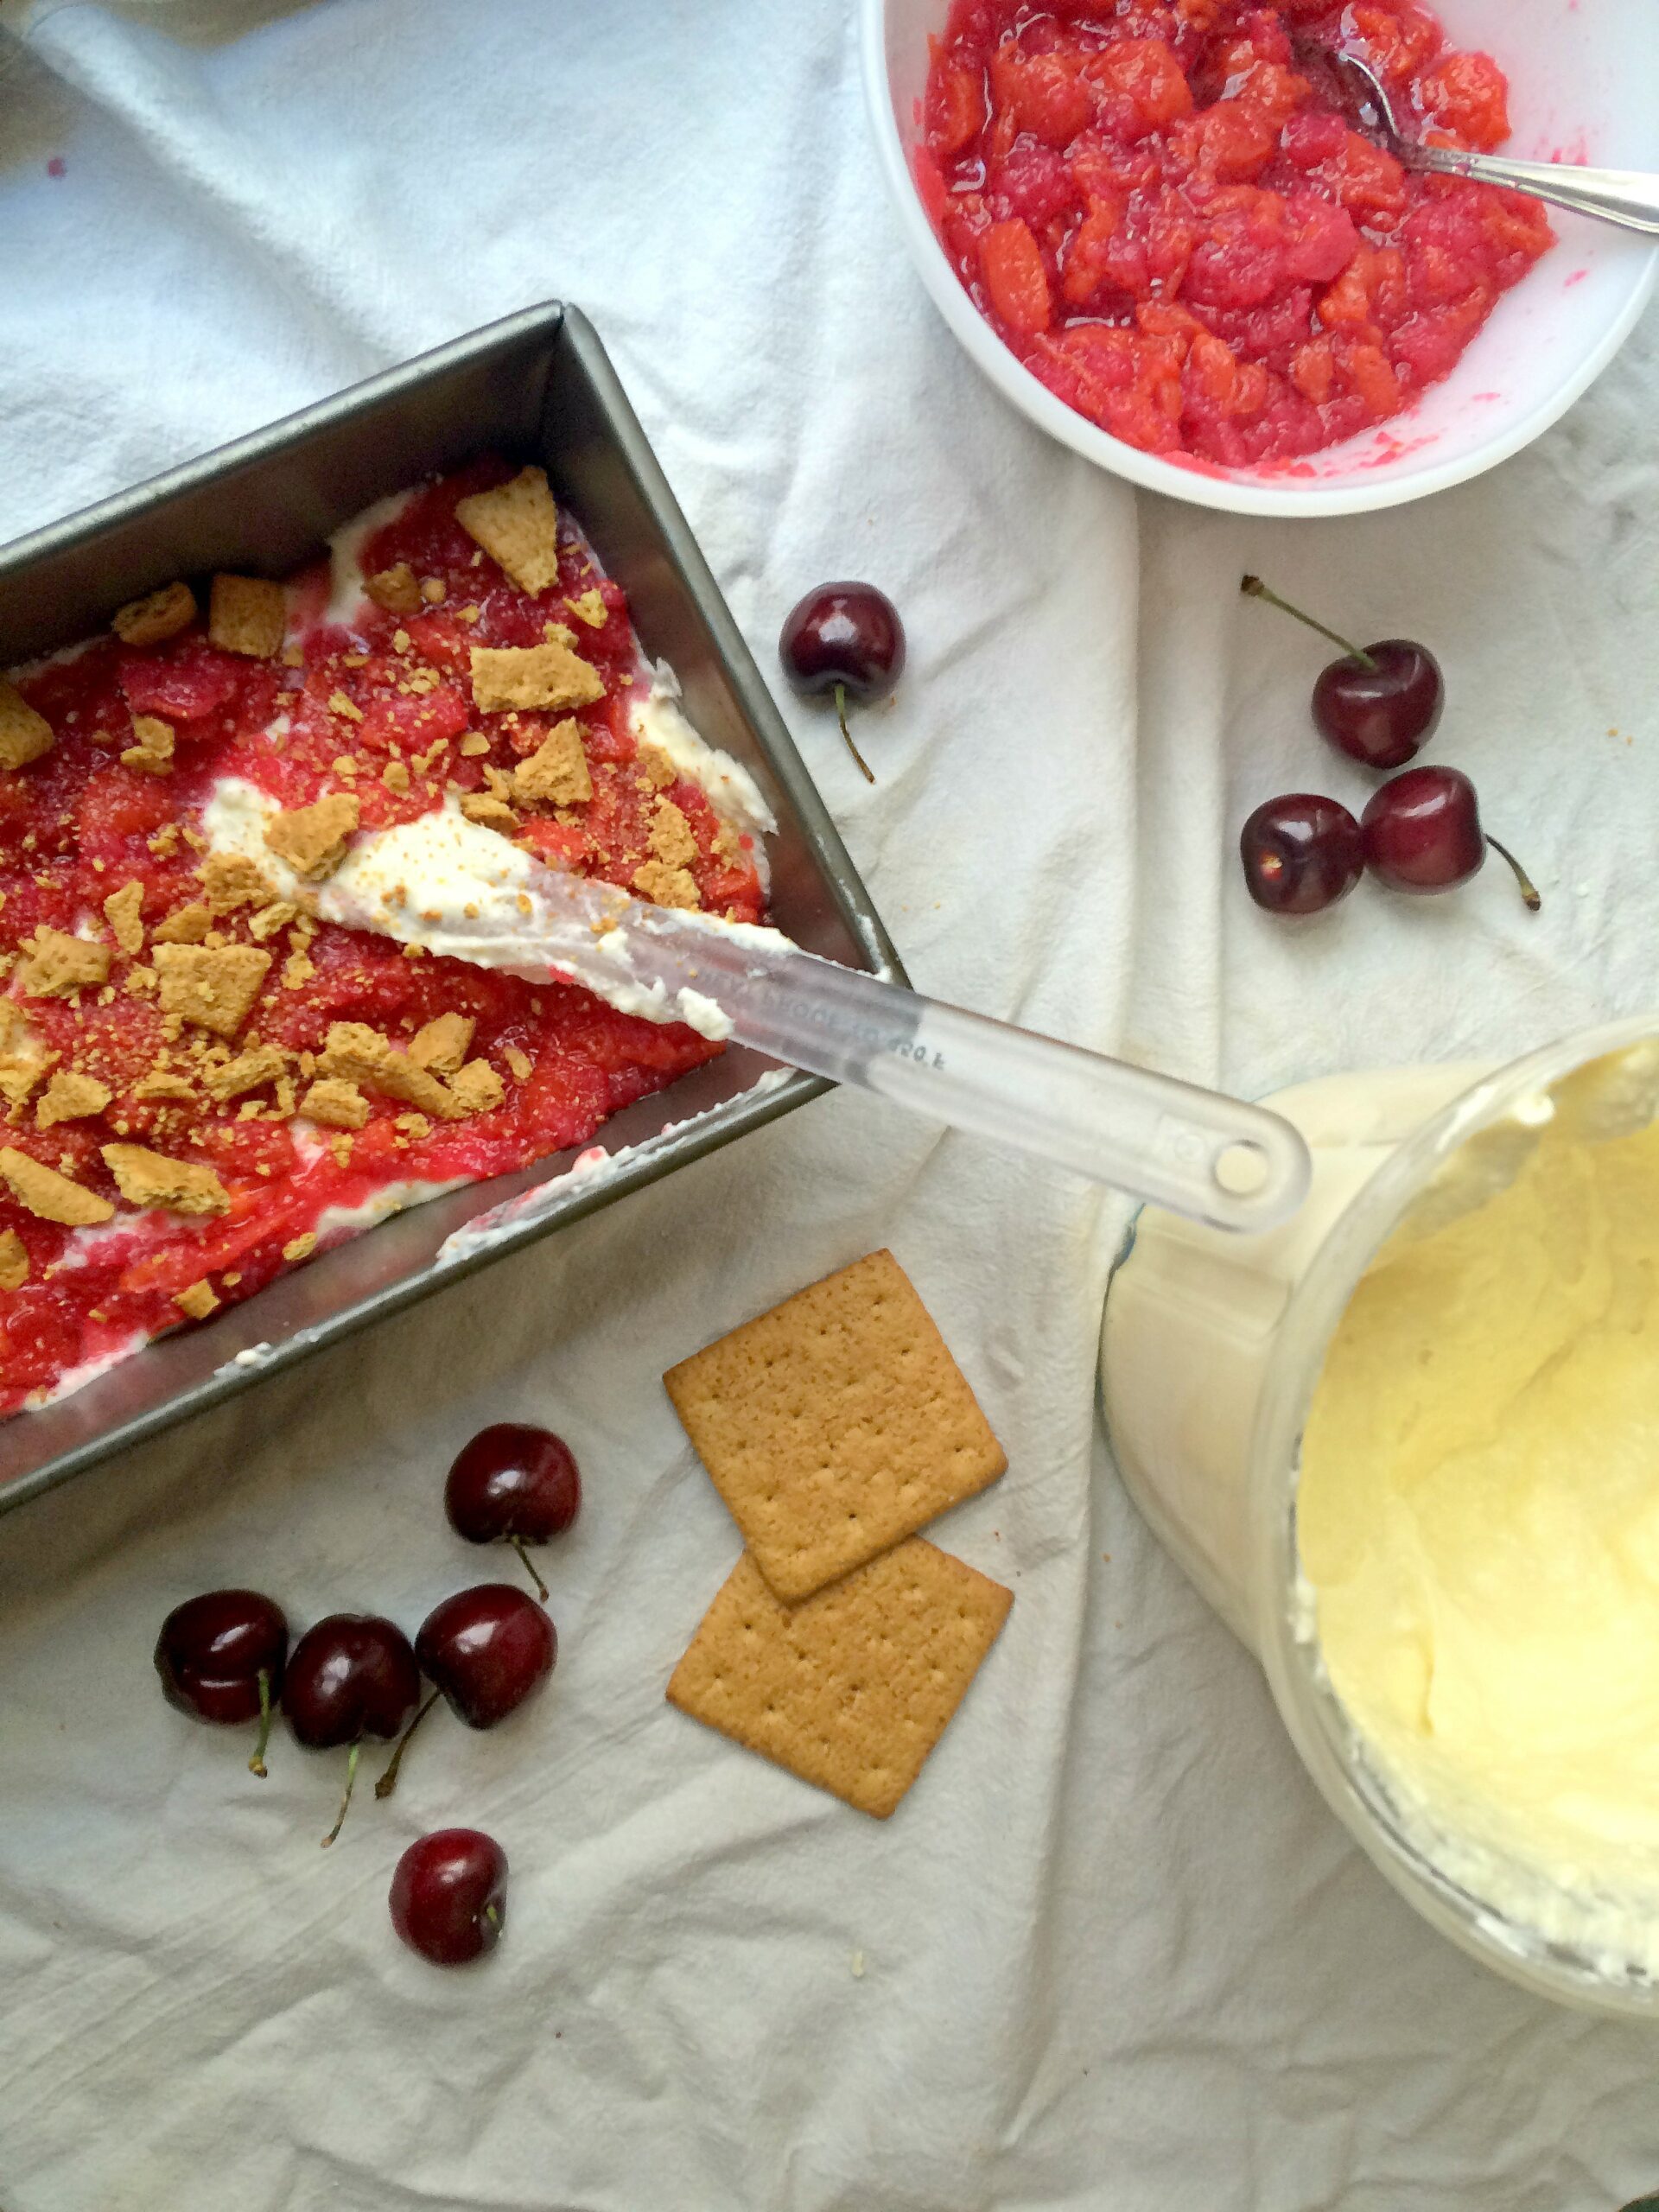
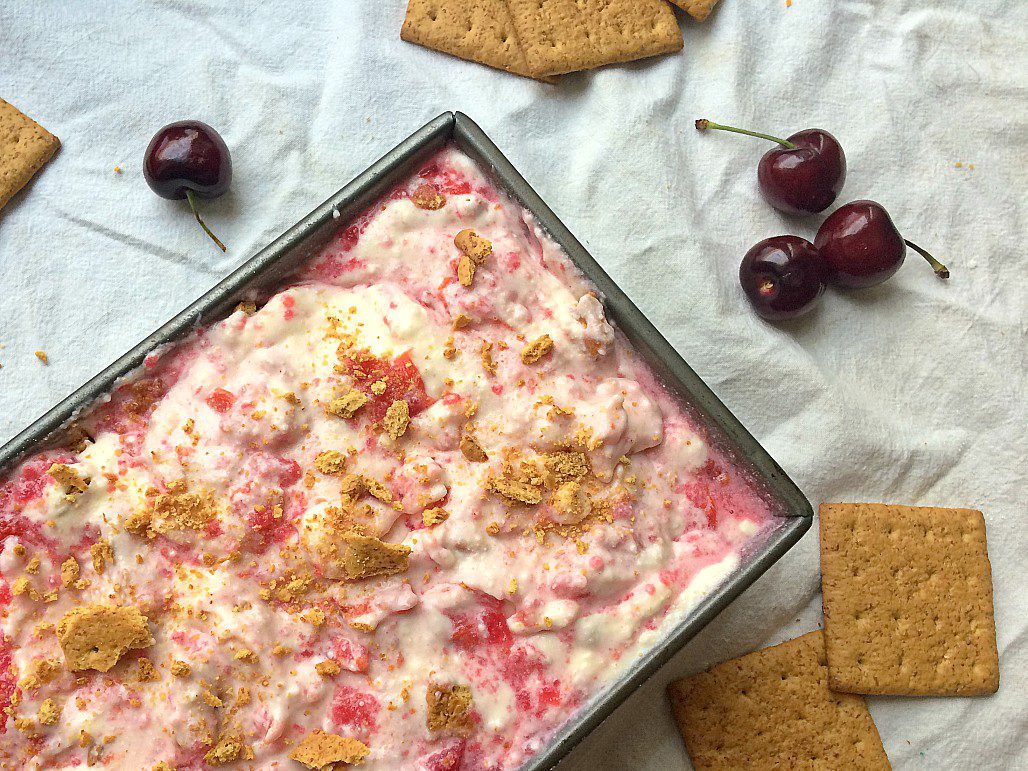
The whipped cream, sweetened condensed milk and cream cheese combine to form the ice cream base. Spread half the mixture in the large bread pan. Put half of your cherry pie filling overtop and crumble two graham crackers.
Repeat the process.
Related: The Prettiest Saskatoon Berry Cheesecake
Mix with a spatula and top with one more crumbled graham cracker for presentation. Put a piece of plastic wrap over the ice cream and freeze overnight.
When researching the no-churn method, some blogs said you could eat the ice cream in as little as six hours. I found that mine was not ready, but I think it depends on your particular freezer.
For the record, ours is old and decrepit.
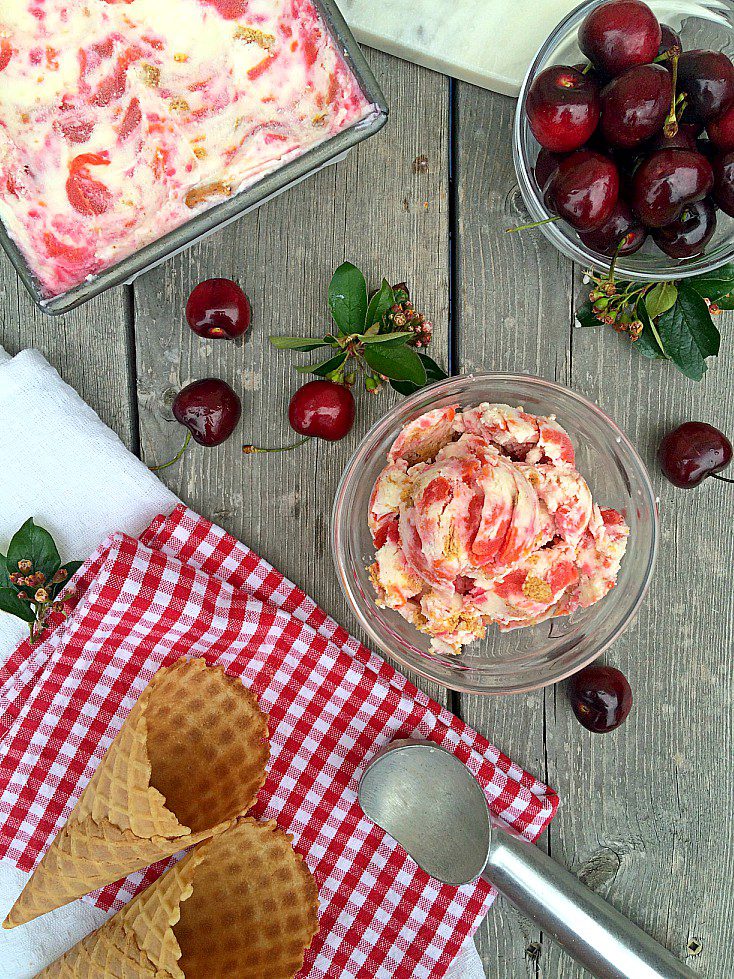
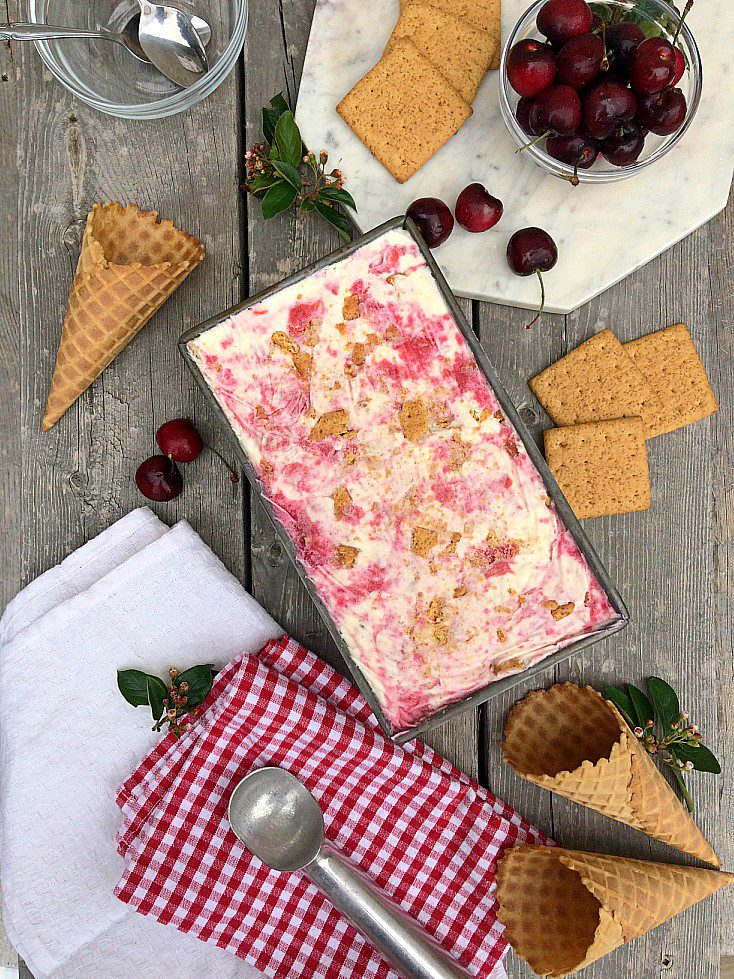
Let the pan of ice cream sit at room temperature for 5-10 minutes before serving. Scoop and serve!
This version is packed with cherries and is so much more flavourful than the store-bought one.
P.S. My friend in the story just so happens to be coming over to my house with her son today. I can’t wait to share with them.
Let’s hope her son doesn’t get chicken pox!
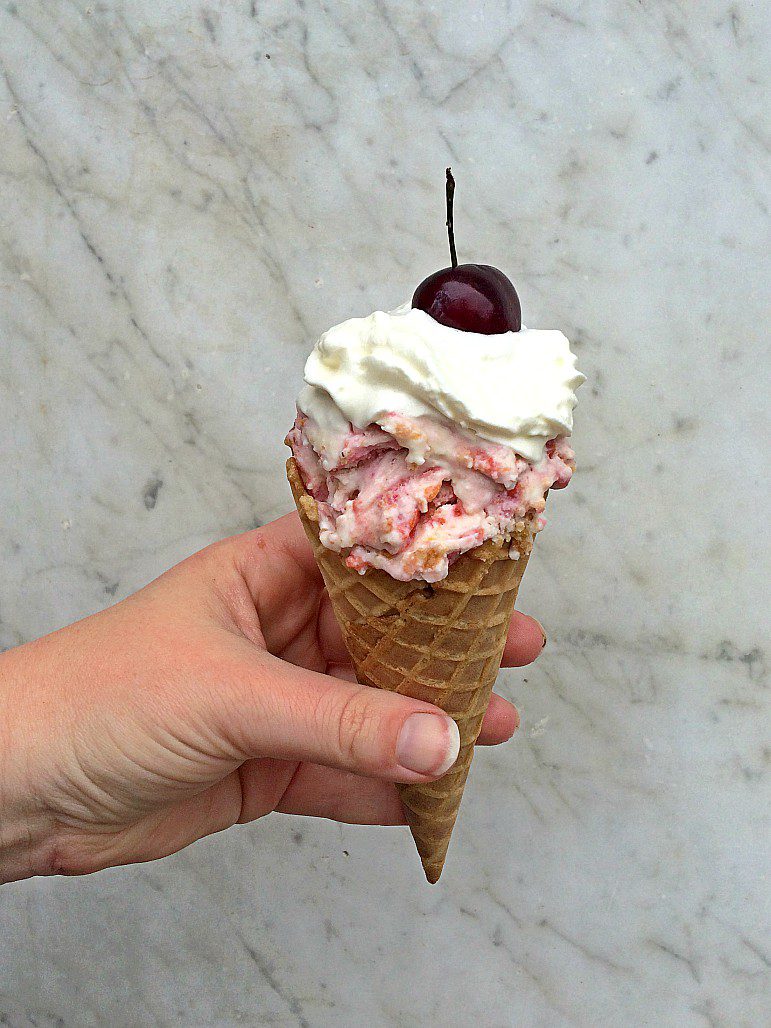
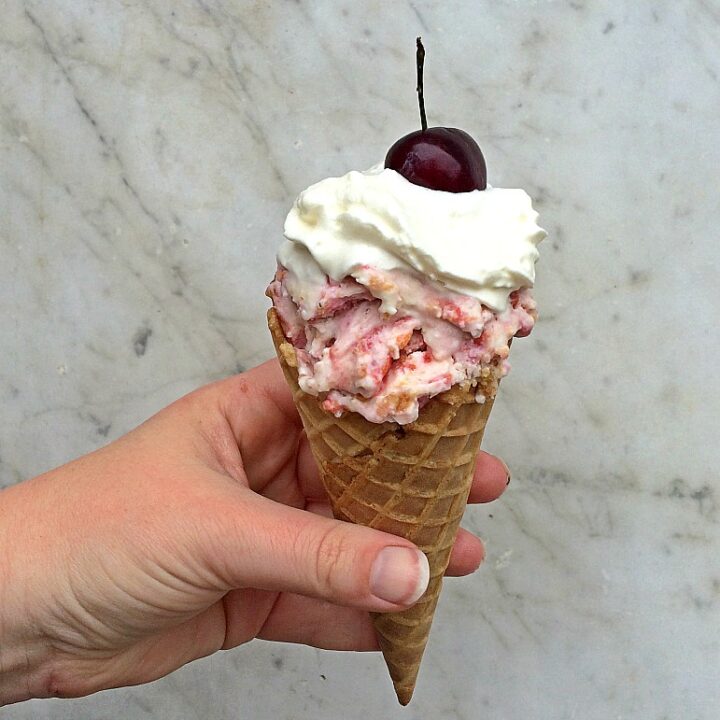
No-Churn Cherry Cheesecake Ice Cream
Everything you love about cherry cheesecake in ice cream form.
Ingredients
- 2 cups whipping cream,
- 1 cup salted butter, melted,
- 1 cup white sugar,
- 1 cup powdered skim milk,
- 2 tsp vanilla,
- 1/2 brick cream cheese,
- 2 tbsp water,
- 2 cups sour cherries,
- sugar to taste, try 1/2 cup,
- 1 tbsp cornstarch,
- 5 graham crackers
Instructions
1. If making your own cherry pie filling, heat two cups of cherries and 1/2 cup of sugar on medium high. Mix cornstarch with a tiny bit of water to make a smooth liquid. This will prevent clumps.
2. Add to the cherries when they start to bubble. Stir for a minute or two, or until it reaches desired thickness. (It should be quick. If not, add more cornstarch.) Set aside and let cool.
3. Whip the 2 cups of whipping cream until soft peaks form, about 2 minutes. Set aside.
4. In a food processor, combine butter, sugar, skim milk powder and vanilla until very well blended. Do not worry if there is still a bit of graininess, you will not taste it.
5. Skip this step if using pre-made sweetened condensed milk. Set aside.
6. Blend the cream cheese with 2 tbsp water until smooth. In a large bowl, combine whipped cream, sweetened condensed milk mixture, and cream cheese to form the ice cream base.
7. In a large baking pan, pour in half the ice cream base and top with half the cherry pie filling. Crumble two graham crackers and spread.
8, Repeat the process. Mix lightly with a spatula. Top with one last graham cracker for presentation.
9. Cover tightly with saran wrap and set in freezer for overnight. Your ice cream may be ready in as little as 6-8 hours, but mine wasn’t.
10. Set out for 5-10 minutes before you’re ready to serve. Enjoy!
If you enjoyed this recipe, find me on Facebook, TikTok, and Instagram for more delicious recipes, small space gardening and flower farming tips, and more! I also make weekly videos over on my YouTube channel where I share lots of tips and tricks for cold-climate gardeners. I hope to see you there!
P.S. If you love the content I create for Shifting Roots, consider joining our community on Patreon. Your support means the world to me and I am grateful for each and every one of you!
DO YOU JUST WANT THE RECIPE WITHOUT HAVING TO SCROLL TO THE BOTTOM?
Get over 25 of them– using Saskatoon berries, sour cherries, raspberries, rhubarb and more in my ebook Hardy Fruit Cookbook!




Emily @ Pizza & Pull-ups
Rose
Chelsea Rose
Alexandra
Sumer | Grace, Giggles & Naptime
Kristen Raney
Corey | The Nostalgia Diaries
Christine C
Kristen Raney
Katie
Summer @ Coffee With Summer
Aryn
Jackie
Abram
Kate
Jessica Devlin Design
Easton Salomon
Tina
Kristen Raney
Siobhan