
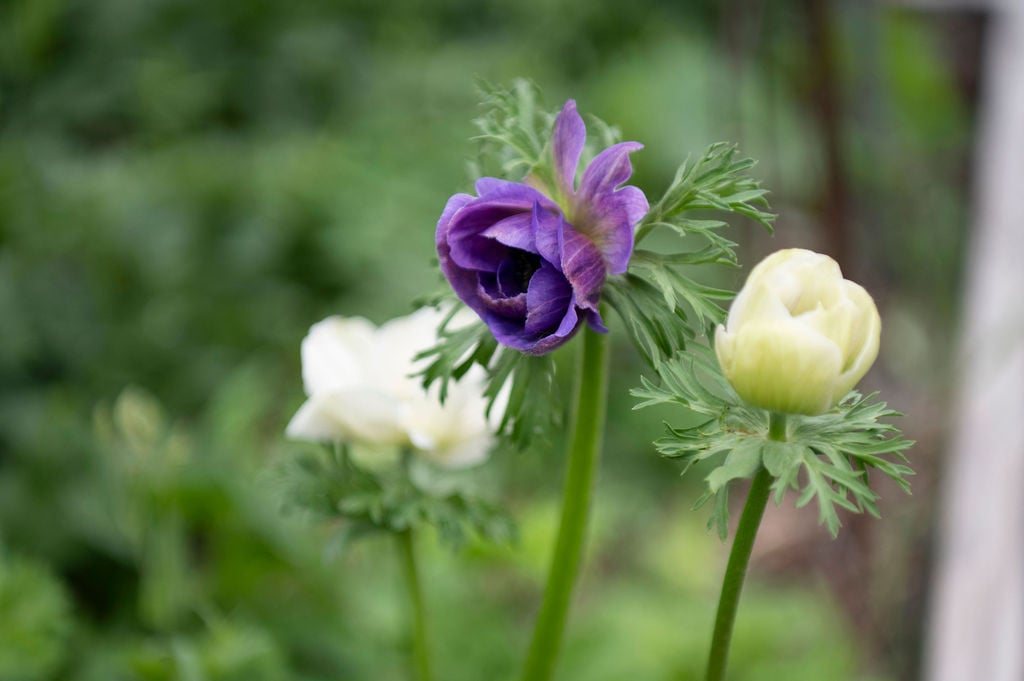
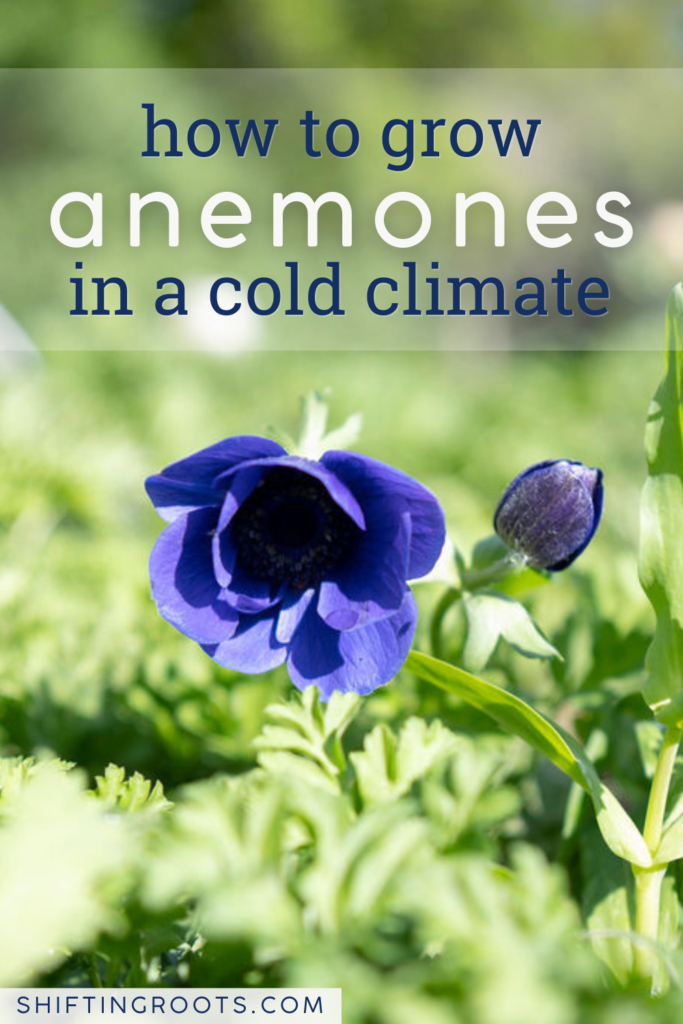
Anemones are beautiful, spring-blooming flowers that come in a variety of colours. I love arranging these blooms for late-spring and early-summer brides!
If you’ve always wanted to grow these flowers and you garden in a short growing season and cold climate, like I do in Zone 3, this is the blog post for you!
Soaking & Pre-Sprouting Anemones
Because we have such a short growing season here on the Saskatchewan prairies, you can’t just throw dry anemone corms straight into the soil. To get those beautiful, early spring blooms before the summer heat hits, you have to wake them up indoors first.
If your last frost date is somewhere around May 15th, like mine, you’ll want to start this process in early March:
- Wake the shrivelled corms up in a bath of room-temperature water for 4–5 hours until they plump up.
- Plant the plump corms, pointy side down, in a seedling tray filled halfway with potting soil.
- Cover them with more soil and water, then leave them in a cool, dark place for about two weeks.
Once those two weeks are up and you see those first signs of green, it’s time to move your trays. Expect to have your anemones under grow lights for 1-4 weeks, depending on the weather and how early you started them. I aim to plant mine out in mid- to late-April.
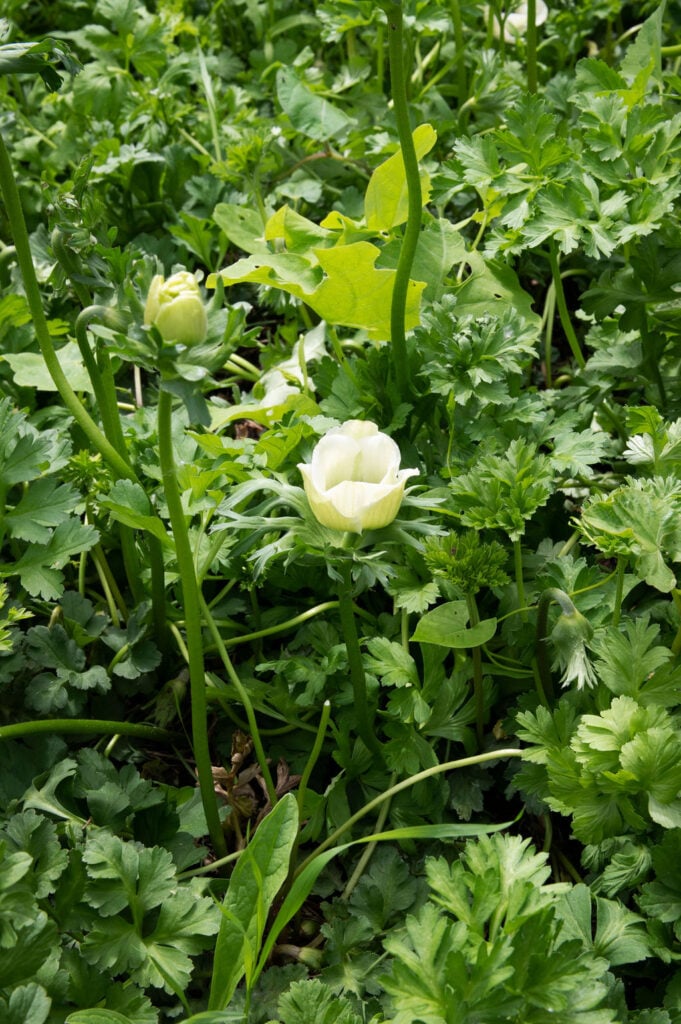
Protecting Anemones from Frost and Sun
Once your anemones are planted out in the garden, you’ll need to have frost-protection contingencies in place (because there will be frost!). You can pile leaves or straw to help protect them. I also recommend hoops with frost fabric.
Once all risk of frost has passed, you’re not out of the woods yet! Now you’ll need to protect them from the sun.
If you can’t get your hands on shade cloth, you can use the same frost cloth you used before. My personal rule is if it’s over 16ºC/61ºF and sunny, have the shade cloth on. Anenomes start to die at 24ºC/75ºF, but I find that covering them at 23ºC/73ºF usually means I’m too late. I use my rule of covering at 16ºC to account for microclimates in the yard and things being hotter than the network says.
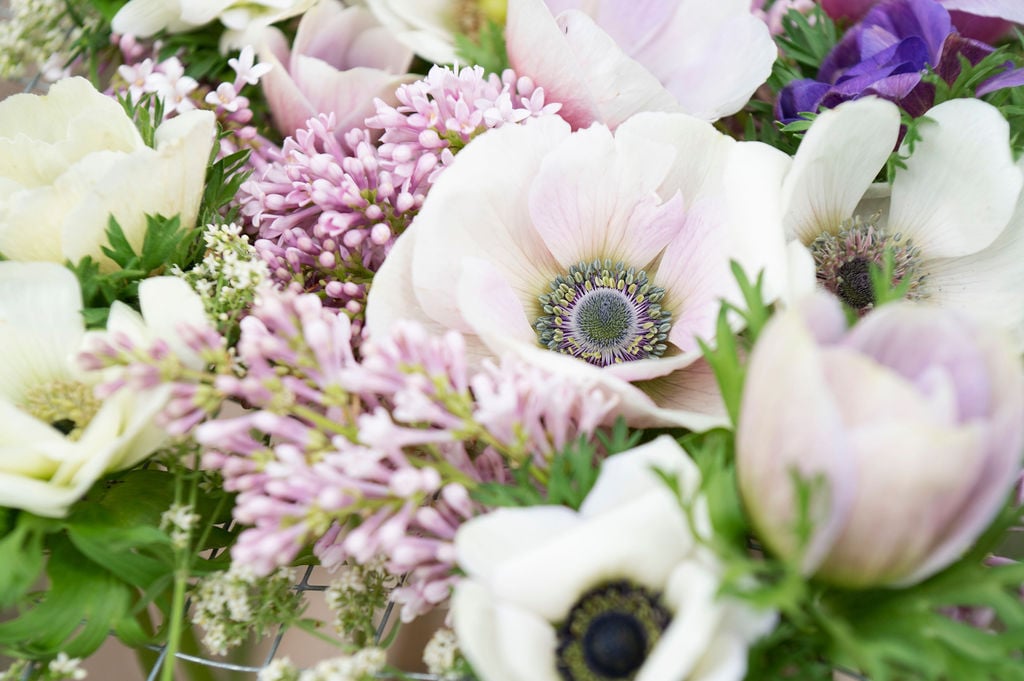
When to Harvest Anemones
While flower farmers typically aim for about an inch of space before harvesting, I find that the anemones tend to blow open too soon if I wait that long. I prefer to harvest them as soon as the center is visible and there’s a bit of space between the bottom of the flower and the leaves.
If it’s hot out, make sure they spend some time in your fridge to extend their life. Anemones typically have a pretty good vase life and can last up to 10 days!
Best Anemone Varieties
My favourite varieties are Blanco Nero and the Pastel Mix. This year, I’m trying out bridal varieties for the first time. While I appreciate that they bloom earlier, they don’t quite make it onto my favourites list. However, they are still quite useful!
If you like the darker purples and blues and are just growing them for yourself, the Lord Lieutenant variety is a bit more forgiving, but the kind of work I do, it doesn’t make sense, as no one ever wants that colour in arrangements.
If you liked this blog post, find me on Facebook, TikTok, and Instagram for more cold-climate vegetable gardening tips, delicious recipes, and cut flower goodness! I also make weekly videos over on my YouTube channel. I hope to see you there!
READY TO GROW YOUR OWN BEAUTIFUL CUT FLOWER GARDEN WITHOUT THE HASSLE?
I’ve taken all the guesswork out of creating a cut flower garden with my e-book, Cut Flowers Made Simple. It’s the perfect way for beginner and intermediate gardeners to start their own cut flower garden with or without seed starting.
Finally, you can create a stunning cut flower garden with everything you need to make beautiful bouquets all summer long.


Join the conversation