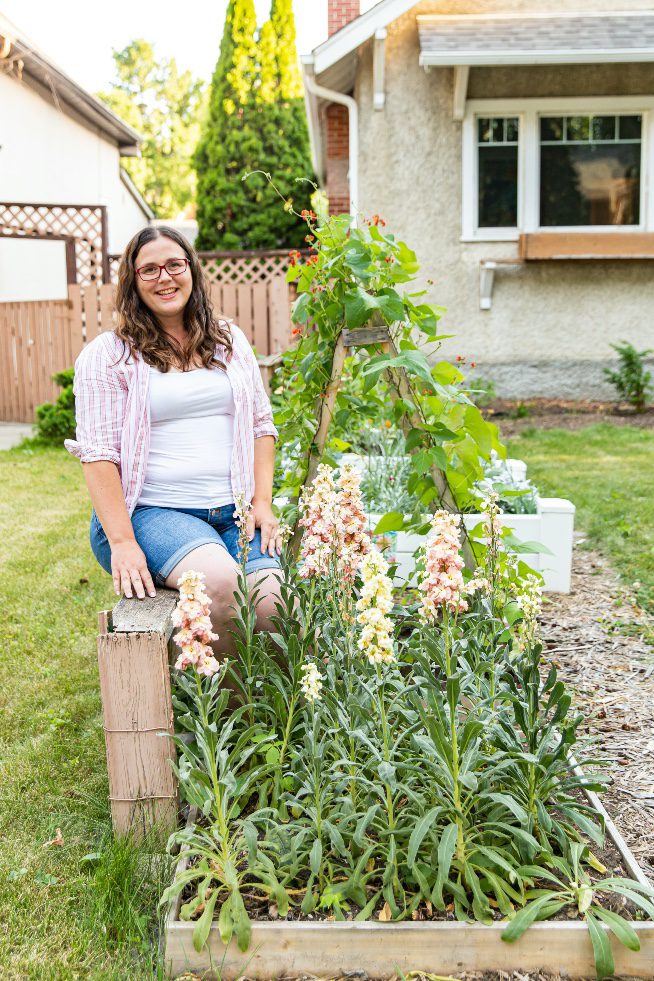
You don’t have to have acres and acres of space to grow a cut flower garden. In fact, you don’t even need a backyard. If you have a few raised beds, I can show you how to take the principles of square foot gardening and apply them to flowers instead of vegetables.
Flowers don’t need as much space between rows as you might think. In fact, when some varieties are spaced closer together, it encourages taller stem growth, which is the goal in a cut flower garden.
And to top it all off, I’ll even give you a simple raised bed cut flower plan for beginners! But before we get there, let’s go through how to set up your raised beds and what to plant.
Brand new to square foot gardening? Here’s everything you need to know to get started.
This post contains affiliate links, which means that I earn a small commission if you purchase something at no extra cost to you. You can read more about it in my privacy policy. Thanks for supporting Shifting Roots!
Are there any flowers that can’t be grown in a raised bed?
In general, no. You can grow everything in a raised bed that you would directly in the ground. However, you need to be careful about which heights of plants you put beside each other, as they won’t have the space of a row beside them to reduce the effect of possibly being shaded out.
For example, it would be a bad idea to plant a Sunflower beside a Bachelor’s Button. Once the Sunflower takes off, the Bachelor’s Button won’t get enough light.
Now that you know that the flower world is your oyster, let’s learn how to start your cut flower garden in raised beds! And, if you want to see how I designed my small space, backyard cut flower garden in 2020, check out the video below:
STEP-BY-STEP INSTRUCTIONS FOR DESIGNING A RAISED BED CUT FLOWER GARDEN
1. Pick the Location for Your Raised Bed
Before you order a single seed or start gathering supplies for your raised bed, you need to make sure you have a spot in your yard that gets at least 8 hours of direct sunlight a day. Sure, there are some cut flowers that can handle part shade. But the bulk of the cut flowers you will want to grow will be full-sun flowers.
Look for any trees or buildings that might cast extra shade on the area you want to place your beds. If you’re new to your property, you might not realize that the tree that’s bare in winter will create a lot of shade in summer once it’s filled out with leaves.
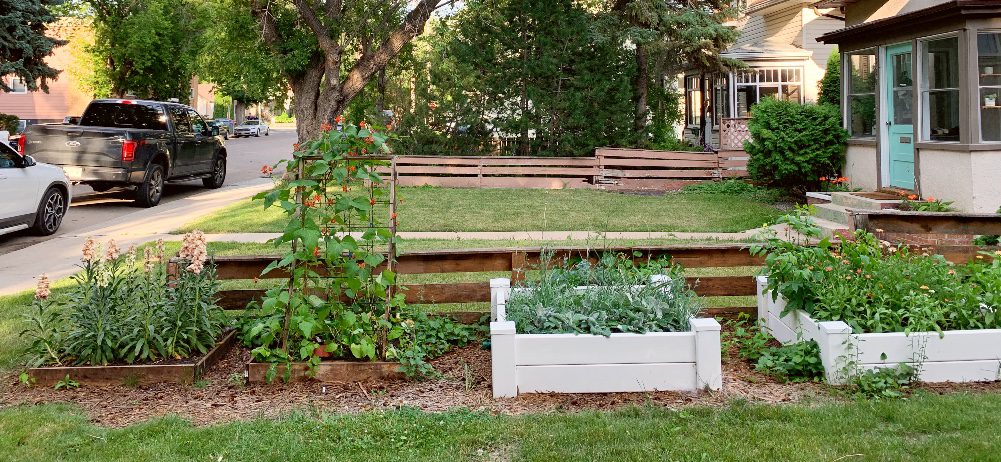
Finally, if you’re planning on putting your raised beds in a front yard, here are a few more things to consider to keep your neighbours happy.
2. Order or Make Your Raised Bed
There are so many options for raised beds, is there really a best one?
It depends on what you value (time, ease of setup, durability, etc.), so I’ll go through some of the pros and cons.
Making your own raised bed with wood is the cheapest, and offers the most flexibility in sizes. If you’re going that route, make sure you know if your wood is treated or not, and if it is treated, make sure it is from after 2003. Previous to that date, the product used on treated wood contained chemicals that, if leached into the soil, were dangerous for human consumption. We personally decided to go with untreated wood for most of our boxes.
If you want to make your own raised beds, you can find plans for some here.
If you can afford cedar, it will last the longest. Generally, cedar lasts around 10-15 years, depending on your climate, before it needs to be replaced. Regular untreated wood may need replacing in as little as 3 years, but could also last as long as 10. The thicker the boards and the less exposure to moisture, the longer they will last.
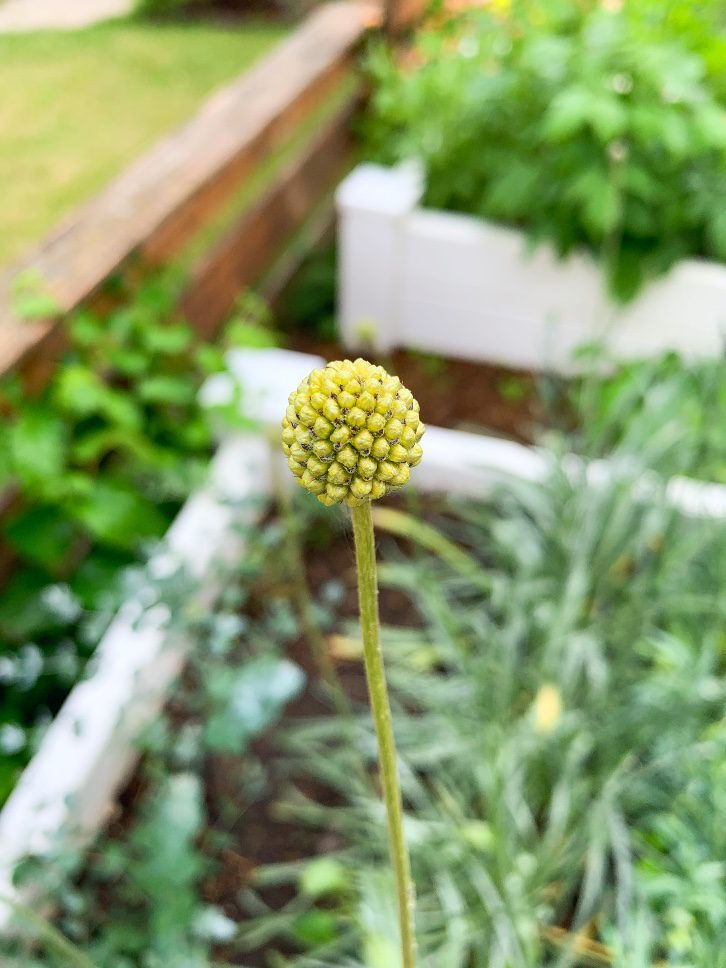
Vinyl or plastic beds can vary greatly in price depending on the durability of the plastic. Cheaper and thinner plastic beds may wear out in the sun after a couple of years. Again, this really depends on where you live and how intense the sun is. I would expect a cheap plastic bed in Arizona to wear out a lot sooner than a cheap plastic raised bed where I live in Saskatchewan.
I also personally own raised vinyl garden beds that are extremely thick and durable. They were expensive, but they’ve held up really well and look basically new. I’ve left them out all winter and summer long for over 3 years now at this point. Unfortunately, they are not in production anymore, but if you find any like them, I’d grab them.
Finally, metal raised beds are also a great option and extremely durable. I don’t really have any personal experience with them, but I know people who have them always seem to like them and I haven’t heard of any downside.
3. Purchase Soil
Have you run across one of those posts on the internet that says you can build a square foot garden for just $10 or some crazy cheap number? Unfortunately, that ten dollars is just a fraction of the real cost. You see, that number likely only covers the materials for the bed, and doesn’t take the soil into consideration. Sure, you could just try to work with what you have. But most people making a raised bed will need to purchase soil, and those costs can quickly add up if you’re making a larger or taller bed.
To save money and reduce your need for soil, especially in a taller bed, you can fill up the bottom with wooden logs, sticks, leaves, or other compostable materials. Then, you fill up only the top 8-12 inches of the bed with purchased soil. The other benefit to this is that the decaying materials will produce heat, giving your flowers a warmer place to grow.
When ordering soil, it’s easiest to order what’s often referred to as triple mix. A mix of soil, compost and peat moss. You might want to further enrich your soil with some manure or decayed leaves. The great thing about purchased soil is that it should contain no weed seeds. Any weeds that do come up from the wind or birds should be minimal and easy to pick.
4. Pick Your Flowers
Now comes the fun part! You finally get to decide what you’re going to grow for the year. If you don’t have a lot of space to work with, you’ll want to prioritize the flowers that will give the most bang for your buck.
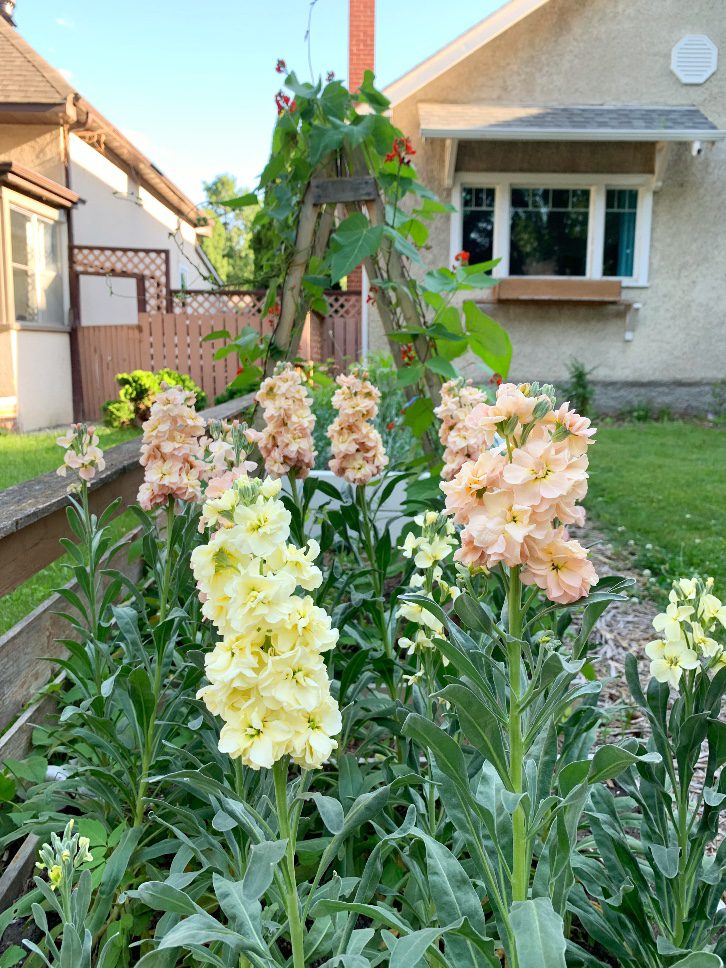
That means choosing as many cut-and-come-again flowers as possible. Think Zinnias, Cosmos, Snapdragons, and Marigolds. You’ll also need a good mix of flowers of different sizes and textures. While a bouquet of only large, hero flowers is beautiful, your bouquets will look a lot more interesting if you have a mix of large and small, fillers and greens.
Check out my two ebooks, Cut Flowers Made Simple and Bouquets Made Beautiful, where I go into way more detail about what will work!
Another thing to consider is if you are willing to seed start, or if all your flowers will be direct-seeded. Most garden centres do not have cut flower seedlings available for purchase, so if you can’t or aren’t willing to seed start, it really limits your choices. This isn’t as big of an issue for those of you in longer growing seasons. But for those of us in short growing seasons like where I live in Zone 3, we really need to seed start at least 80% of our flowers.
If you’re a complete beginner, you’ll want to watch this video on some of the easiest cut flowers from seed to get started with:
5. Order or Purchase Seeds
You’ve decided what to plant, now where are you going to purchase the seeds? Your local garden centre will likely have a good selection for you to choose from. Just check the labels and make sure you’re getting varieties with long stems and not those made for containers.
I’ve compiled all my favourite places to order online in Canada, the United States, and Europe, and I also have a video about where to order seeds in Canada:
6. Plan out the squares and Spacing
When I lived in the city, even though I had an area in my garden that was in-ground and not in raised beds, I still managed it as if it was a square foot garden. I divided it up into 8 different sections that functioned like a raised bed and organized my flowers by height.
All of your seed packets will tell you a suggested spacing for each flower, but you can usually plant your seeds a bit closer than suggested. Don’t go crazy, but for example, Dahlias typically get a spacing of 18 inches, but in my square foot setup, I gave them 12 inches.
You can use the free plan below with all the spacing done for you, or pick your favourite flowers and make your own. Whatever you choose, just be cautious of plant heights and that you don’t put a very tall plant beside a very short one!
7. Start Seeds (if Necessary)
Next, you’ll need to figure out your last frost date and when you plan to set your seedlings outdoors and direct seed. Many cut flowers are started 6-8 weeks before the last frost, but some are started as early as 12 weeks, and others can be started as late as 2 weeks before. Your seed packets will tell you what you need to know, but if you want to save yourself some time and have the seed starting schedule all set out, I lay it all out for you in Cut Flowers Made Simple.
A week before it’s time to set your seeds out, you’ll need to harden them off (a fancy term for getting them used to life outdoors). Here’s everything you need to know about the hardening-off process.
8. Enjoy your Square Foot Cut Flower Garden!
Once your seedlings are safely in the ground, the hardest part is over! Now you just need to keep them watered, weeded, and protected from the worst winds. Then once they start blooming, you’ll have beautiful cut flowers to make your own arrangements or share with friends and family.
If you liked this blog post, follow me on Facebook, TikTok, and Instagram for more cold-climate gardening tips, delicious recipes, and cut flower goodness! I also make weekly videos over on my YouTube channel. I hope to see you there!
P.S. If you love the content I create for Shifting Roots, consider joining our community on Patreon. Your support means the world to me and I am grateful for each and every one of you!
SERIOUS ABOUT STARTING A CUT FLOWER GARDEN, BUT NEED MORE HELP?
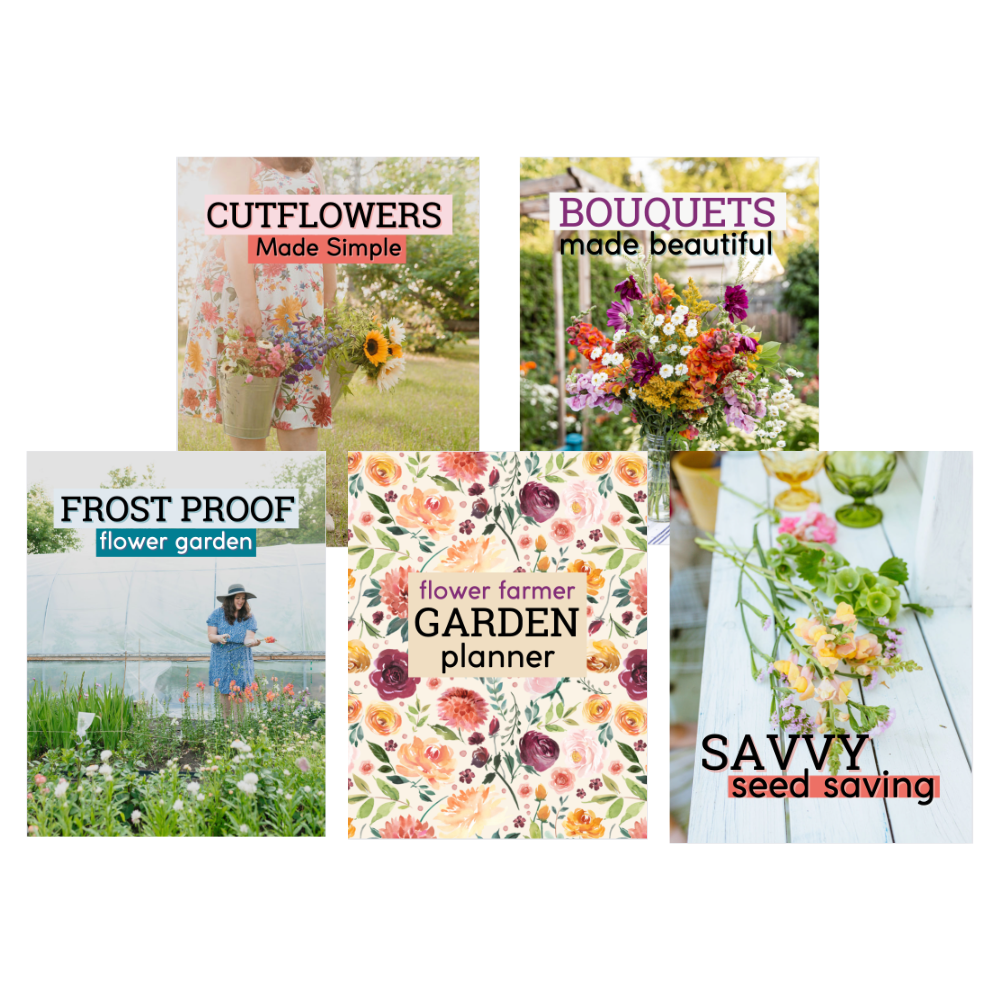
The Ultimate Cut Flower Bundle has everything you need! Learn exactly which flowers to grow for blooms all season long, get done-for-you plans and a system to create your own so you can grow exactly what works for you. You’ll get Cut Flowers Made Simple, Bouquets Made Beautiful, Frost Proof Flower Garden (to extend your fall growing season) and Savvy Seed Saving, so you can save some serious money on seeds.
It’s exactly what the beginner cut flower gardener needs to be in blooms as long as possible and to avoid all those new-grower mistakes. It’s like your skip-to-the-front-of-the-line growing guide for every part of the cut flower growing journey. If you bought each one of these ebooks separately, it would be $70. But with the bundle, you get it all for only $47!
You’ll EASILY grow $47 worth of flowers this year. In fact, once your garden starts producing, you’ll grow at least 3 times that amount of flowers just in one week. Don’t wait another season and lose time to costly mistakes.
Julie Loy
Cindy Nicholason
Kristen Raney