
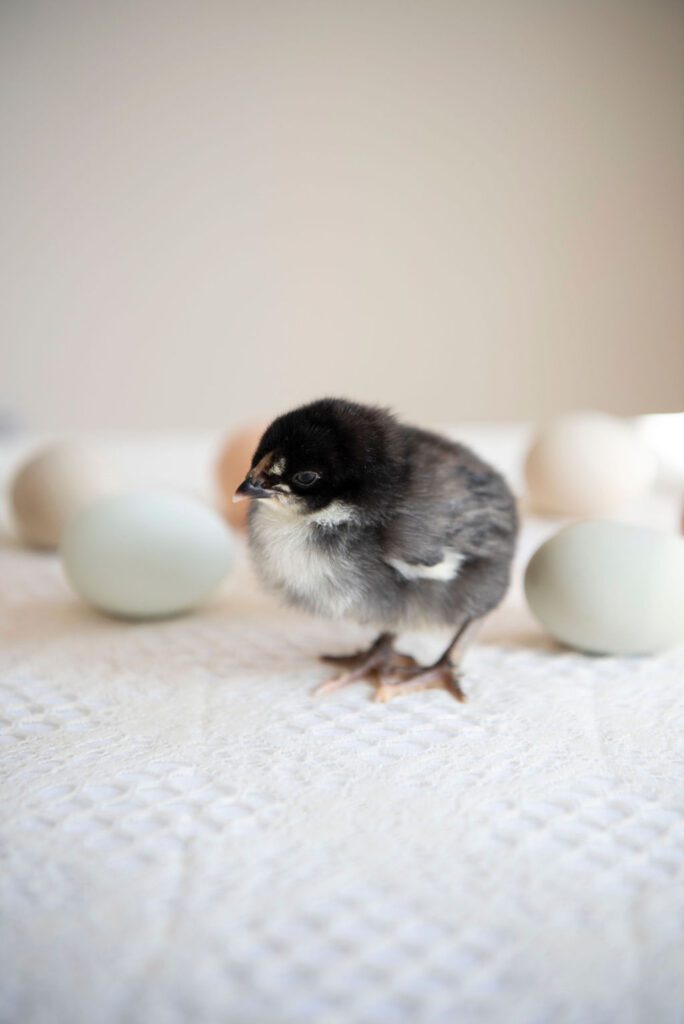
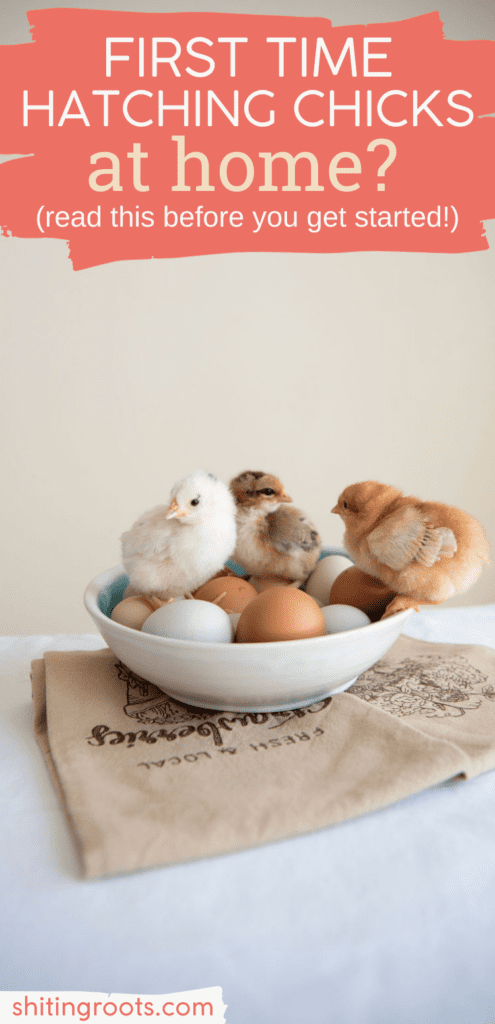
Have you considered hatching chicks at home, but you’re not quite sure where to start? I purchased fertilized eggs to hatch with an incubator for the first time this year and have learned a lot about the supplies needed to hatch chicks, the 21-day hatching process, and more. I’ll tell you all about my experience as a beginner hatcher in this blog post, plus some mistakes I made, so you don’t make them too!

This post contains affiliate links, which means that if you purchase something, I earn a small commission at no extra cost to you. You can read more about it in my privacy policy. Thanks for supporting Shifting Roots!
Why We Decided to Hatch Eggs
When growing your flock, there are generally three ways to go about it:
- buying chicks from a hatchery or breeder
- hatching eggs
- buying pullets (chickens in their first year of life that are a month or two away from laying eggs)
Our first year, we bought chicks from a hatchery–which was great–but there isn’t a lot of choice of breed at our hatchery, so I couldn’t build a flock of rainbow-egg-laying chickens that way.
Pullets are great because you get eggs fairly soon, but it’s more expensive, and sometimes pullets can have difficulty integrating into an existing flock.
We decided to hatch eggs to get the colours we were hoping for and because it would be exciting to do with the kids when there’s not much to do outdoors and everyone is going a little stir-crazy.
I live on the Canadian prairies, where it is often too cold in March and April to hatch chicks outdoors unless you have a heated coop. Last year, I got chickens at the end of May, and they didn’t start laying eggs until the winter solstice (which, for the record, is a crazy time to start laying eggs). Because of this, I decided to purchase fertilized eggs to hatch this March.
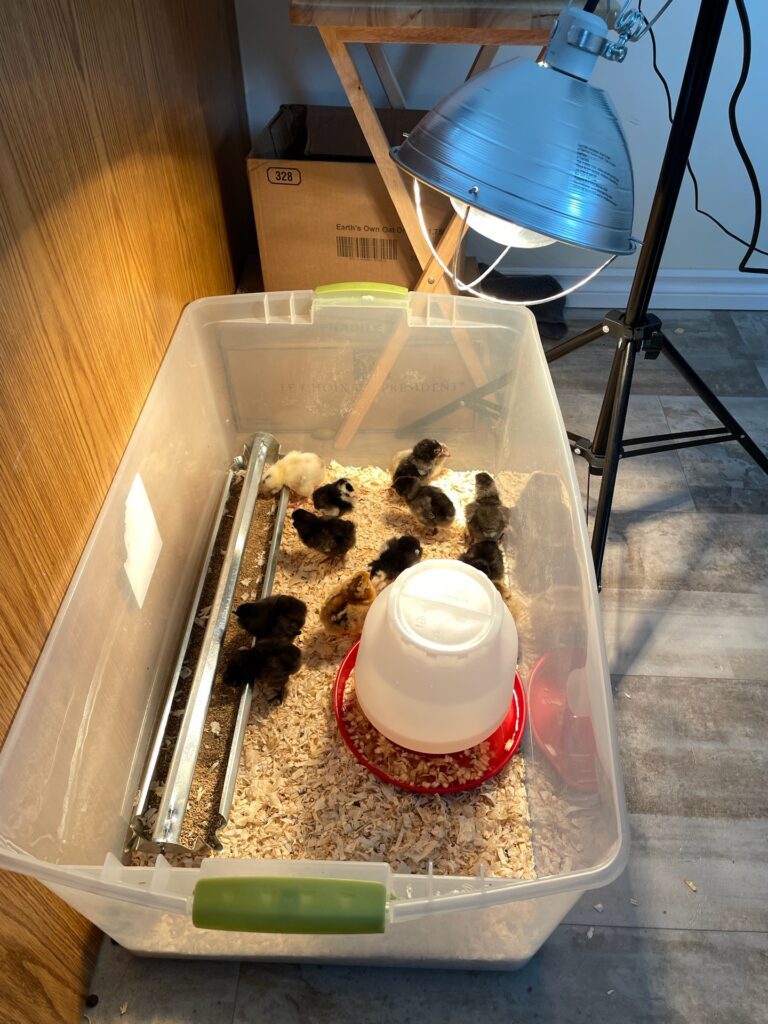
I currently have a small indoor setup for the chicks in our dining room (pictured below). If the weather is too cold to move them outdoors as they grow, I can move them to a larger space in our basement. I also have an insulated coop outdoors to provide some heat, but it’s not warm enough to keep chickens in at our current temperatures of -10°C.
Want to see more of my process as a first-year hatcher? Check out this video:
egg Hatching timeline
Before we get started, here’s a short overview of an average hatching timeline:
- Day 0: 24 hours before getting your eggs, turn on your incubator
- Day 1: put eggs in the incubator
- Day 7: first candling
- Day 14: second candling
- Day 18: lockdown
- Day 21-23: most eggs are hopefully hatching
- Day 25: cut-off date for hatching
Basic Supplies needed for hatching chicks
Ready to buy some fertilised eggs and get hatching? Here are the supplies you’ll need:
- incubator
- egg turner
- heat lamp or heat plate
- a clear storage container to put your chicks in after they’ve hatched
- bedding
- feeder and waterer
- chick feed
- optional: vitamins to put in the water
Note: The incubator and egg turner in this list are the exact models I use in my hatchery. The other links are to products as similar to what I use as I could find!
where to get fertilized eggs?
If there was a rooster on my property, I could collect my own eggs and hatch from my own supply. Because I only have hens, I had to outsource my eggs. I had my heart set on blue and green eggs. Unfortunately, our province’s hatchery does not have many specialty breeds, so I joined our chicken group, Sask Peepers. In this group, I found that I was looking for a barnyard mix (or BYM for short, for those in the know). After discovering this, I watched the postings in the group and, low and behold, someone with BYM eggs was driving through on the highway near my acreage. I arranged a meetup to get my fertilized eggs, bought two dozen BYM eggs, and began my journey.
At this point, I didn’t even have an incubator. I planned to buy one immediately because you have only about up to a week after the eggs are fertilized to hatch them. I knew that I only had like a day or two. I went to my local Peavy Mart, bought an incubator, and bought an egg-turning attachment. This is key. If you don’t get this attachment, you must turn your eggs 3-5 times daily. So spend the money.
This is the exact setup I have! It works really well, and the temperature doesn’t fluctuate wildly like it can with cheaper incubators. My only complaint is that it doesn’t have a built-in candler.
I didn’t realize that you need to have your incubator on for 24 hours before you put your eggs in it. So while I was stressing that I had kept it on for too long and everything was ruined, it was fine. The incubator was extremely easy to set up. Everything fit together super easily, and all I had to do was plug it in.
Finally, I marked the 21 days in my calendar from the day I put the eggs in my incubator and started watching YouTube videos about candling to ensure I knew what I was doing.
Note: I went with BYM eggs because it is a bit difficult to find the specialty breeds I wanted in Saskatchewan. By getting BYM eggs, I, in essence, got to try a bit of everything and will still get colourful eggs from my hens. A BYM tends to be cheaper than individual specialty eggs in some areas, but that’s not true everywhere.
what is candling?
During the 21-day process of incubating your chicks, you will be candling them on Day 7 and Day 14. This means you use a bright light (traditionally a candle, but I used the flashlight on my phone) to look at the inside of your eggs. Just take the eggs out of the incubator, put them in a dark room, and put the flashlight as close to the egg as possible.
On Day 7, you’re looking for a web of veins. The egg is not viable if you can’t see any veins (i.e. just a glowing egg). On Day 14, you repeat the process with the viable eggs. Now, you’re looking for the space of an air sac (and sometimes you can even see the chicks moving!). I am not an expert, but I think there are ways to know if the chicks have died at this point… I’m just not there yet.
day 18: lockdown
On Day 18, the chicks will go into lockdown to prepare to hatch. At this point, I added more water to my incubator to get the humidity levels up to between 60 and 70 percent. No matter what, do not open the lid at this stage! This can kill your chicks.
day 21: hatching day
Final Day 21 arrived. The magical day. I was so excited. At 11:00 a.m. on the dot, I checked my incubator to see if all my eggs had pipped. I obsessively checked every hour on the hour, and none of them had pipped. Finally, I decided that a watched pot never boils, so I went to my relatives for supper. When I got back, one egg had finally pipped!
At this point, I was so nervous I had messed everything up, having only one pipped egg. But, by the next morning, several chicks (around 8-9) had pipped! It took until the evening of Day 22, around 7:00 p.m., for the first chick to hatch, and by the morning of day 23, almost all the other chicks had hatched overnight. At that point, I still had five eggs that had pipped but not hatched, and a couple of others I couldn’t tell if they’d pipped or not. One more chick hatched the next morning, and another was thinking of hatching. I’ll let you know what happens with the rest!
The last chick was stuck in its shell, and while the crack was big enough for it to get out and it was moving, something seemed wrong. After almost a day of this, I decided to help the chick out (which you’re not supposed to do!). This had been going on for so long that I felt the chick might die either way, so I’d give it a chance at life. I’m so happy I did because 21 is alive and thriving so far. I later realize that I didn’t keep the humidity level up enough for the later two eggs that hatched
More experienced hatchers say not to leave unpipped eggs in your incubator past day 25. If nothing has happened by day 25, then nothing will happen.
what is pipping?
Pipping is when the first little hole or crack in the egg appears. I think what surprised me was that the time from pipping to the time of actually hatching was so long. As a beginner, I was under the impression that the process would go a lot faster. For the child-bearers reading this, think about having your own baby. You didn’t have your first contraction and then pop out a baby 20 minutes later. For most of us, it’s a long time between the first contraction and an actual baby in our arms.
the first 24-48 hours after hatching
Once your new chicks start hatching, it’s tempting to take the lid off the incubator and start taking them out. Do not do this. You can kill your chicks. You’ll need to wait until all the hatched chicks have fluffed up a bit. You do not need to worry about chicks getting food and water in the first 24-28 hours in the incubator, as they can live on the moisture and nutrients from their yolk sac for up to 48 hrs after hatching.
heat & humidity levels
The general consensus on the internet is to keep the humidity at 50-55 percent during the incubating process, except from Day 18 onward, when you raise the humidity to 60-70 percent. I have also heard about dry hatching, where you keep the humidity levels at 40-50 percent during incubation. I have not tried a dry hatch yet, so I can not comment on its effectiveness.
When I first put my eggs in the incubator, I wrongly assumed the humidity levels would be really low due to my cold Saskatchewan winter. I proceeded to watch as my humidity levels were way too high. I had to keep the little holes open so the humidity would go down, and I wonder if I killed some of the chicks because I had the humidity too high at the beginning of incubation.
The recommended temperature for the incubator is 37°C/99°F.
hatch rate PERCENTAGES
You might be surprised that not every egg you put into the incubator will end up in a chick. For a beginner, having a hatch rate as low as 30 percent is normal. An intermediate hatcher will likely have a 50 percent hatch rate, and a more experienced hatcher will likely be around 75 percent. It should also be noted that at least half of the eggs you hatch will be roosters. So you need some plan regarding what you’ll do with your roosters from the start!
If you liked this blog post, follow me on Facebook, TikTok, and Instagram for more cold-climate gardening tips, delicious recipes, and cut flower goodness! I also make weekly videos over on my YouTube channel. I hope to see you there!
ARE YOU A HOMESTEADER WHO WANTS TO GROW WHAT YOU EAT?
Green thumbs aren’t just given out at birth. They’re a combination of learning about gardening and trial and error. If you wish you knew more about gardening and had more confidence in your abilities, you need the Growing Roots Gardening Guide.
It’s an e-book plus 6 bonuses. Everything you need to go from complete garden newb to confident gardener in one growing season. Get all the details of what’s inside here.
Happy gardening!


lorraine
Gebremedhin Gerezgiher