
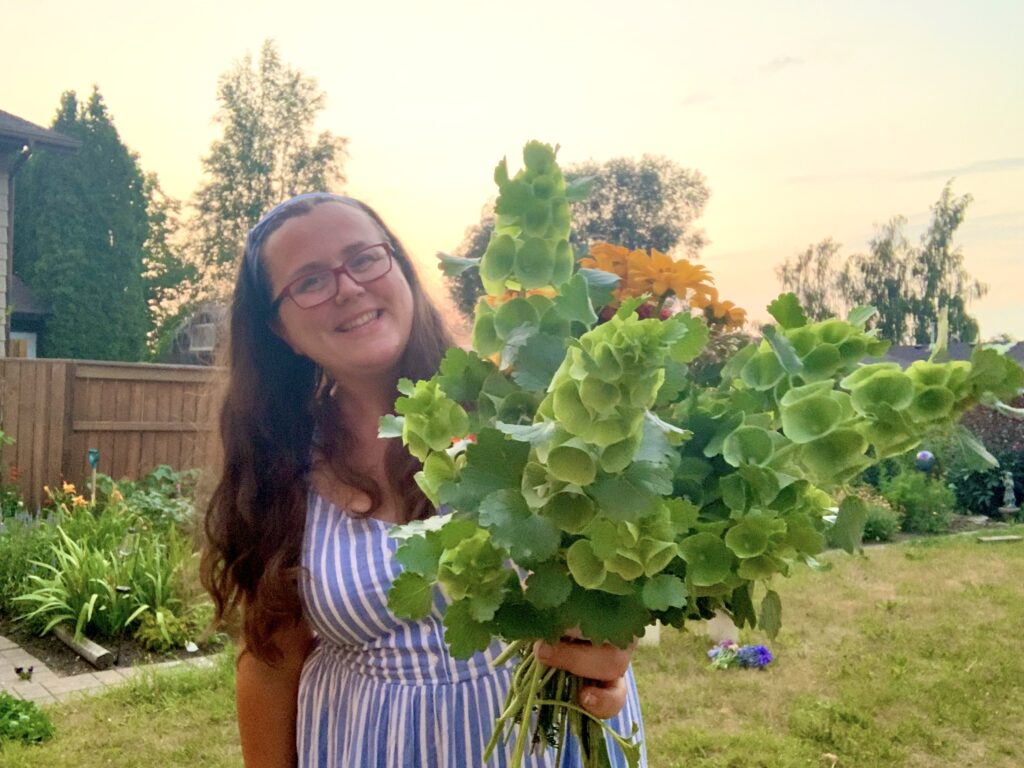
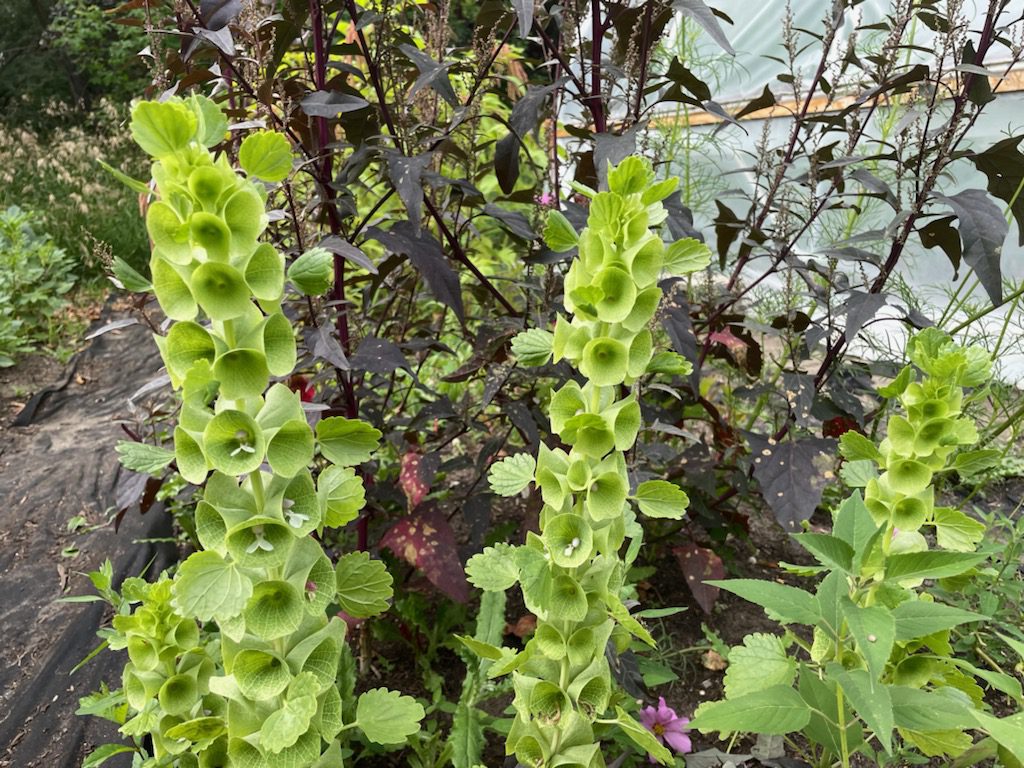
Bells of Ireland are unique flowers. Besides their shape and gorgeous chartreuse colour, they also have a minty, citrusy smell and are irresistible to my flower-farming customers. Needless to say, it’s in my best interest to grow them and to grow lots of them.
However, my journey to growing Bells of Ireland has been fraught with toil, strife, and broken dreams. In this blog post, I share a little about my experience growing Bells of Ireland and the four best methods for germinating them!
This post contains affiliate links, which means I make a small commission if you purchase anything at no extra cost to you. You can read more about it in my Privacy Policy. Thank you for supporting Shifting Roots!
My journey with Bells of Ireland
The first time I tried growing Bells of Ireland, I didn’t have super successful germination. I had direct-sown them in my mom’s garden, then forgotten about them. They were a happy surprise when they bloomed later that year, but it wasn’t the best way to start my Bells of Ireland journey. The next year, I saw some starts at a local garden center and was so excited because I didn’t have to germinate them, but they only had four plants in stock. Needless to say, I didn’t have many Bells of Ireland that year either.
After two failed attempts, I went into full-scale seed-starting mode. I bought 200 seeds and only germinated 3. Because I am a mom with small littles, I killed them all. But, lo and behold, some of the seeds from the previous year had germinated in my garden (yay, volunteers!), so I was left with three precious Bells of Ireland plants. No one was allowed to touch them. I was determined that those plants would be nurtured by me, with my own sweat and effort, and only by me.
Yet again, to hedge my bets, I purchased another 200 seeds of Bells of Ireland in addition to those I had saved. I heard about a germination trick from Flower Hill Farm and put half of my seeds into a plastic bag that I taped to the window (more on this below), and the other half in a tray I threw outside on my deck to cold-stratify. The third way to hedge my bets was hoping the seeds that had fallen to the ground would germinate for me.
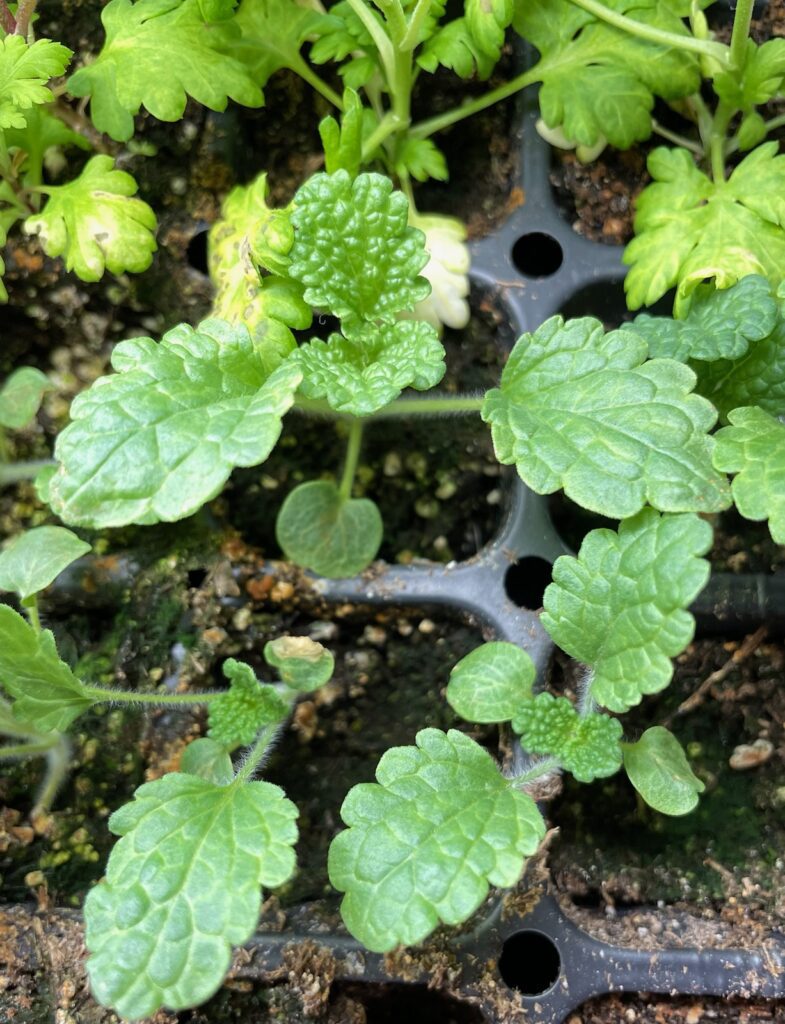
While the results are better than last year, so far, they still remain on the dismal side. I currently have 10 Bells of Ireland seedlings that have worked from the Flower Hill germination trick. Unfortunately, my saved seeds did not work using this trick as of the writing of this post. I have yet to see if the two other methods will work.
Without further ado, here are the four methods for germinating Bells of Ireland!

Four Methods for Germinating Bells of Ireland
Direct Sow as Soon as the Snow Melts
This method is as simple as it sounds. As soon as you have workable soil that isn’t mud, take your Bells of Ireland seeds and plant them where you want them.
In a Tray Outdoors During the Winter
Sometime over the winter, fill a 50-cell tray full of potting soil. Put 1-2 seeds in every cell, cover each cell with a little more potting soil or vermiculite, and then put your tray outdoors on the porch, deck, or other safe space that will get both cold and snow. Then you can put the tray under grow lights after a few weeks or inside your greenhouse to hopefully germinate!
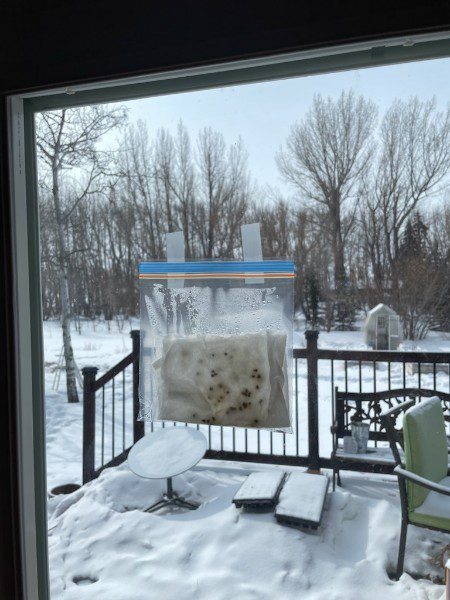
A Bag Taped Against the Window
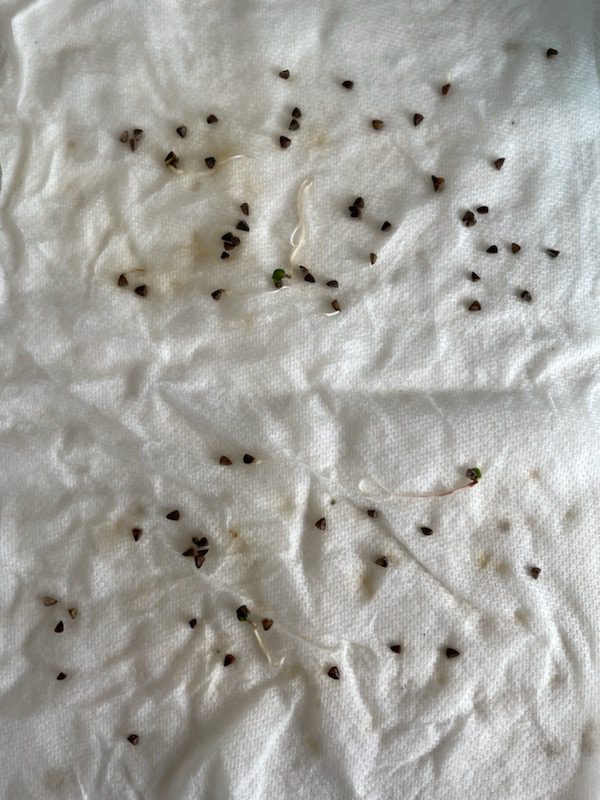
Some of you may have done this experiment in your elementary science class, but it works in real life, too! Grab a paper towel, soak it with water, and spread your seeds on it. Fold the paper towel to fit in your plastic bag, zip it up, and tape it to the window (preferably a south-facing one). The seeds should germinate in 21 days or sooner. Chances are, if they haven’t germinated by that point, nothing will happen.
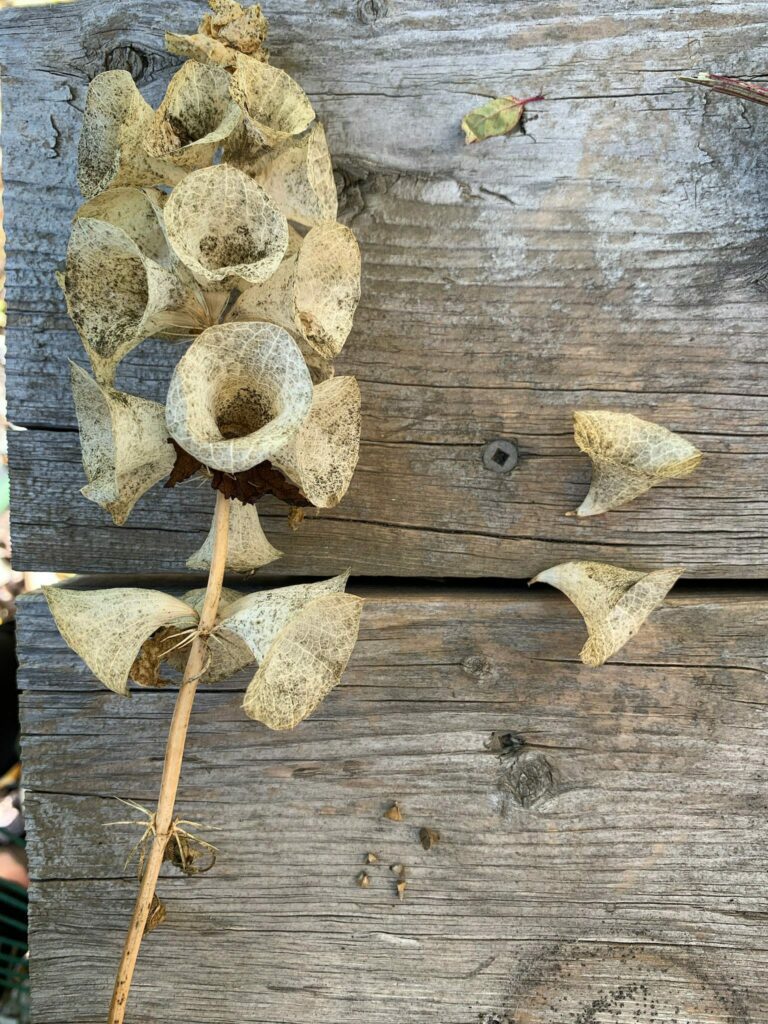
Let the Volunteers Grow
Perhaps the most successful method, but also the most unpredictable one. Leave a few Bells of Ireland plants to mature and dry out. Resist the temptation to cut them down! The seeds should naturally fall to the ground, and you should have some new baby Bells of Ireland plants shortly after your last frost date.
The Germination Method that Doesn’t Work
Putting the Seeds in the Fridge for a Few Weeks
In theory, putting the seeds in a fridge for a few weeks should mimic cold stratification and give you results. But I have tried this method three years in a row with horrible results, so I can’t recommend it. Maybe your fridge is better than mine! If this method works for you, please let me know in the comments!
If you liked this blog post, find me on Facebook, TikTok, and Instagram for more cold-climate vegetable gardening tips, delicious recipes, and cut flower goodness! I also make weekly videos over on my YouTube channel. I hope to see you there!
READY TO GROW YOUR OWN BEAUTIFUL CUT FLOWER GARDEN, WITHOUT THE HASSLE?
I’ve taken all the guesswork out of creating a cut flower garden with my e-book, Cut Flowers Made Simple. Whether you’re a farmer florist, a beginner gardener, or anything in between, you’ll be able to start your own cut flower garden, with or without seed starting, growing annual flowers.


Join the conversation