
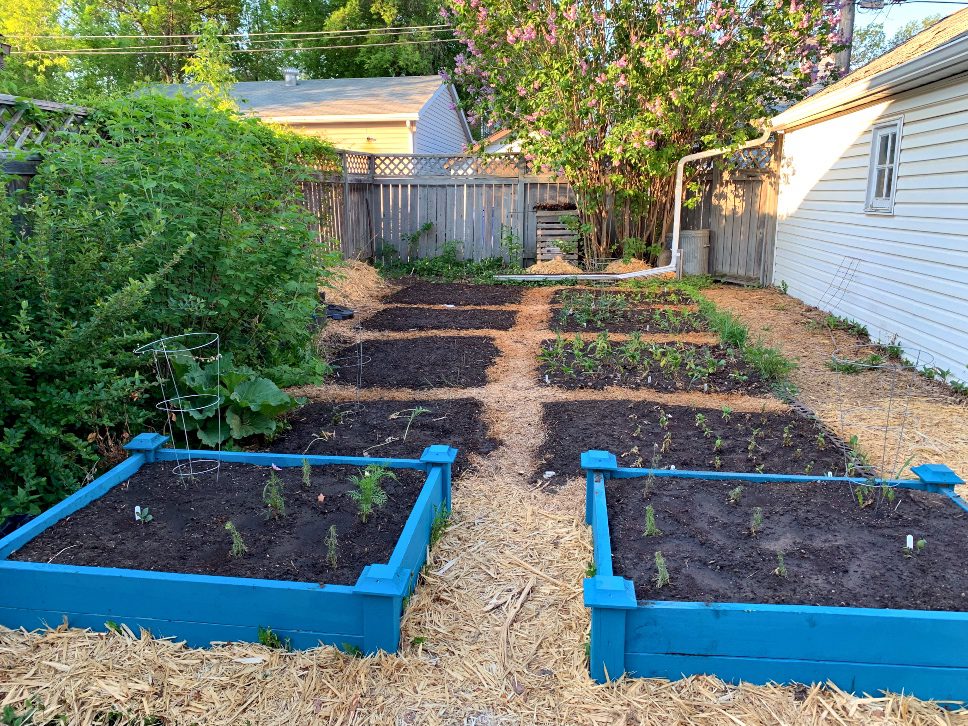
If you only have a small gardening space to work with, like an urban backyard, creating a raised bed garden is the best and easiest way to get started growing a garden. Raised beds have many benefits–there’s less bending, weeds are easier to manage, and they can look really pretty!
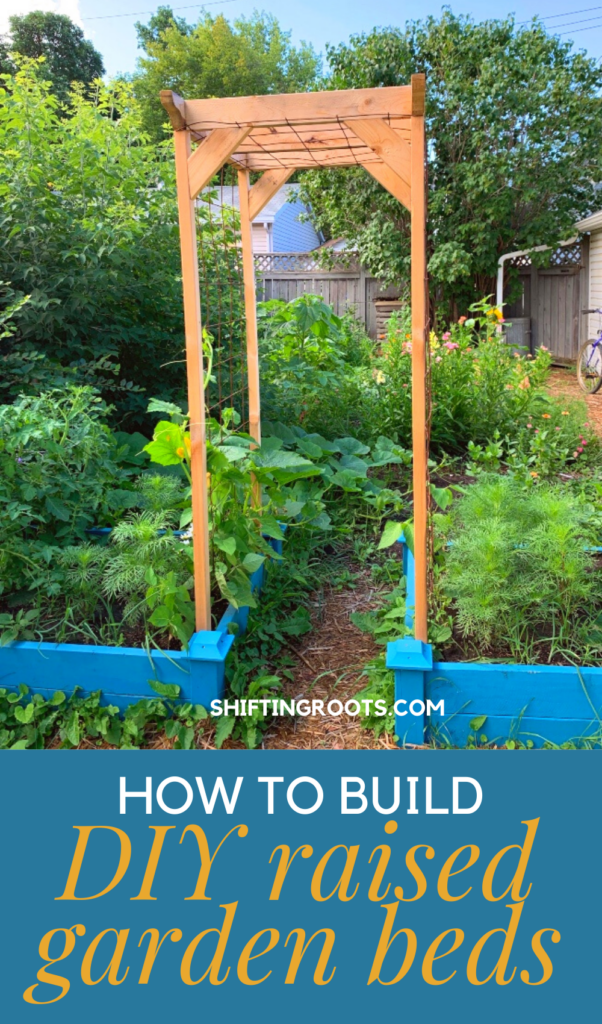
While there are many ways to create a raised bed for your square-foot garden, I love the flexibility that creating your own DIY version with wood offers you. You can stain yours a natural colour or go with something fun like the turquoise blue I went with.

What is the best Wood to Use for Raised Beds?
If you decide to use treated wood, make sure to use wood treated later than 2003. Anything earlier uses harmful chemicals that will leach into your soil, adding toxins to your vegetables.
The most natural and long-lasting option is cedar, but where I live, cedar is extremely expensive.
We chose to go with regular, untreated 2×6’s to create our boxes to cut down on costs.
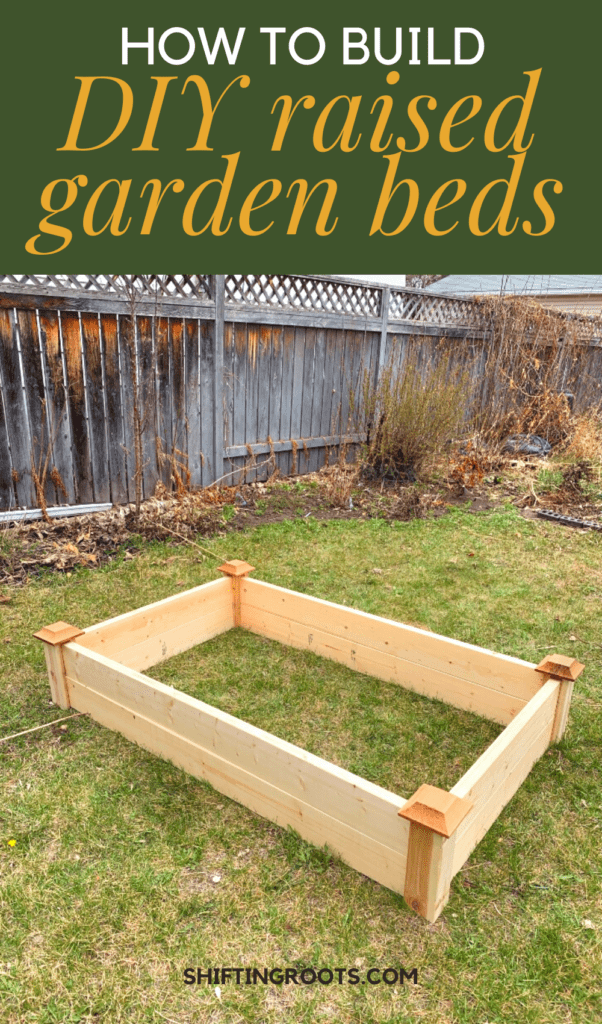
In the pictures for this post, we made 6 raised beds all at the same time. The supplies listed are for making one raised bed in a with 3′ by 5′ dimensions. If you’d like to make different sizes, adjust the amount of materials you need accordingly.
Supplies
- 4 — 8 foot 2x6s
- 2 inch screws or nails
- 1 8 foot Fence post
- 4 caps (optional)
- Wood Stain (optional)
- Landscape fabric or cardboard
- Mulch
- Soil
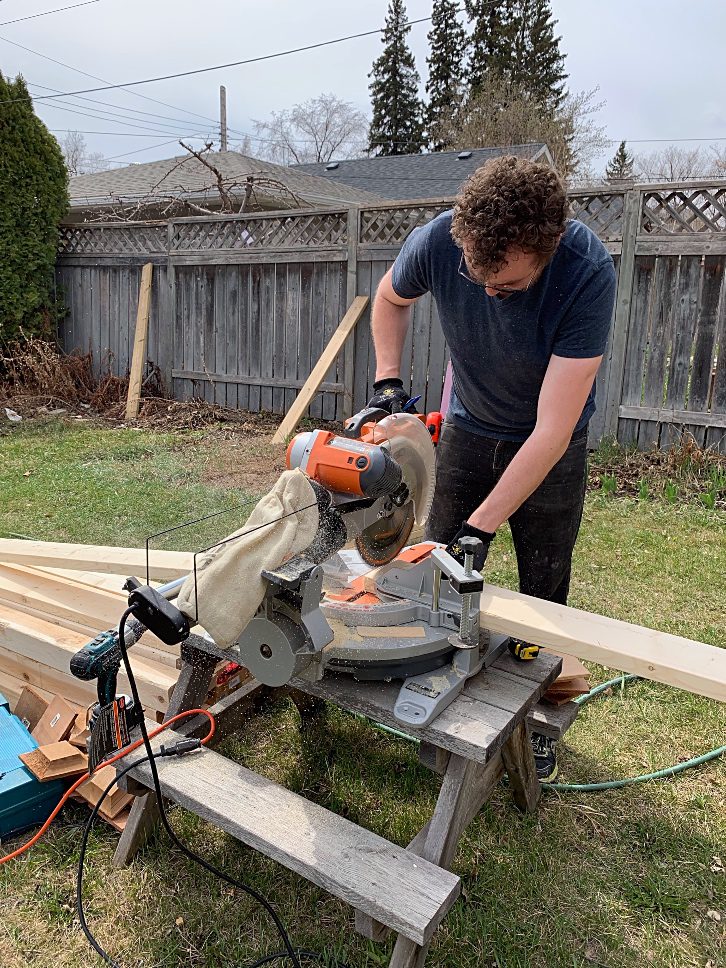
- Saw (or cut all boards at the hardware store if there is a cutting station).
Directions
Step One
Select the wood you need, picking as straight of pieces as possible, with little to no blemishes.
Step Two
Cut the 4 2x6s into the lengths you need for your bed. We chose 3×5 beds because there is no waste when you cut, it’s easier to reach around, and just made more sense in our landscape. You could easily make 4×4 beds with no waste as well. For 3×5 beds, you would cut a 3 foot piece off of each 2×6 and instantly have your 3 foot pieces and 5 foot pieces.
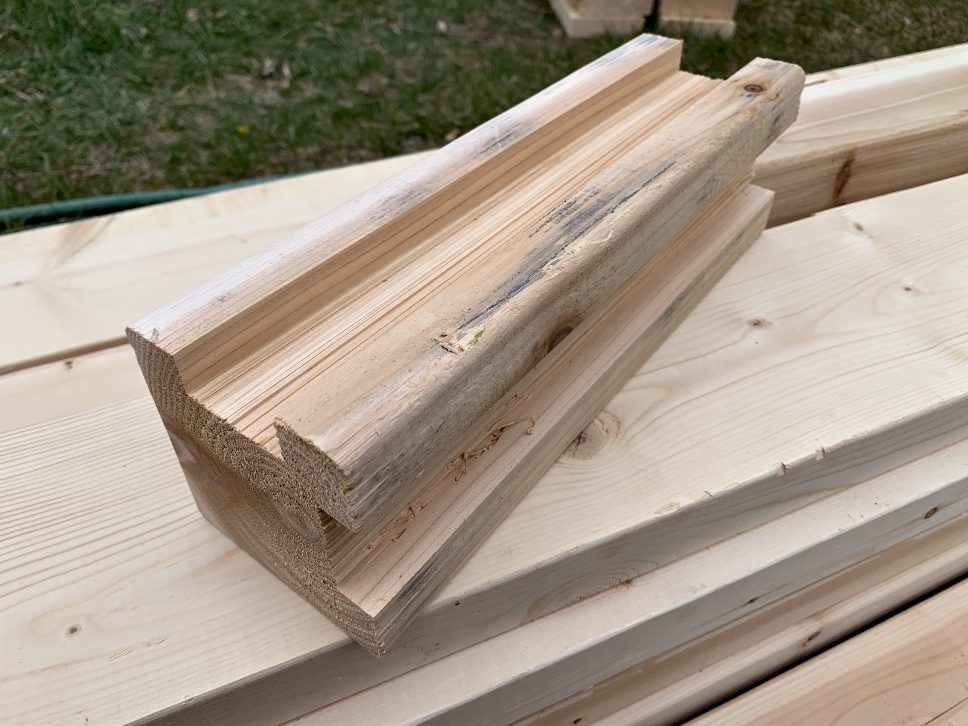
Then cut 4 two foot pieces from your fence posts.
Step Three
These pieces can sometimes be purchased, or you can make your own by cutting 3/4 inches into the wood multiple times and chiselling out the pieces.
Step Four
Slide the pieces into corner pieces. Nail or screw to secure if desired.
Step Five (Optional)
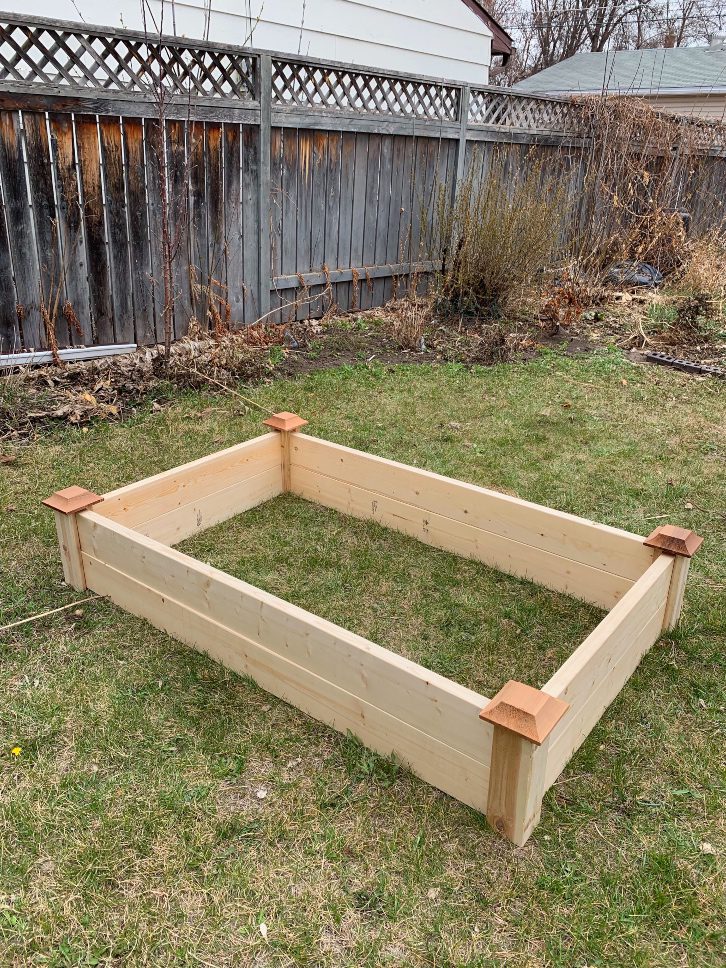
Secure the fancy caps to the 4 corners.
Step Six
Stain the outside and tops of the wood if you are using regular wood. You can skip this step if you use cedar or pressure treated wood. Remember to only use pressure treated wood made after 2003.
Step Seven
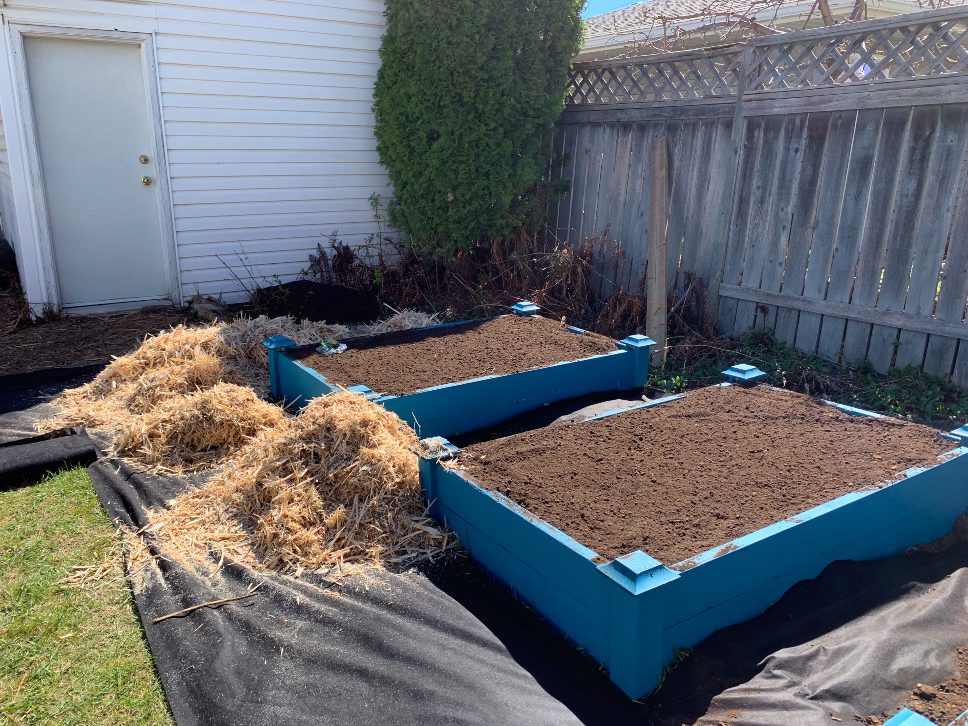
Place the beds where you want them, and lay down cardboard or landscape fabric to help prevent future weeds. Make sure any weed barrier you use for the outside also comes underneath the bed too. This will prevent annoying weeds along the sides of your bed.
Step Eight
Add soil in the beds and mulch over the weed barriers.
Step Nine
Enjoy the results of your hard work!
How to Grow Vegetables in Raised Beds
Before you click away from this page, here are a few resources for growing vegetables in your new raised beds. While you can grow anything in a raised bed that you would in a traditional garden, it’s best if you use the square-foot gardening method to make the most of the space you have.
Brand new to square-foot gardening? Read this post on how to get started.
Need some ideas on what to plant? Here are 4 free templates:
[convertkit form=5204562]
Want to see some real-life examples? Here’s how I created my front yard raised beds, other creative small space solutions around my neighbourhood, and how one couple changed an unused side yard into a raised bed garden.
And finally, if you really want to up your small space gardening game, you’ll want to grab a copy of Small Garden, Big Harvest. It’s everything you need to maximize every available inch of growing space you have available. Grow enough produce to have something fresh from the garden every week, and feel more at peace knowing you’re contributing to your food security in some small way.

Debbie Anderson
Kristen Raney
basement digging