You’ve started your seedlings or purchased plants from the greenhouse, and it’s finally time to plant them! In your rush to grow things, you plop them into the ground and hope for the best, only to find your precious plants withered, burned, or looking scraggly at best.
What went wrong?
You, my friend, were probably unaware that plants need to be hardened off (the process of toughening up your plants to handle life outdoors). Thankfully it’s pretty easy to do; it just takes a little time and know-how.
Check out these videos on Facebook to see my hardening-off process in action: 2021 hardening-off process, 2019 hardening-off process, and 2019 garden tour.
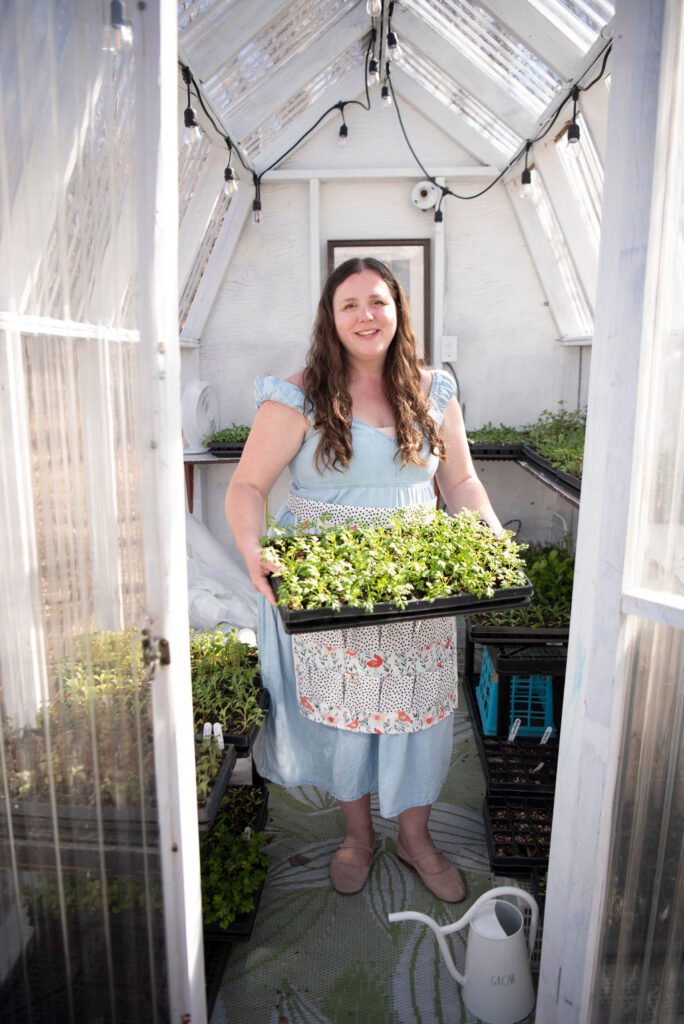
This post contains affiliate links, which means that if you purchase something, I earn a small commission at no extra cost to you. You can read more about it in my Privacy Policy. Thanks for supporting Shifting Roots!
TIPS FOR HARDENING OFF YOUR SEEDLINGS
1. Know Your Last Frost Date
The first step to properly hardening off your seedlings is to know the last frost date for your area. I like to use this finder from the Farmer’s Almanac.
You’ll then start the hardening-off process a week before you intend to plant. For example, I typically plant my garden the third weekend in May, so I’ll start the hardening-off process the second weekend in May.
The one exception? My heat-loving plants like peppers and tomatoes. I’ll start the hardening-off process the third week of May and set them out into the garden the fourth week of May or even the first week of June.
2. Find a Shady Spot
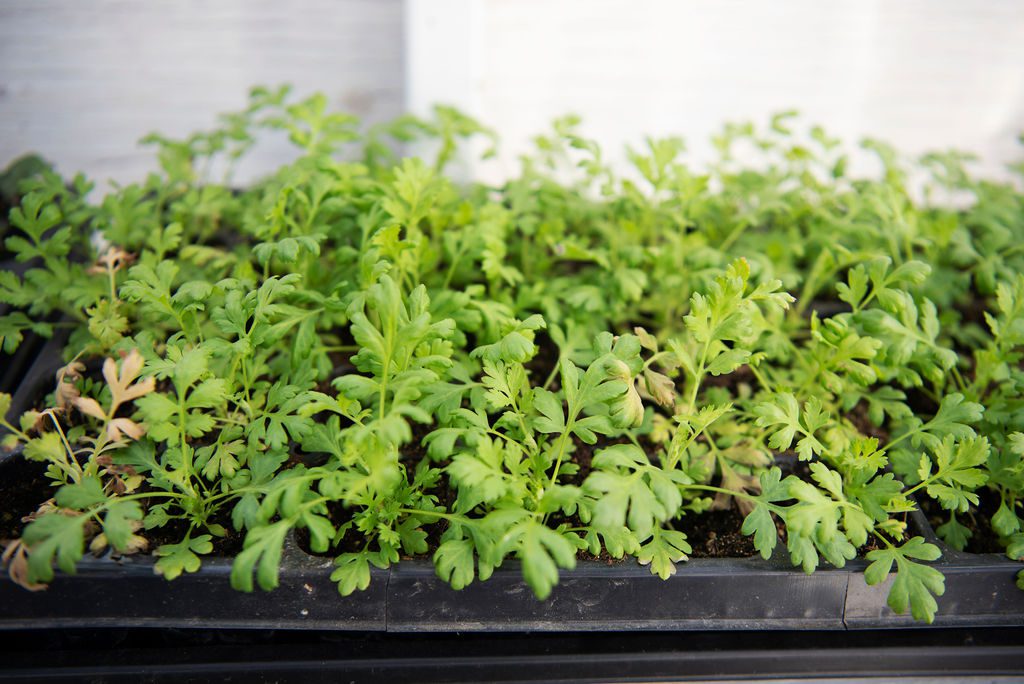
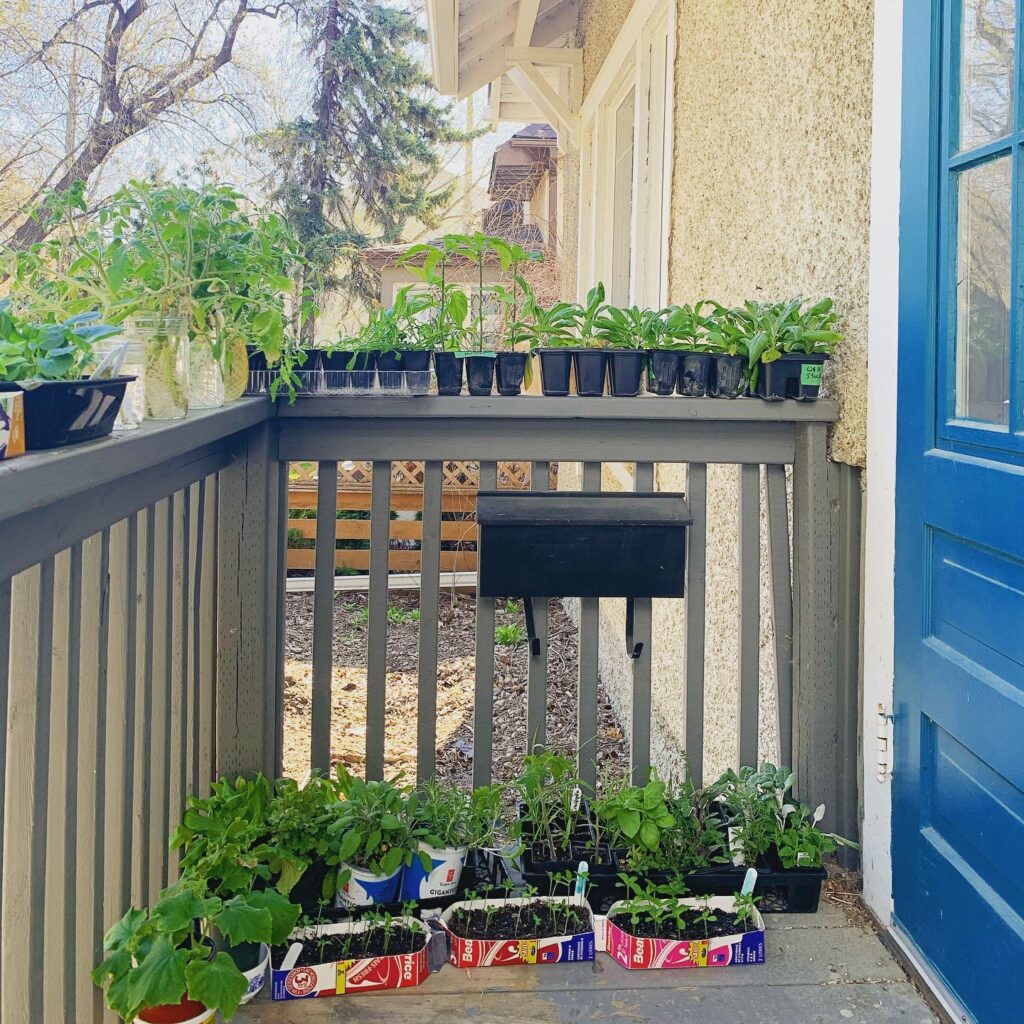
The difference between how much light a plant gets outdoors and indoors is huge, even if you grew that plant in a south-facing window. Seedlings need to start the hardening-off process in a shady spot outdoors and slowly be allowed more light as the week progresses.
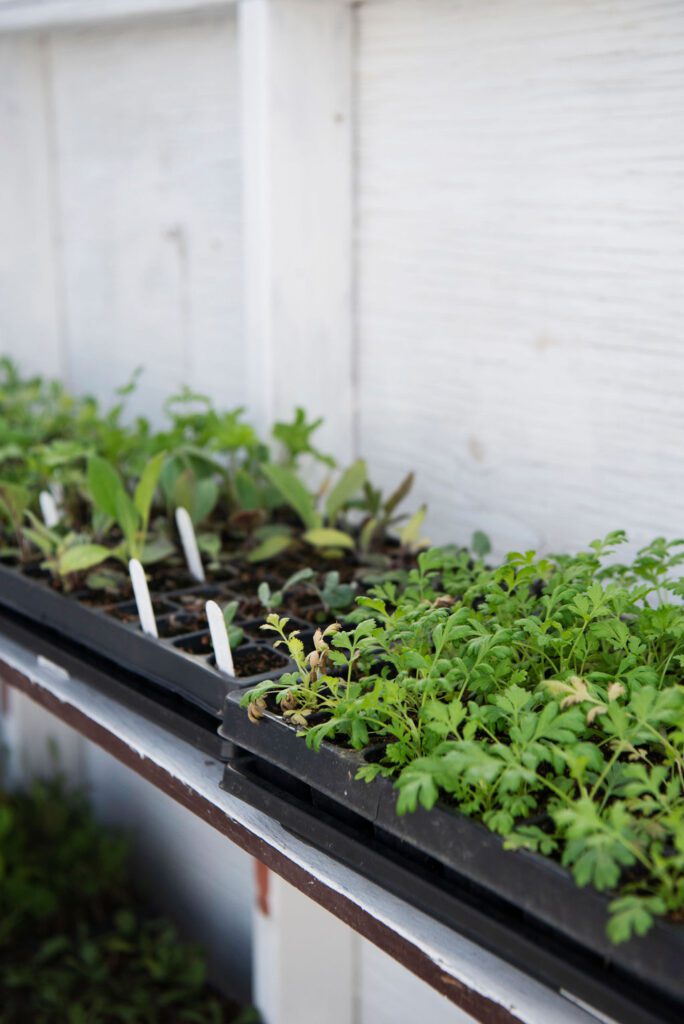
Yes, this means you’re moving your plants around a lot. You’ll also likely need to bring them indoors at night, especially at the beginning of the week or if it gets too close to freezing.
If your seedlings live in a temporary greenhouse that zips open and closed, it’s probably fine to open the door during the day and close it at night.
Check out this Zone 3 April seedling tour to see some of my hardening-off process:
3. Protect From the Wind
Harsh winds can also ruin your seedlings. Some gardeners run a gentle fan breeze on their seedlings indoors to toughen them up and make the stems stronger. You don’t have to do this step, but your seedlings should be hardened off in an area outdoors that is safe from strong winds.
If your seedlings are going into a garden area with no wind protection, try using pallets or something to provide a temporary windbreak to the area.
4. Use a Cloche
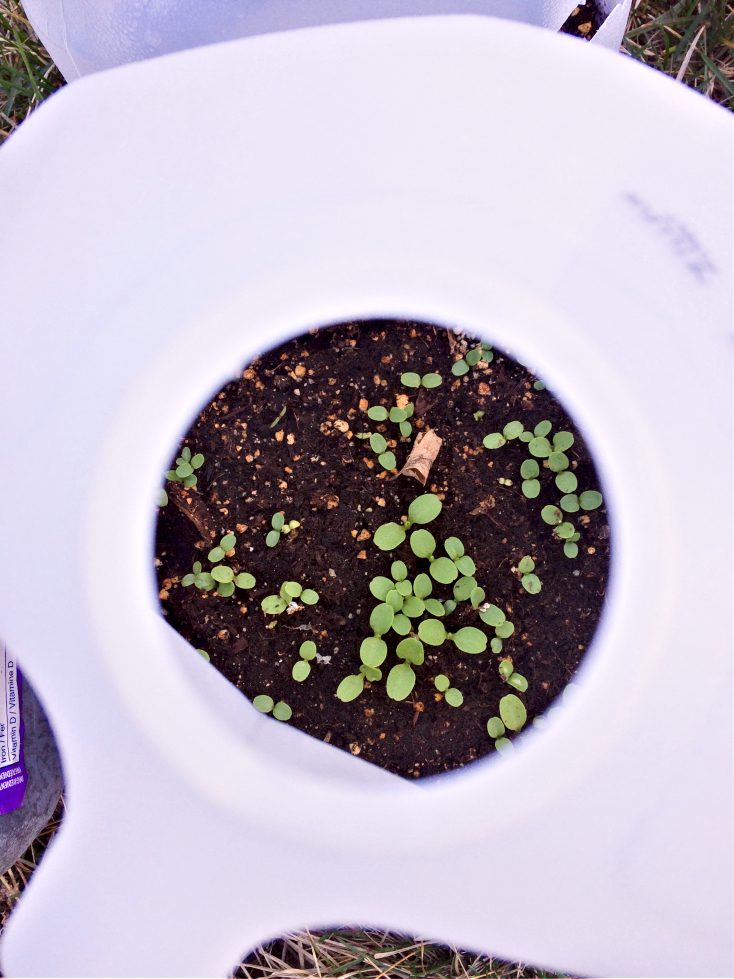
A cloche is just a fancy word for a clear cover for plants. It can be something you buy, like these cloches, or you can cut milk jugs. Whatever you use, they’re a great way to protect your plants and heat the soil. I also use mine to keep birds and unwanted pests away.
Do I have to harden off my plants?
In 2018, somewhat by accident, I discovered a different way of making starter plants that don’t require them to be hardened off. I was trying out winter sowing in milk jugs for the first time and was curious if the method would work with vegetables. It did, and the resulting plants were already acclimatized to the outdoors and didn’t need to be hardened off. If you want to try it yourself, here’s how.
Plant Like This for Best Success
Finally, when it comes time to put your seedlings into the ground, there are a few simple things you can do to give them a head start:
- Try and plant your garden in the evening or on a cloudy day.
- Protect taller seedlings with a cloche, milk jug, or large coffee can from the wind for a few more days.
- Wait until after the last frost date, and watch the weather to be sure it doesn’t go below freezing overnight.
- Put your hand in the soil. If it feels cold, it’s probably still not time to plant most of your vegetables.
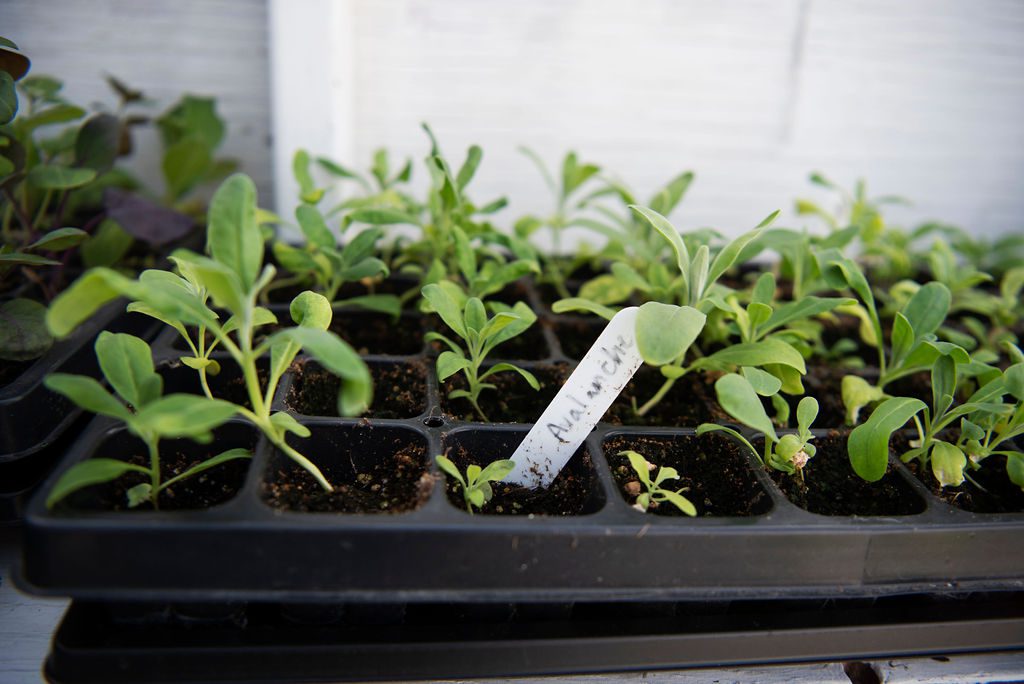
Hardening off your flower and vegetable seedlings is a little extra work, but that week of effort will pay off big time with a garden you’ll be proud of!
If you’re seed starting for the first time and wondering what to use with a grow light, I use a system similar to this seed starting kit. I also love this window sill kit if you’re using natural light.
If you liked this blog post, find me on Facebook, TikTok, and Instagram for more cold-climate vegetable gardening tips, delicious recipes, and cut flower goodness! I also make weekly videos over on my YouTube channel. I hope to see you there!
P.S. If you love the content I create for Shifting Roots, consider joining our community on Patreon. Your support means the world to me and I am grateful for each and every one of you!
NEED MORE HELP IN THE GARDEN?
Green thumbs aren’t just given out at birth. They’re a combination of learning about gardening and trial and error. If you wish you knew more about gardening and had more confidence in your abilities, you need the Growing Roots Gardening Guide.
It’s an e-book plus 6 bonuses. Everything you need to go from complete garden newb to confident gardener in one growing season. Get all the details of what’s inside here.
Happy gardening!


Nina Akin
Sue
Elsa